
Every July 7th is the Star Festival, called “Tanabata” in Japan. The original story came from China and arrived in Japan during the Nara era (710 – 794).
The story is like this:
A long time ago, there was a girl named Orihime, a daughter of one of the gods and a very good weaver. Her father was searching for a husband for her, and found a boy named Hikoboshi, a cattle herder.
They fell in love and got married. However, they became lazy after the marriage and did not work at all. Orihime’s father became furious about their complacency and set each on either side of the Milky Way as punishment. The pair was heartbroken and wept constantly. Feeling compassion for them, Orihime’s father gave the couple permission to see each other once a year on July 7th at night.

But, it is said that they cannot meet if it rains, so we always wish for no clouds in the sky.
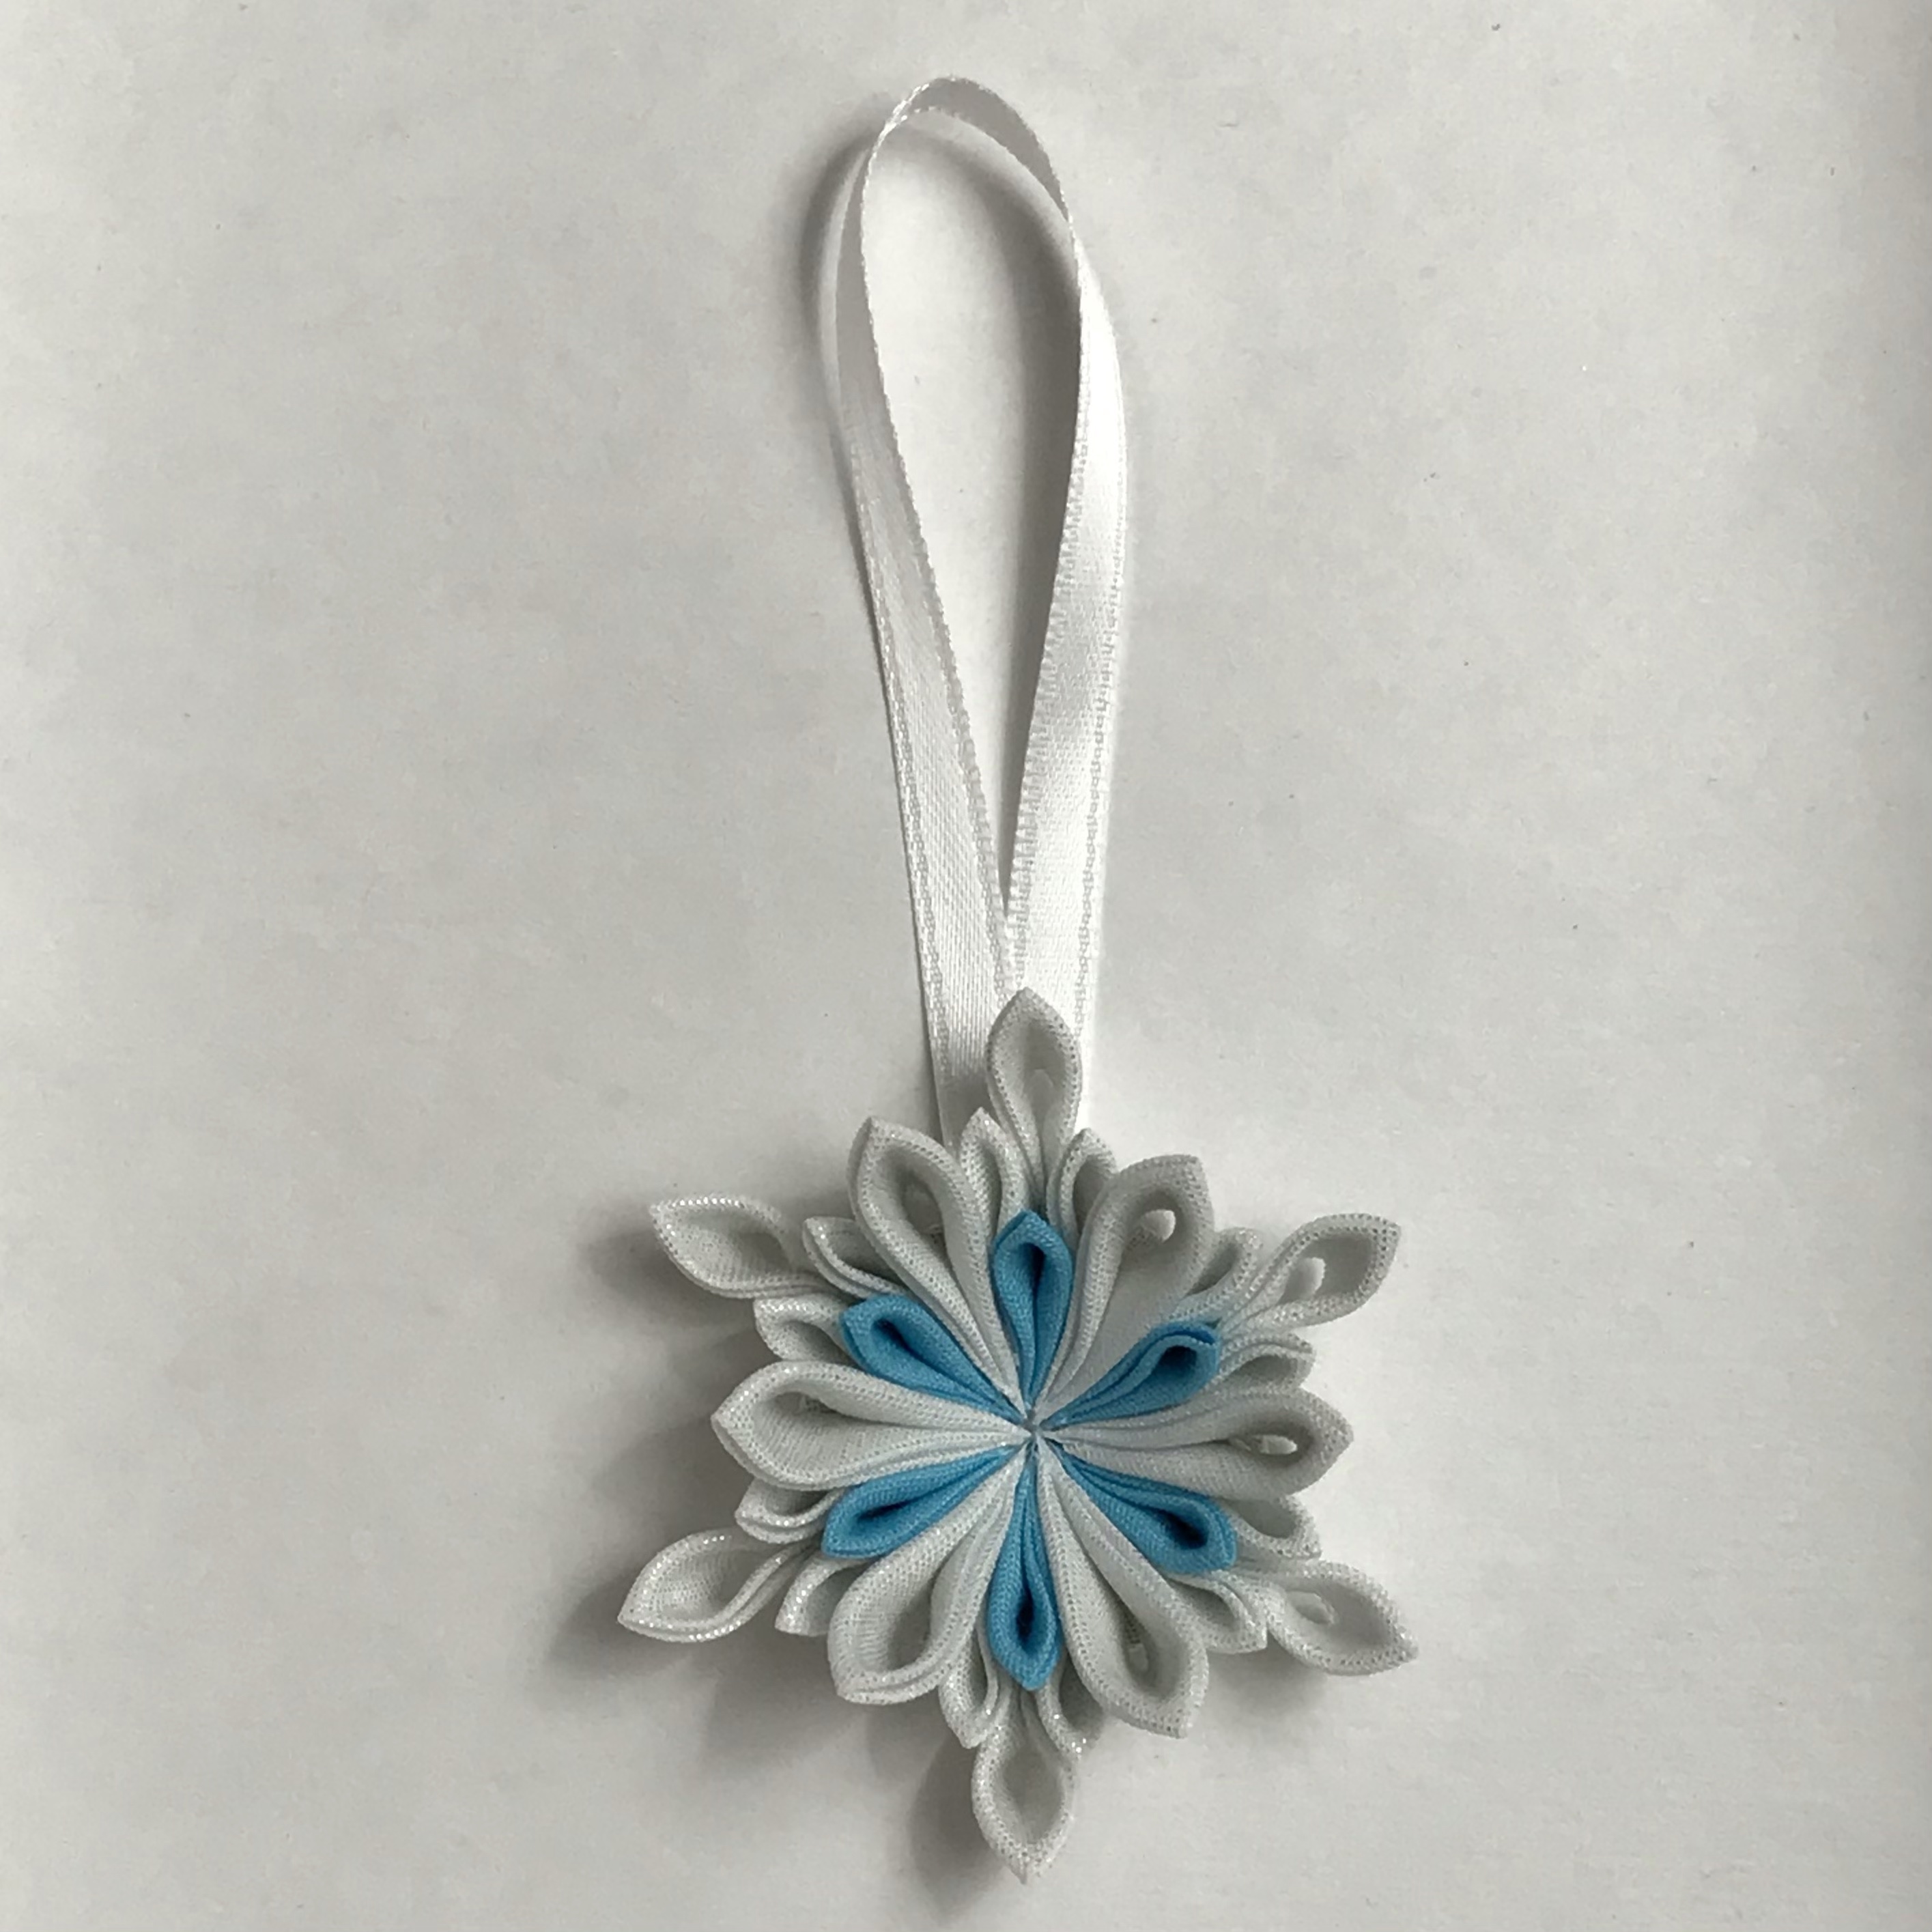
There is a Japanese tradition of making decorations and putting them on bamboo branches for Tanabata. People also write their wishes on colorful rectangle papers and set them on the bamboo along with the decorations. Because Orihime was good at weaving, people usually wish to become skilled at something.

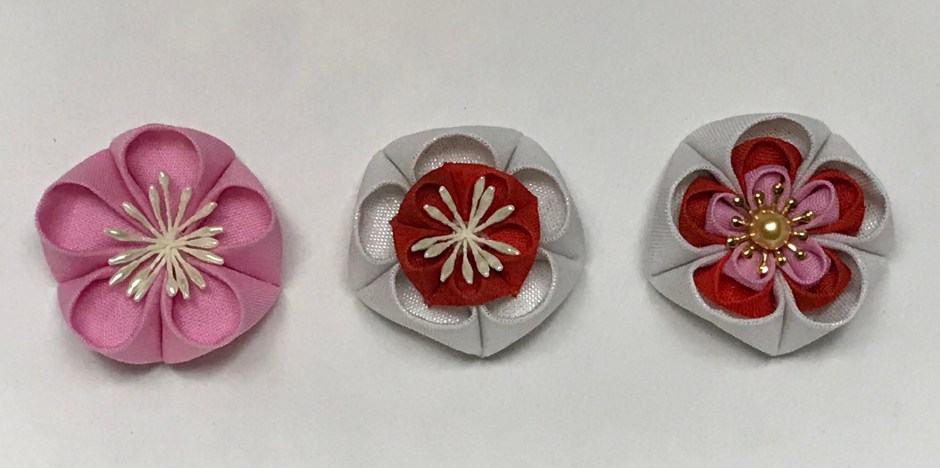
Bamboo is important for Tanabata, so today I would like to share how to make bamboo leaves with Tsumami-zaiku.
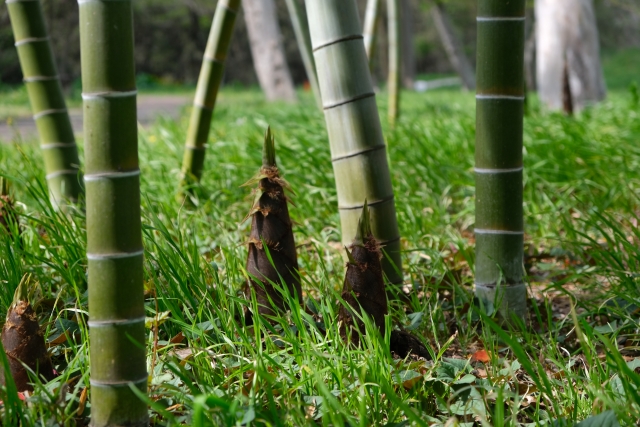
By the way, bamboo is a very important plant for Japanese culture in general, not just on (hopefully) starry holidays. It is a bringer of good luck, along with plum and pine plants. We use it with many things like crafts and tools. Bamboo shoots are also a seasonal food eaten in spring.
How to Make Bamboo Leaves
It is very easy!
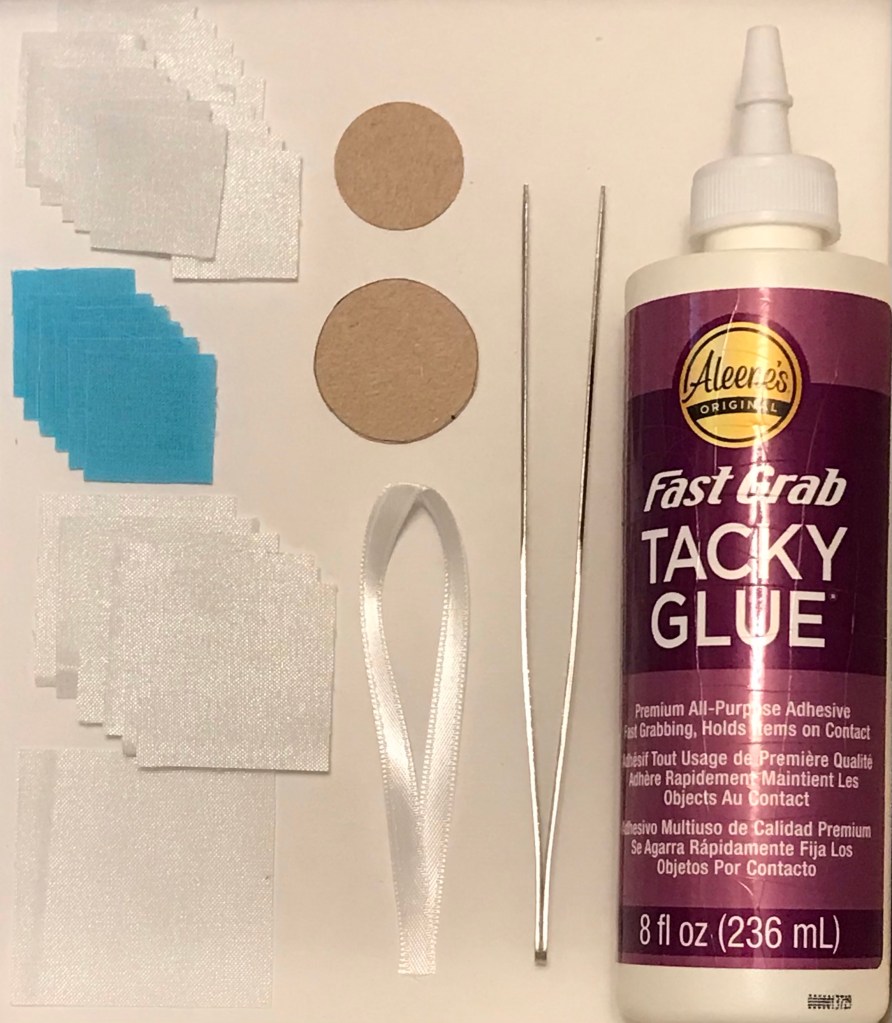
You will need:
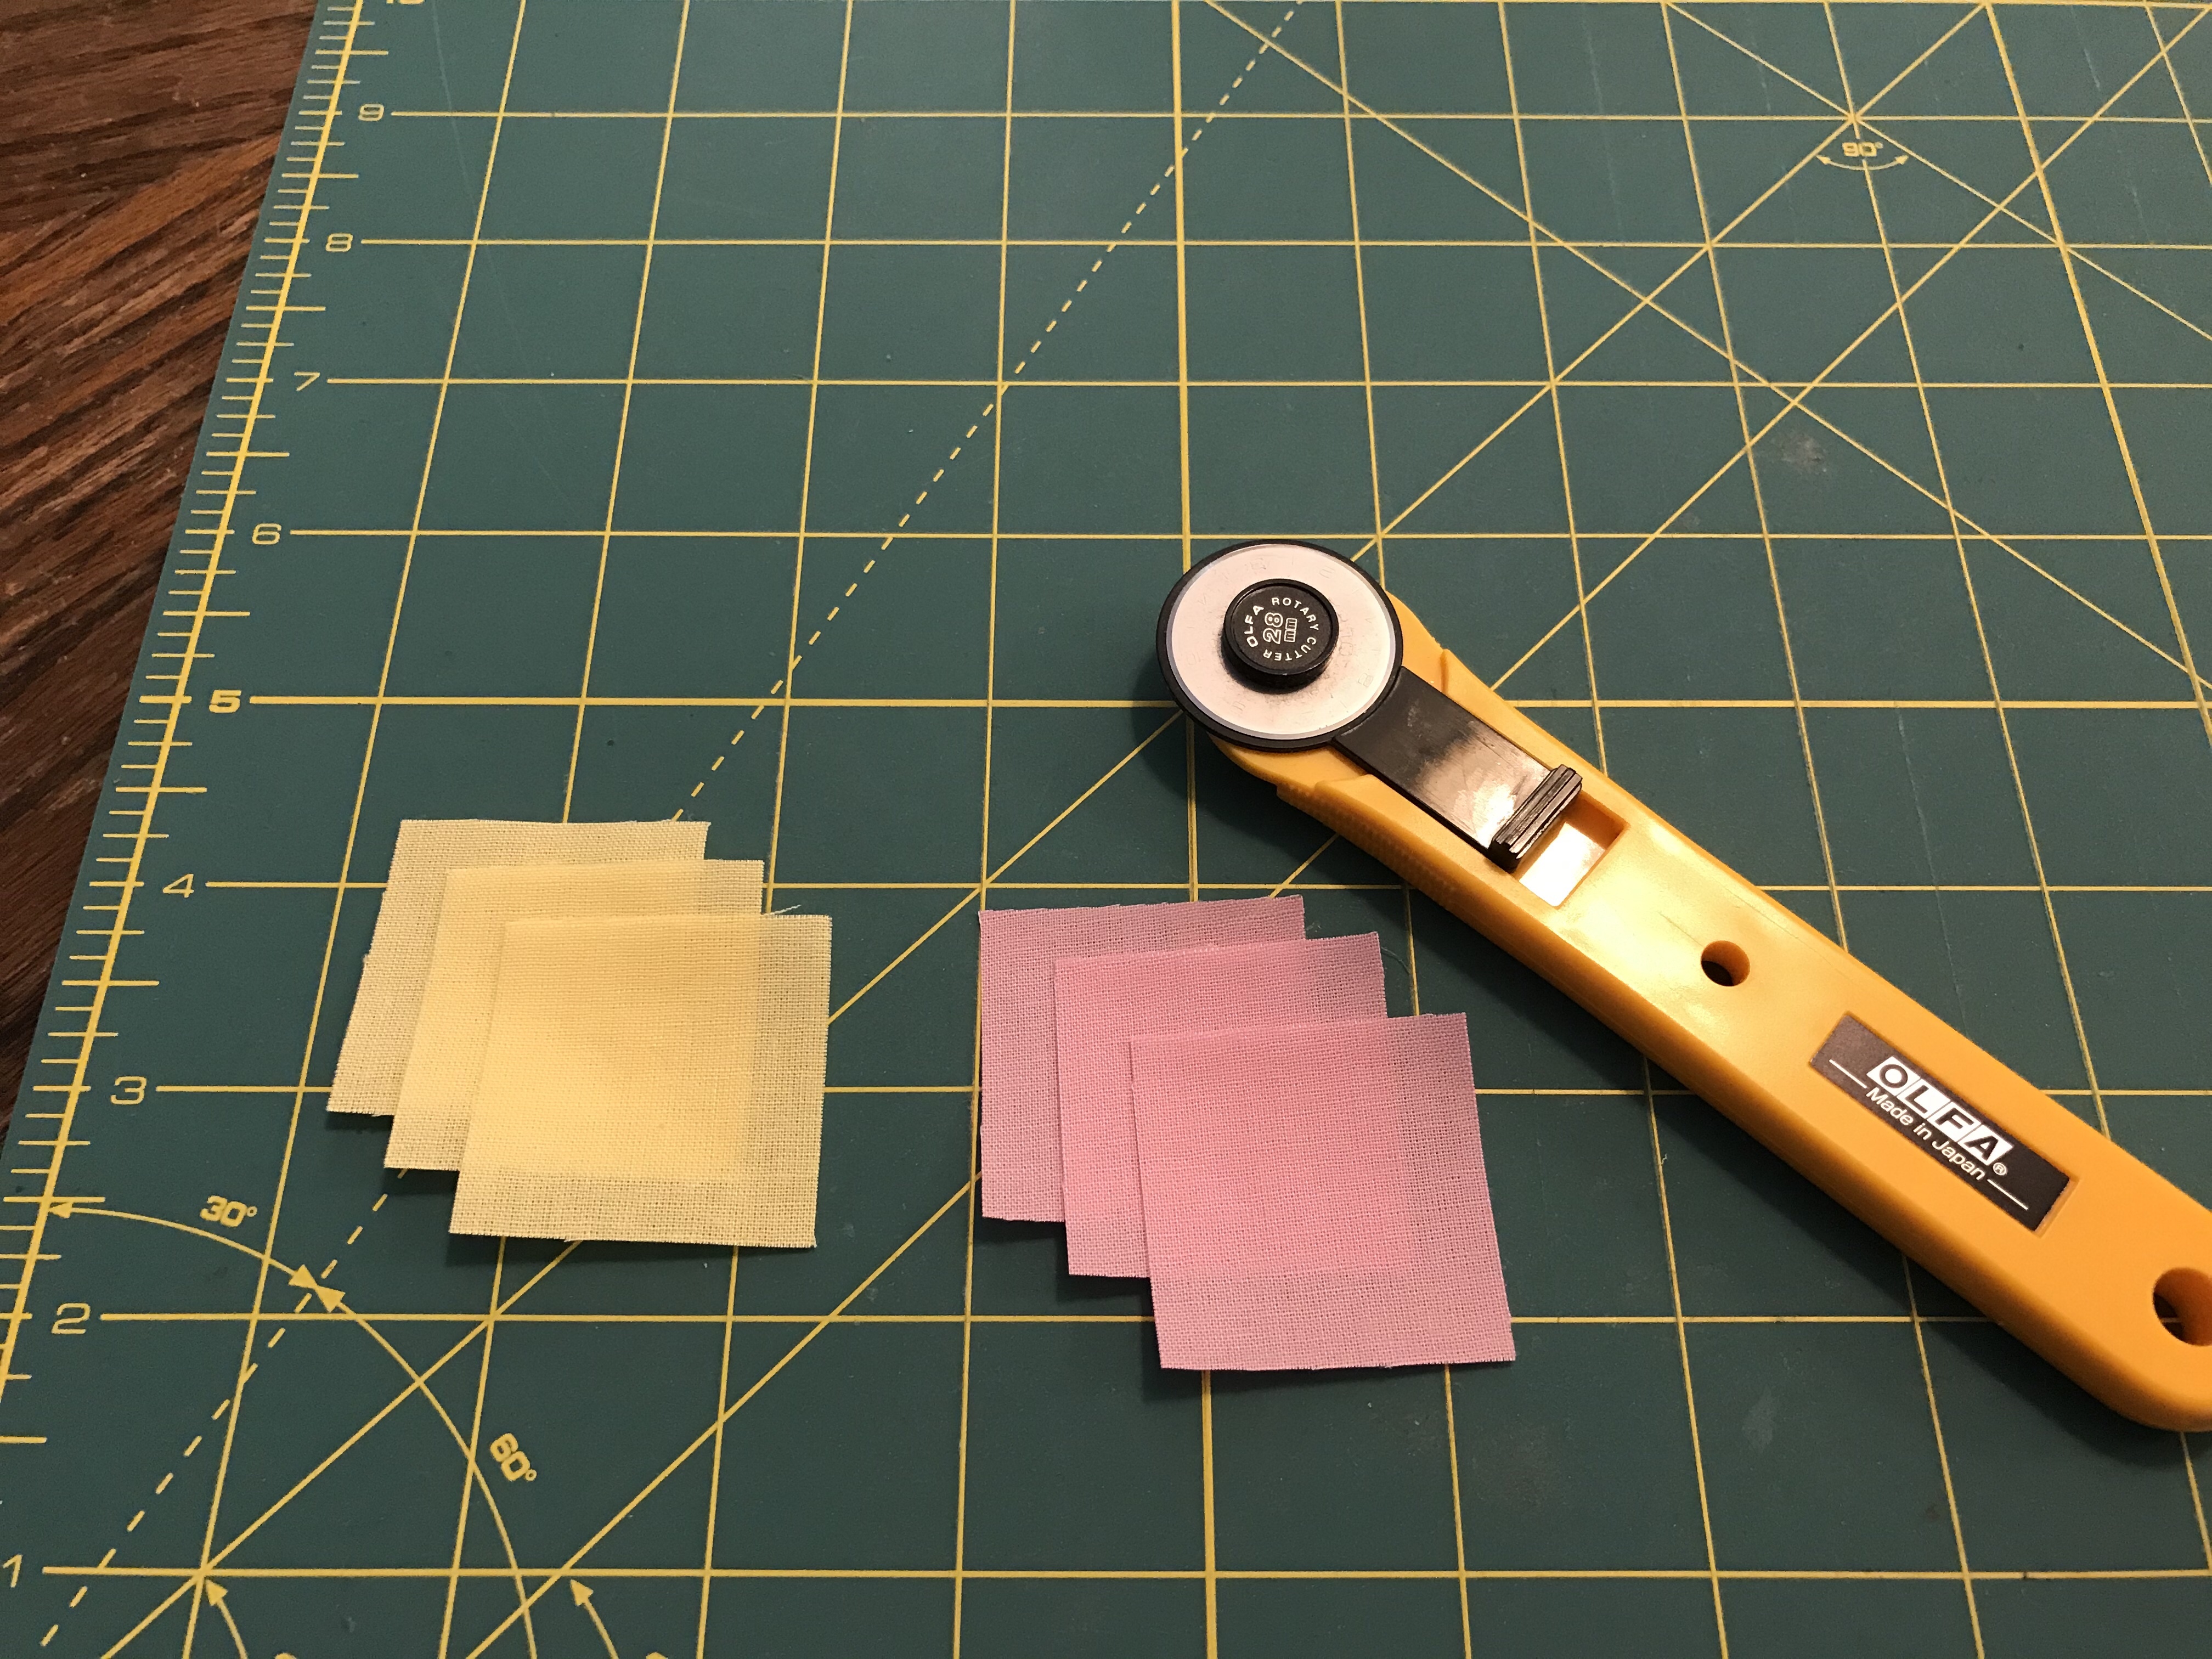
- three 1 inch (2.5cm) square cloth (green)
- one ¾ inch (1.9 cm) round paper disc (thick paper is better)
- glue
- tweezers (You don’t need tweezers, but it’s much easier with them)
- wet paper towels for cleaning your fingers
How to make:
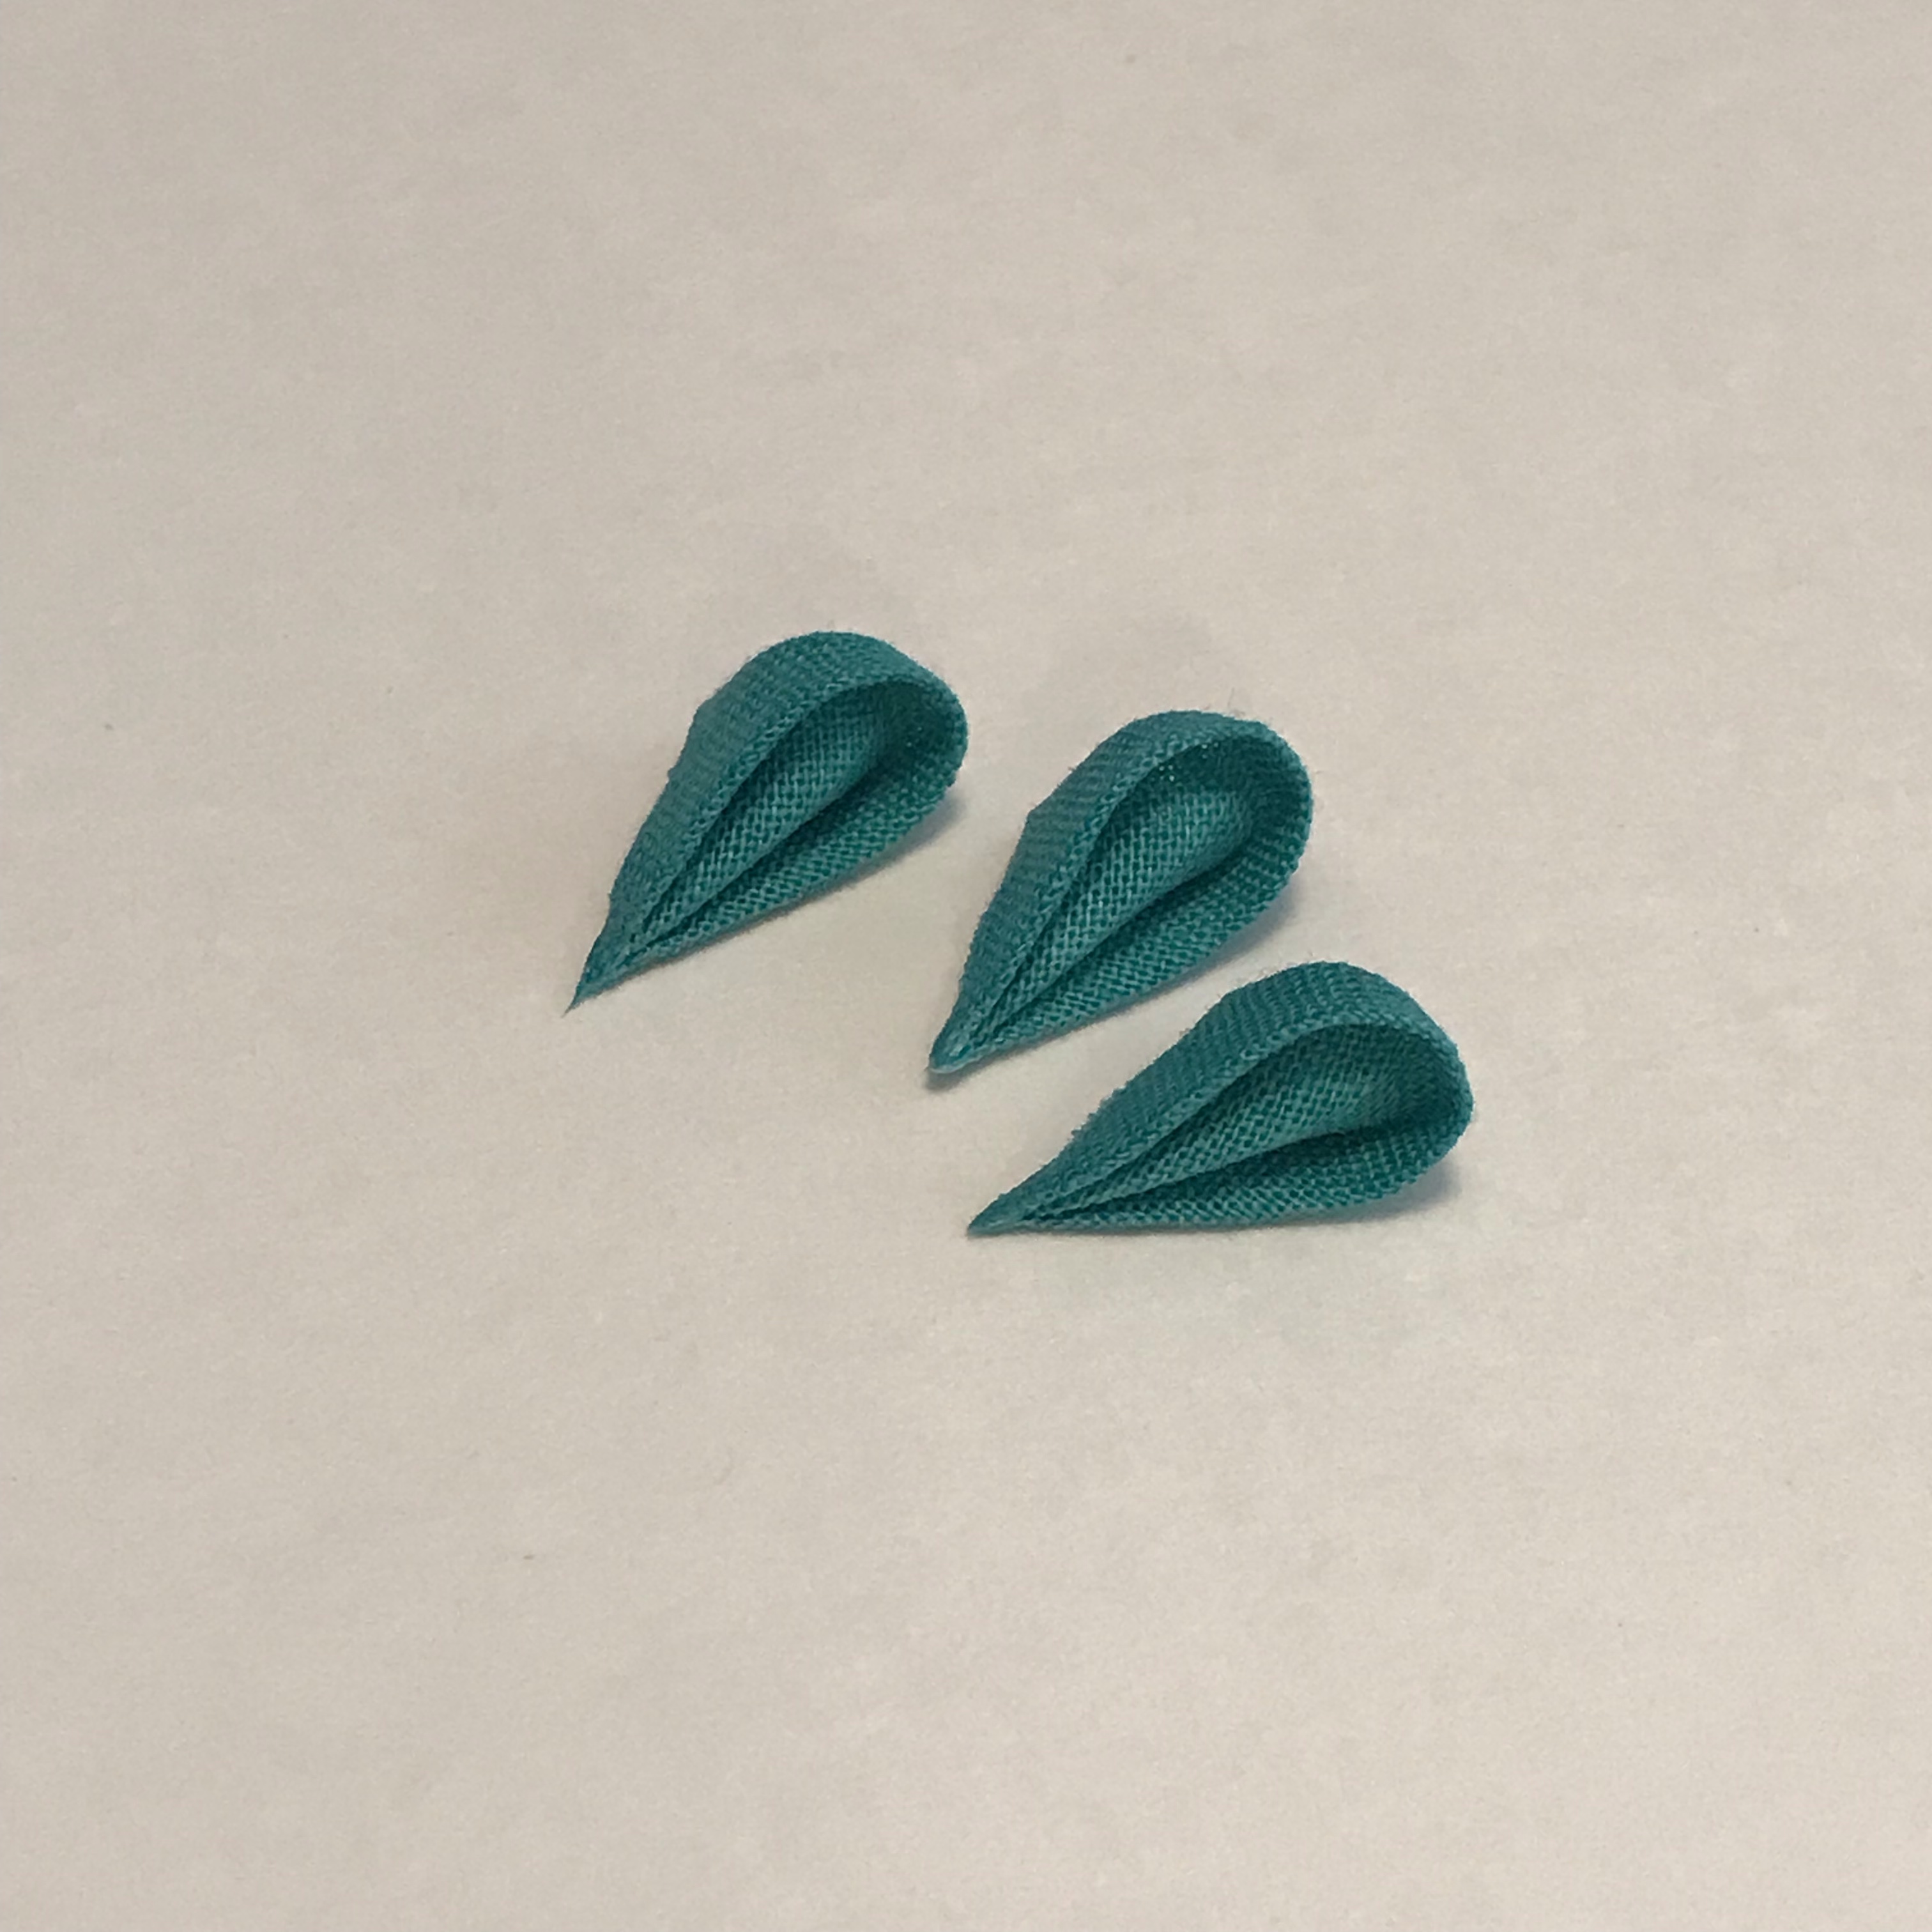
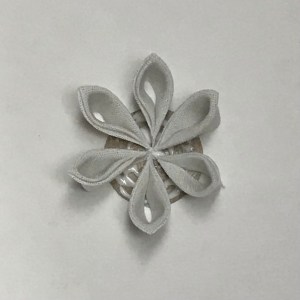
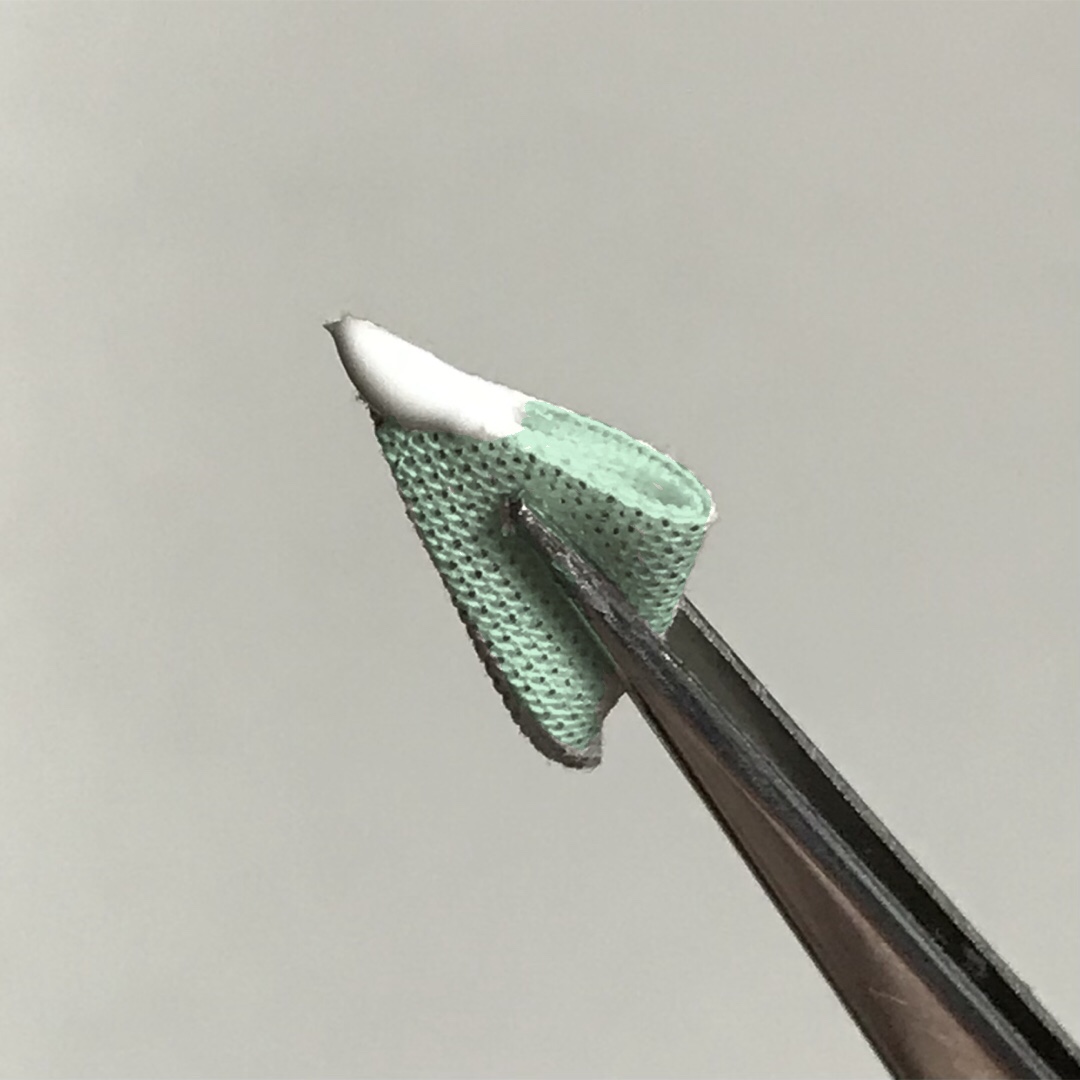
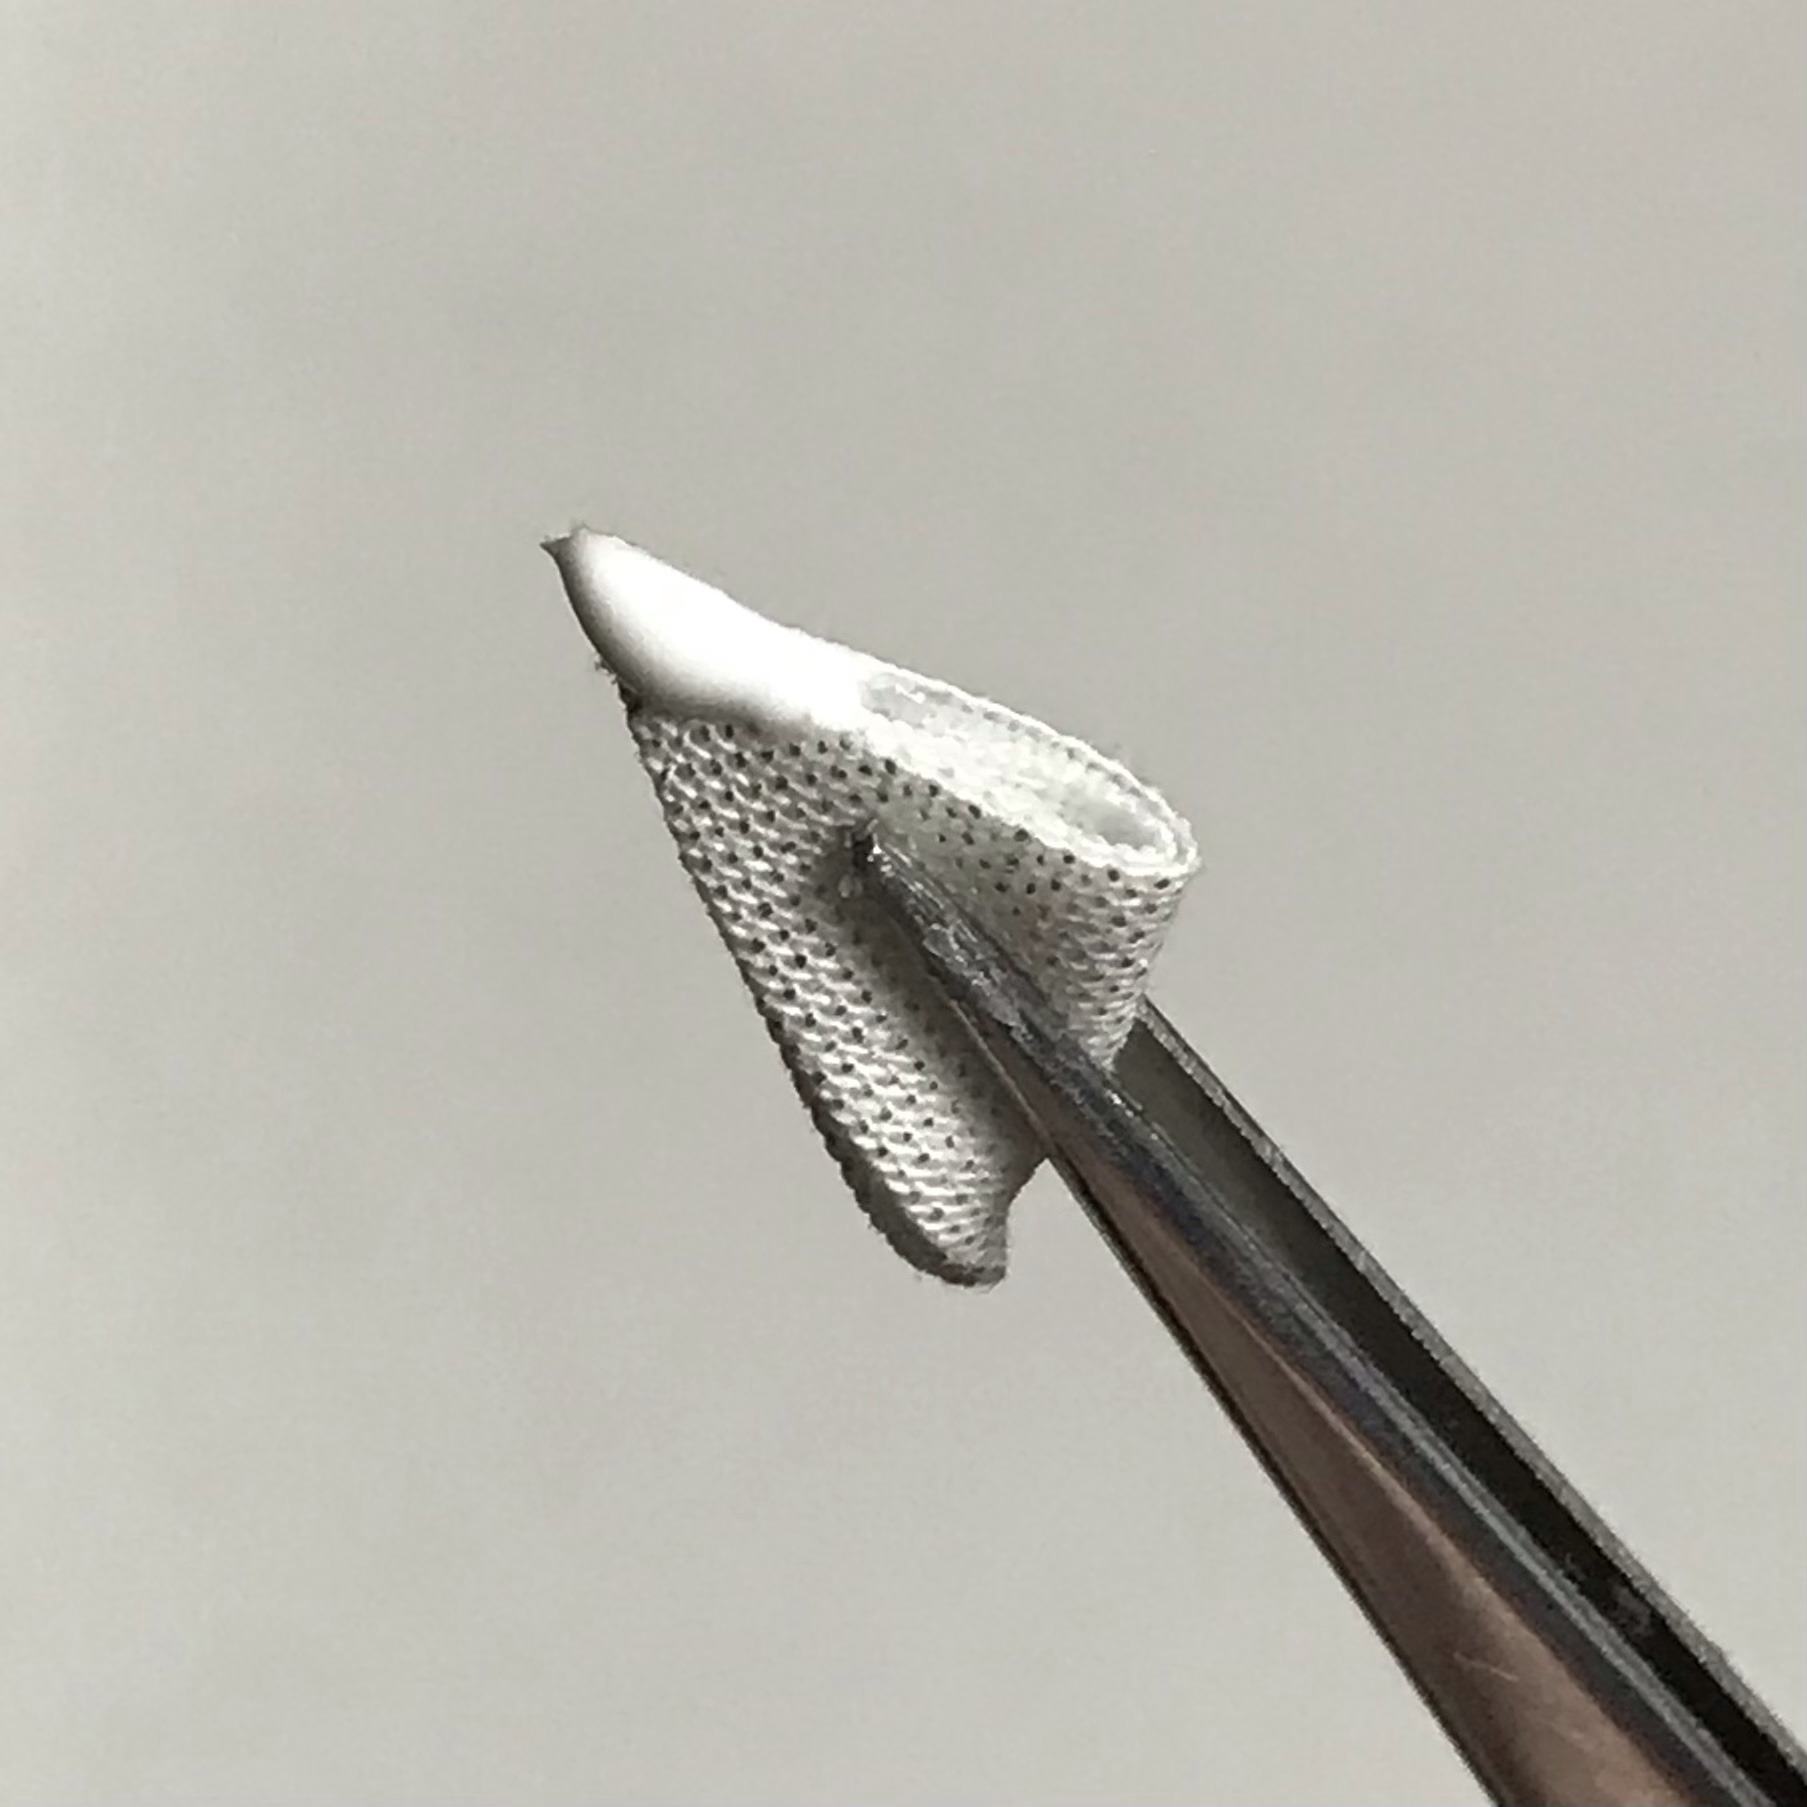
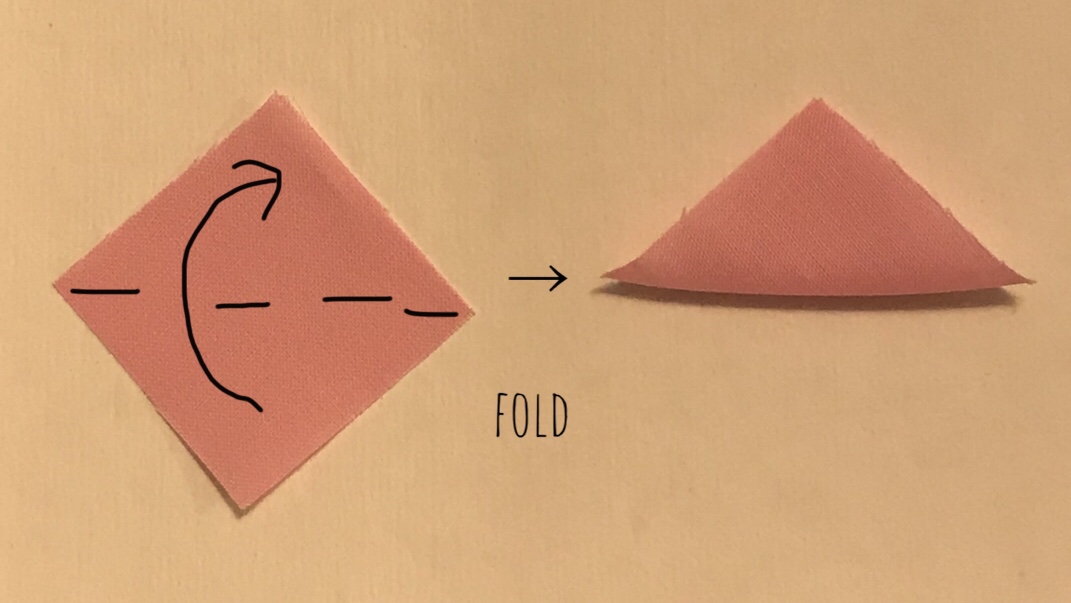
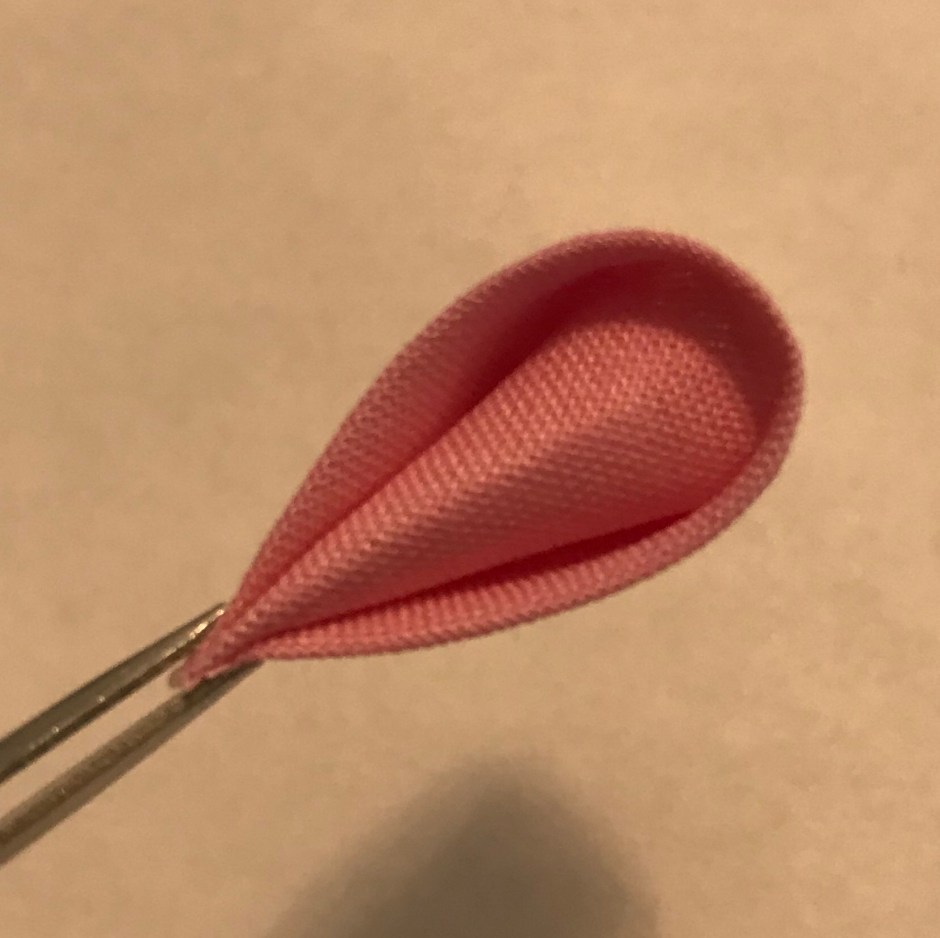
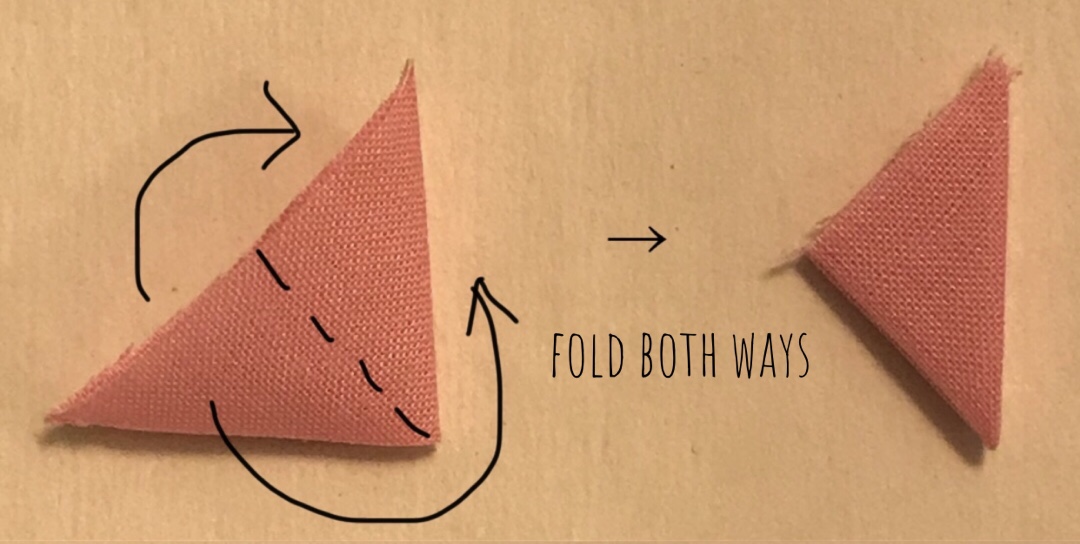
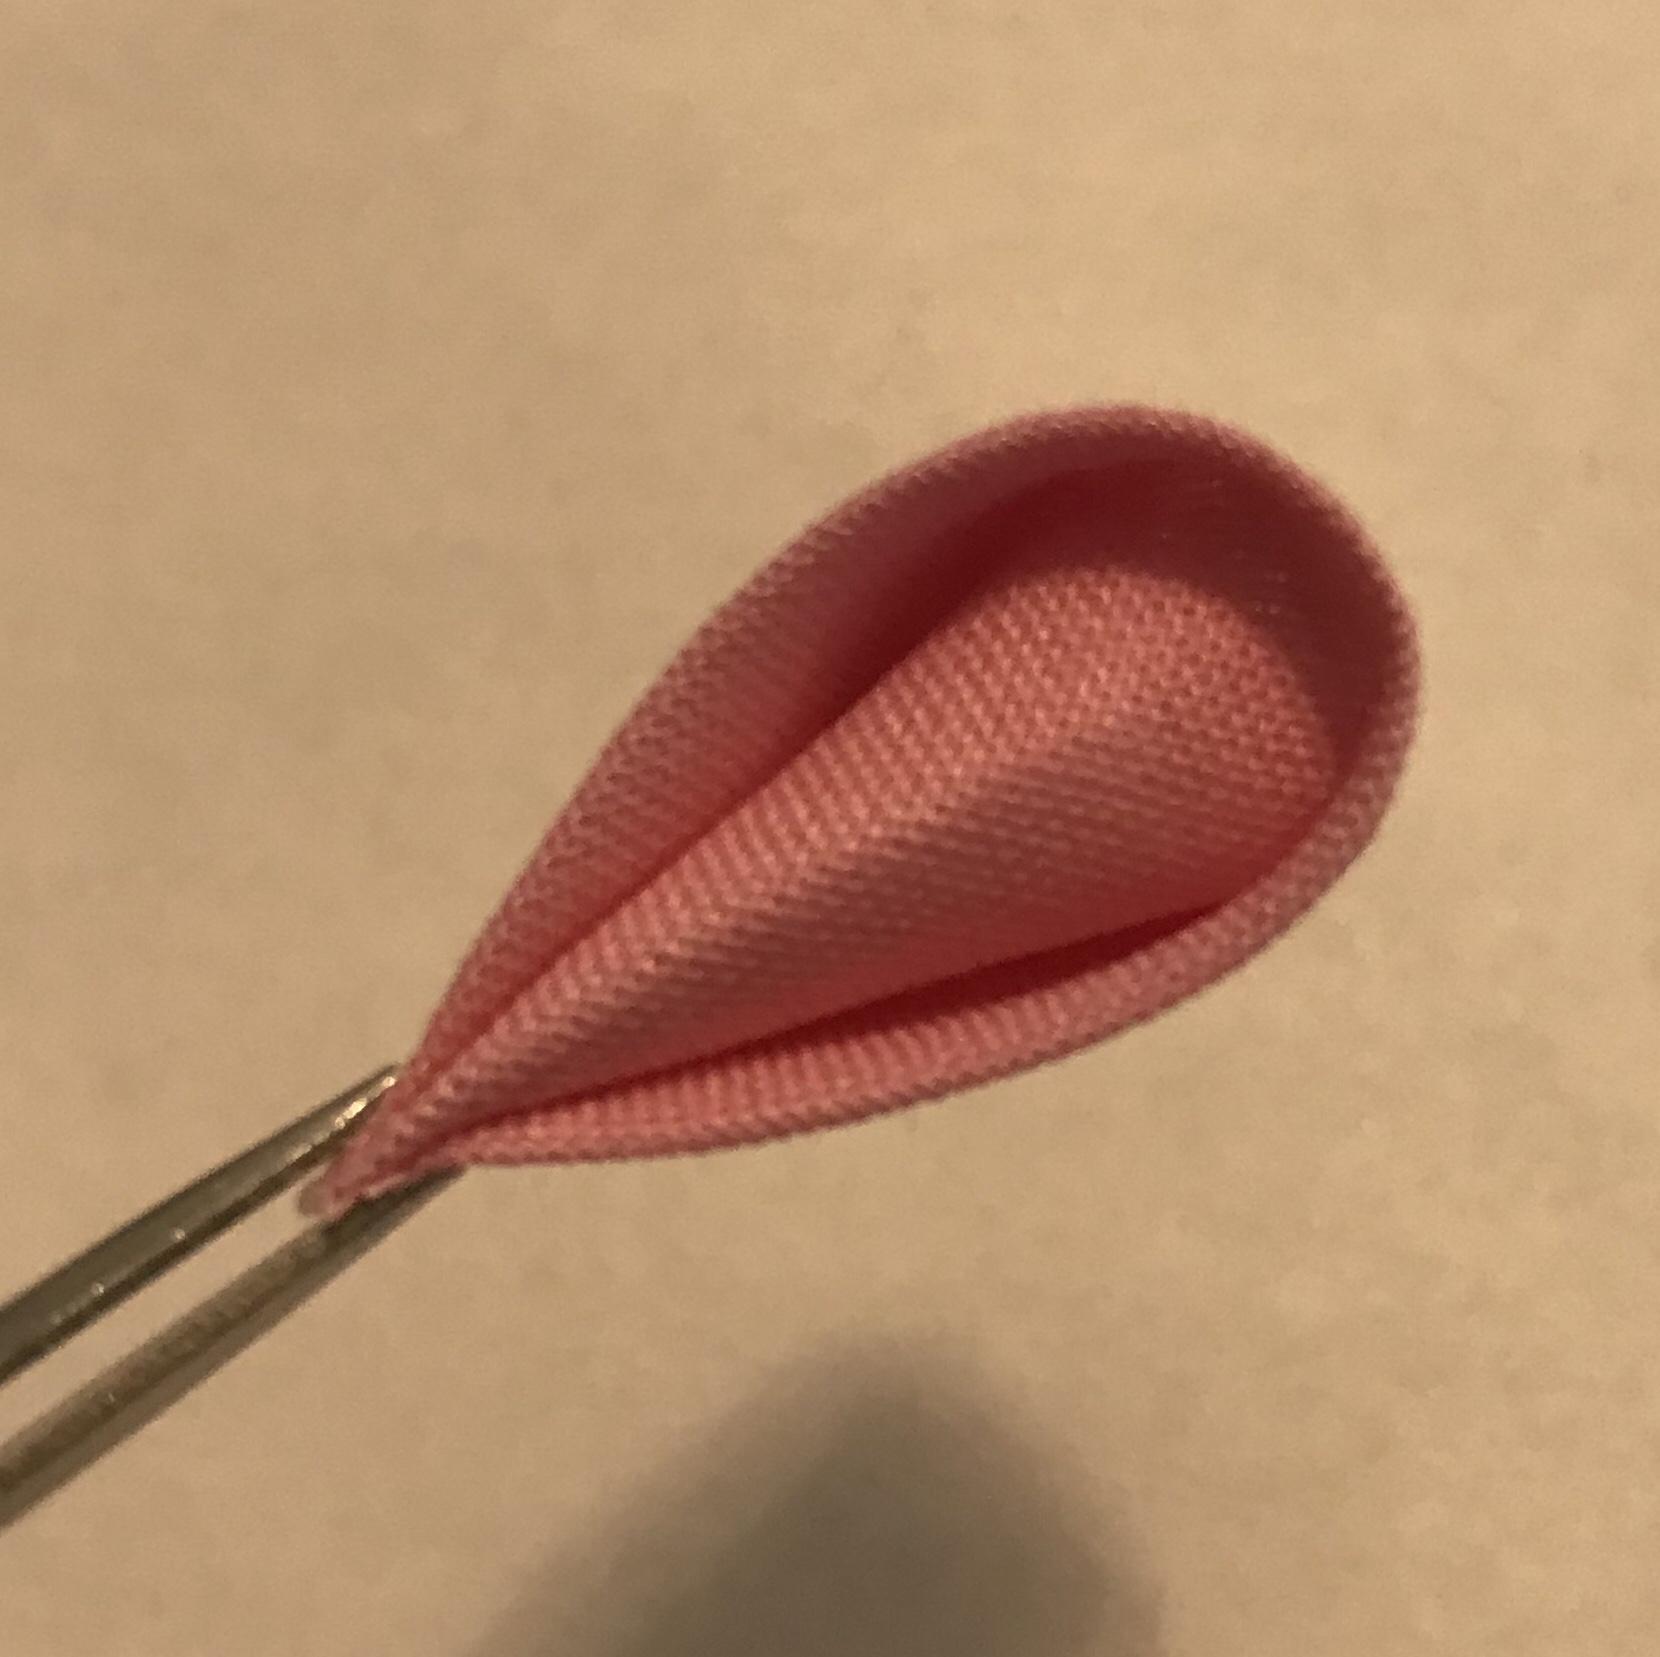
1.Make three leaves from the green 1 inch square cloths with Maru-tsumami. (“How to make Maru-tsumami” link here.)
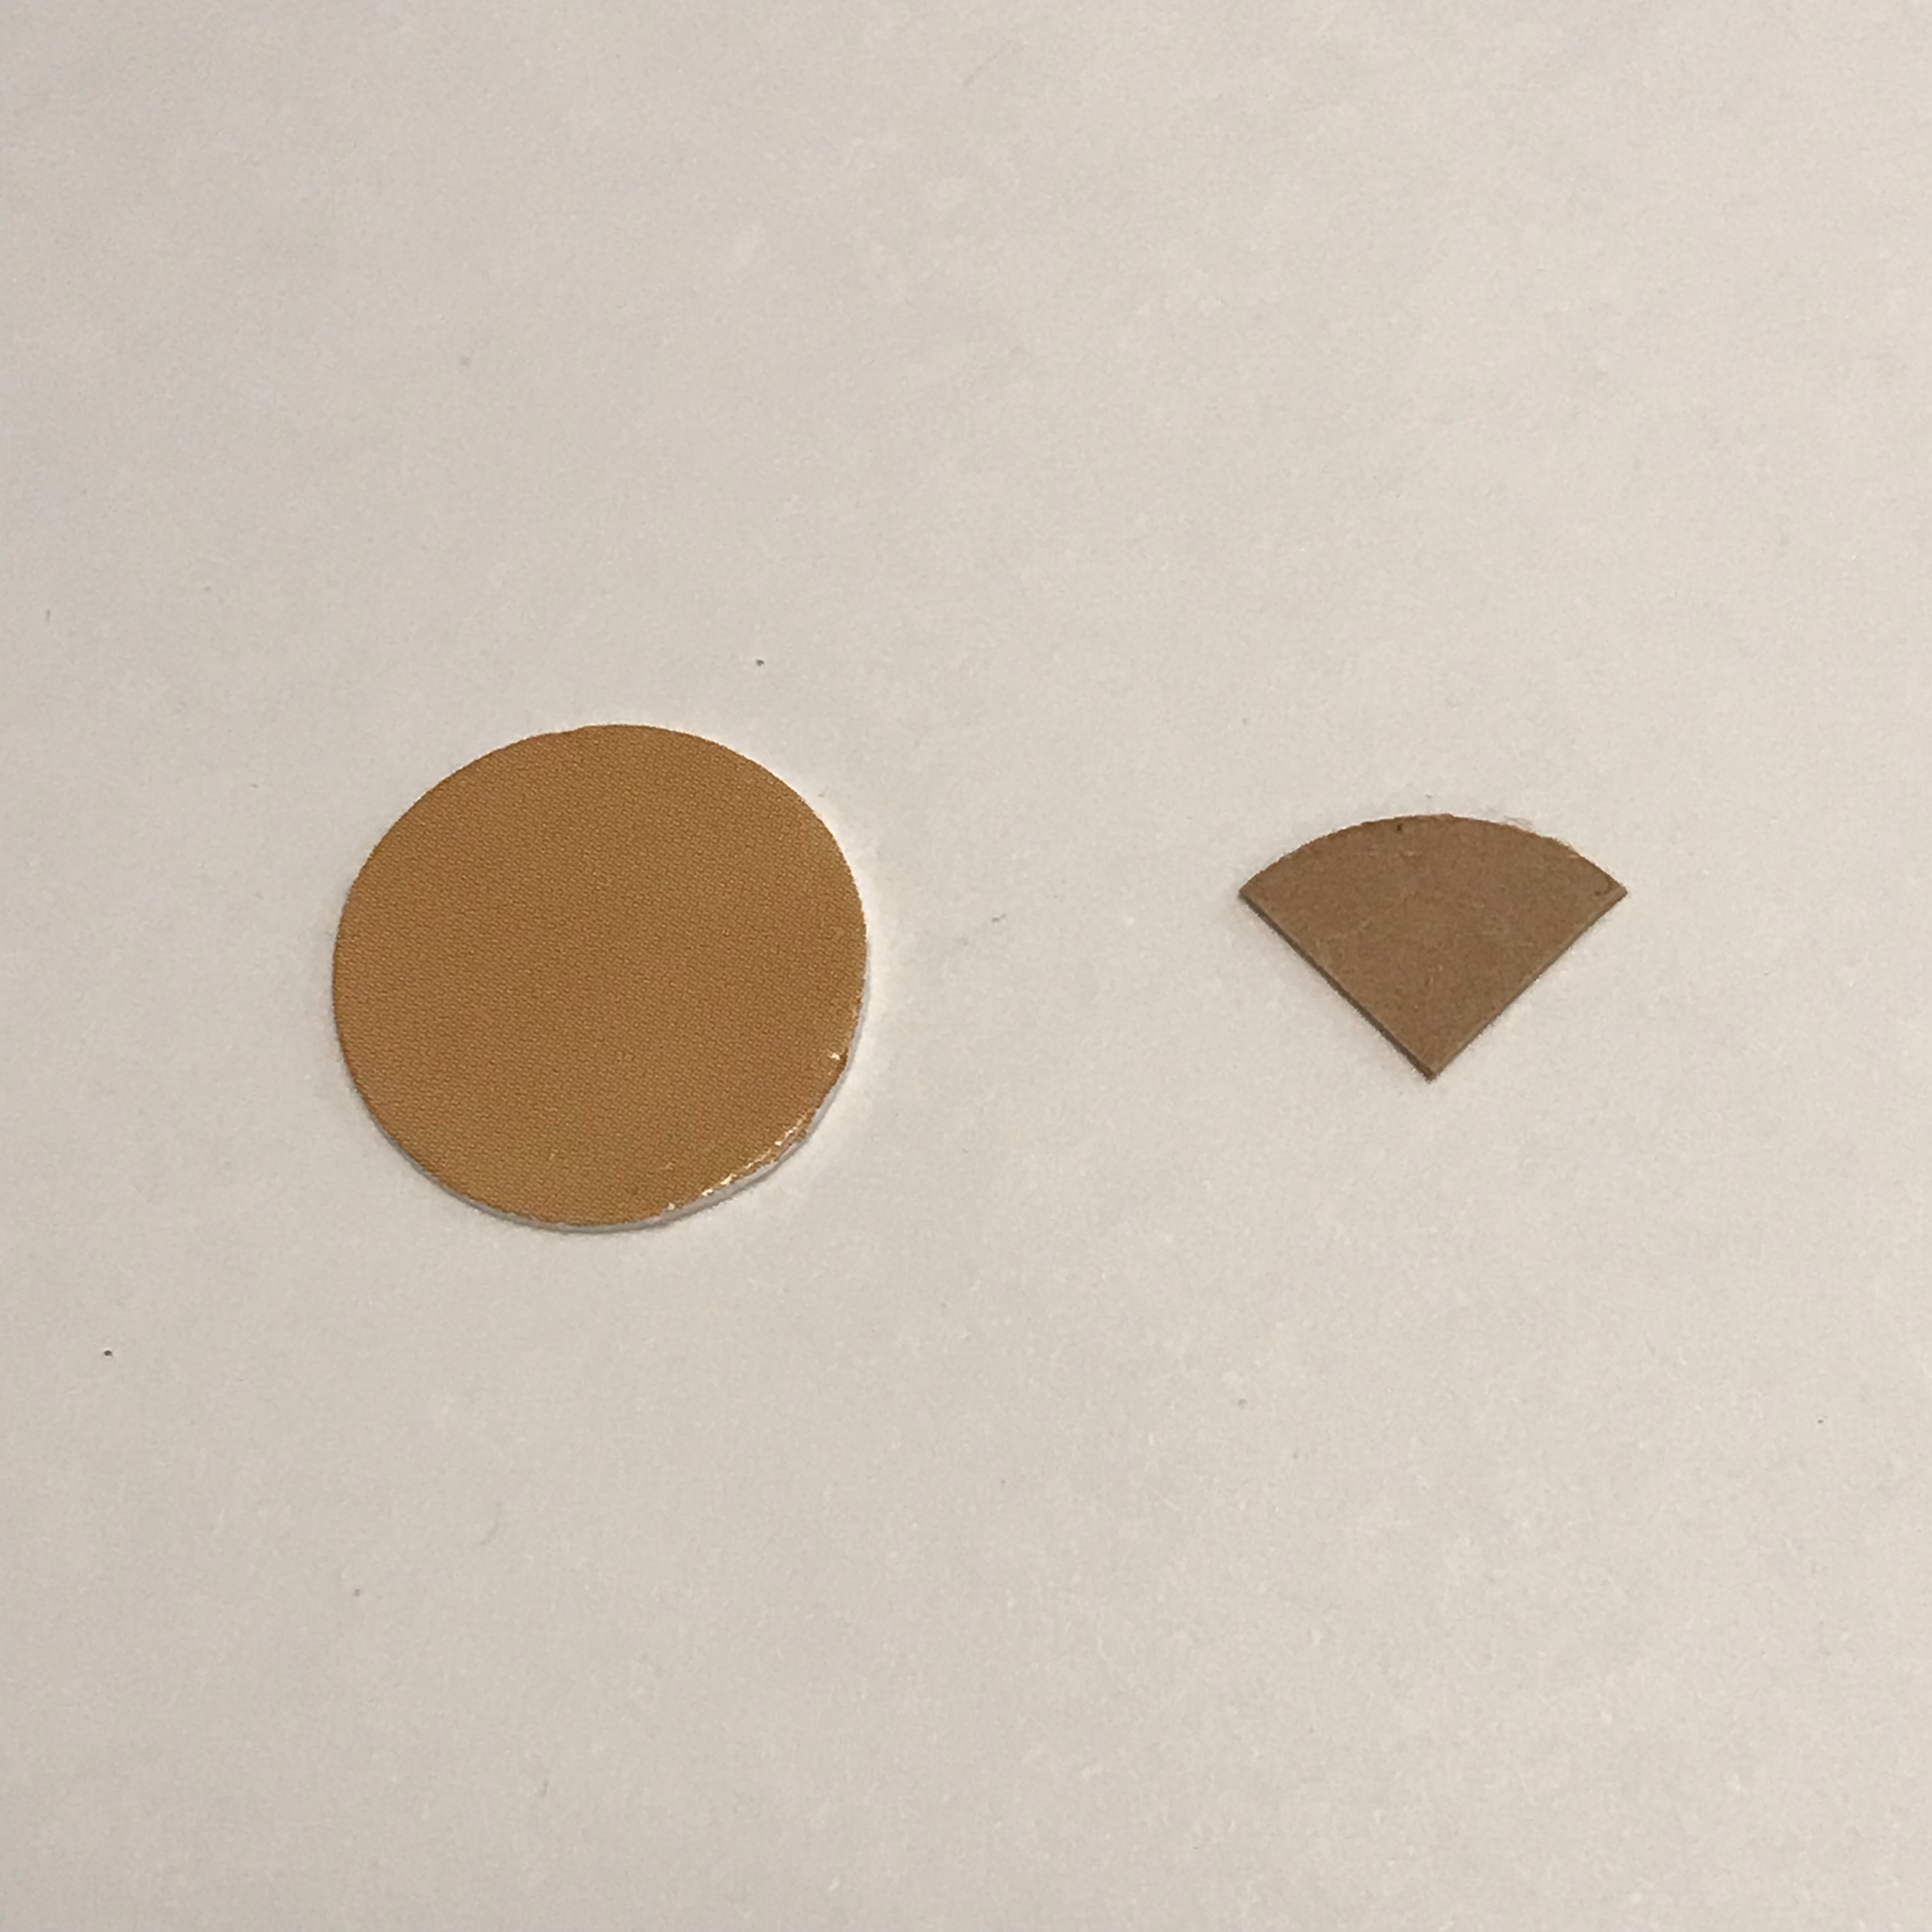
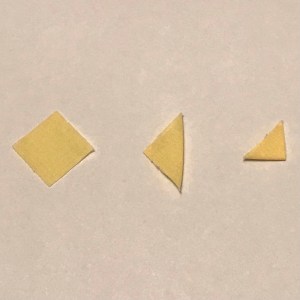
2. Cut the round paper disc into quarters.

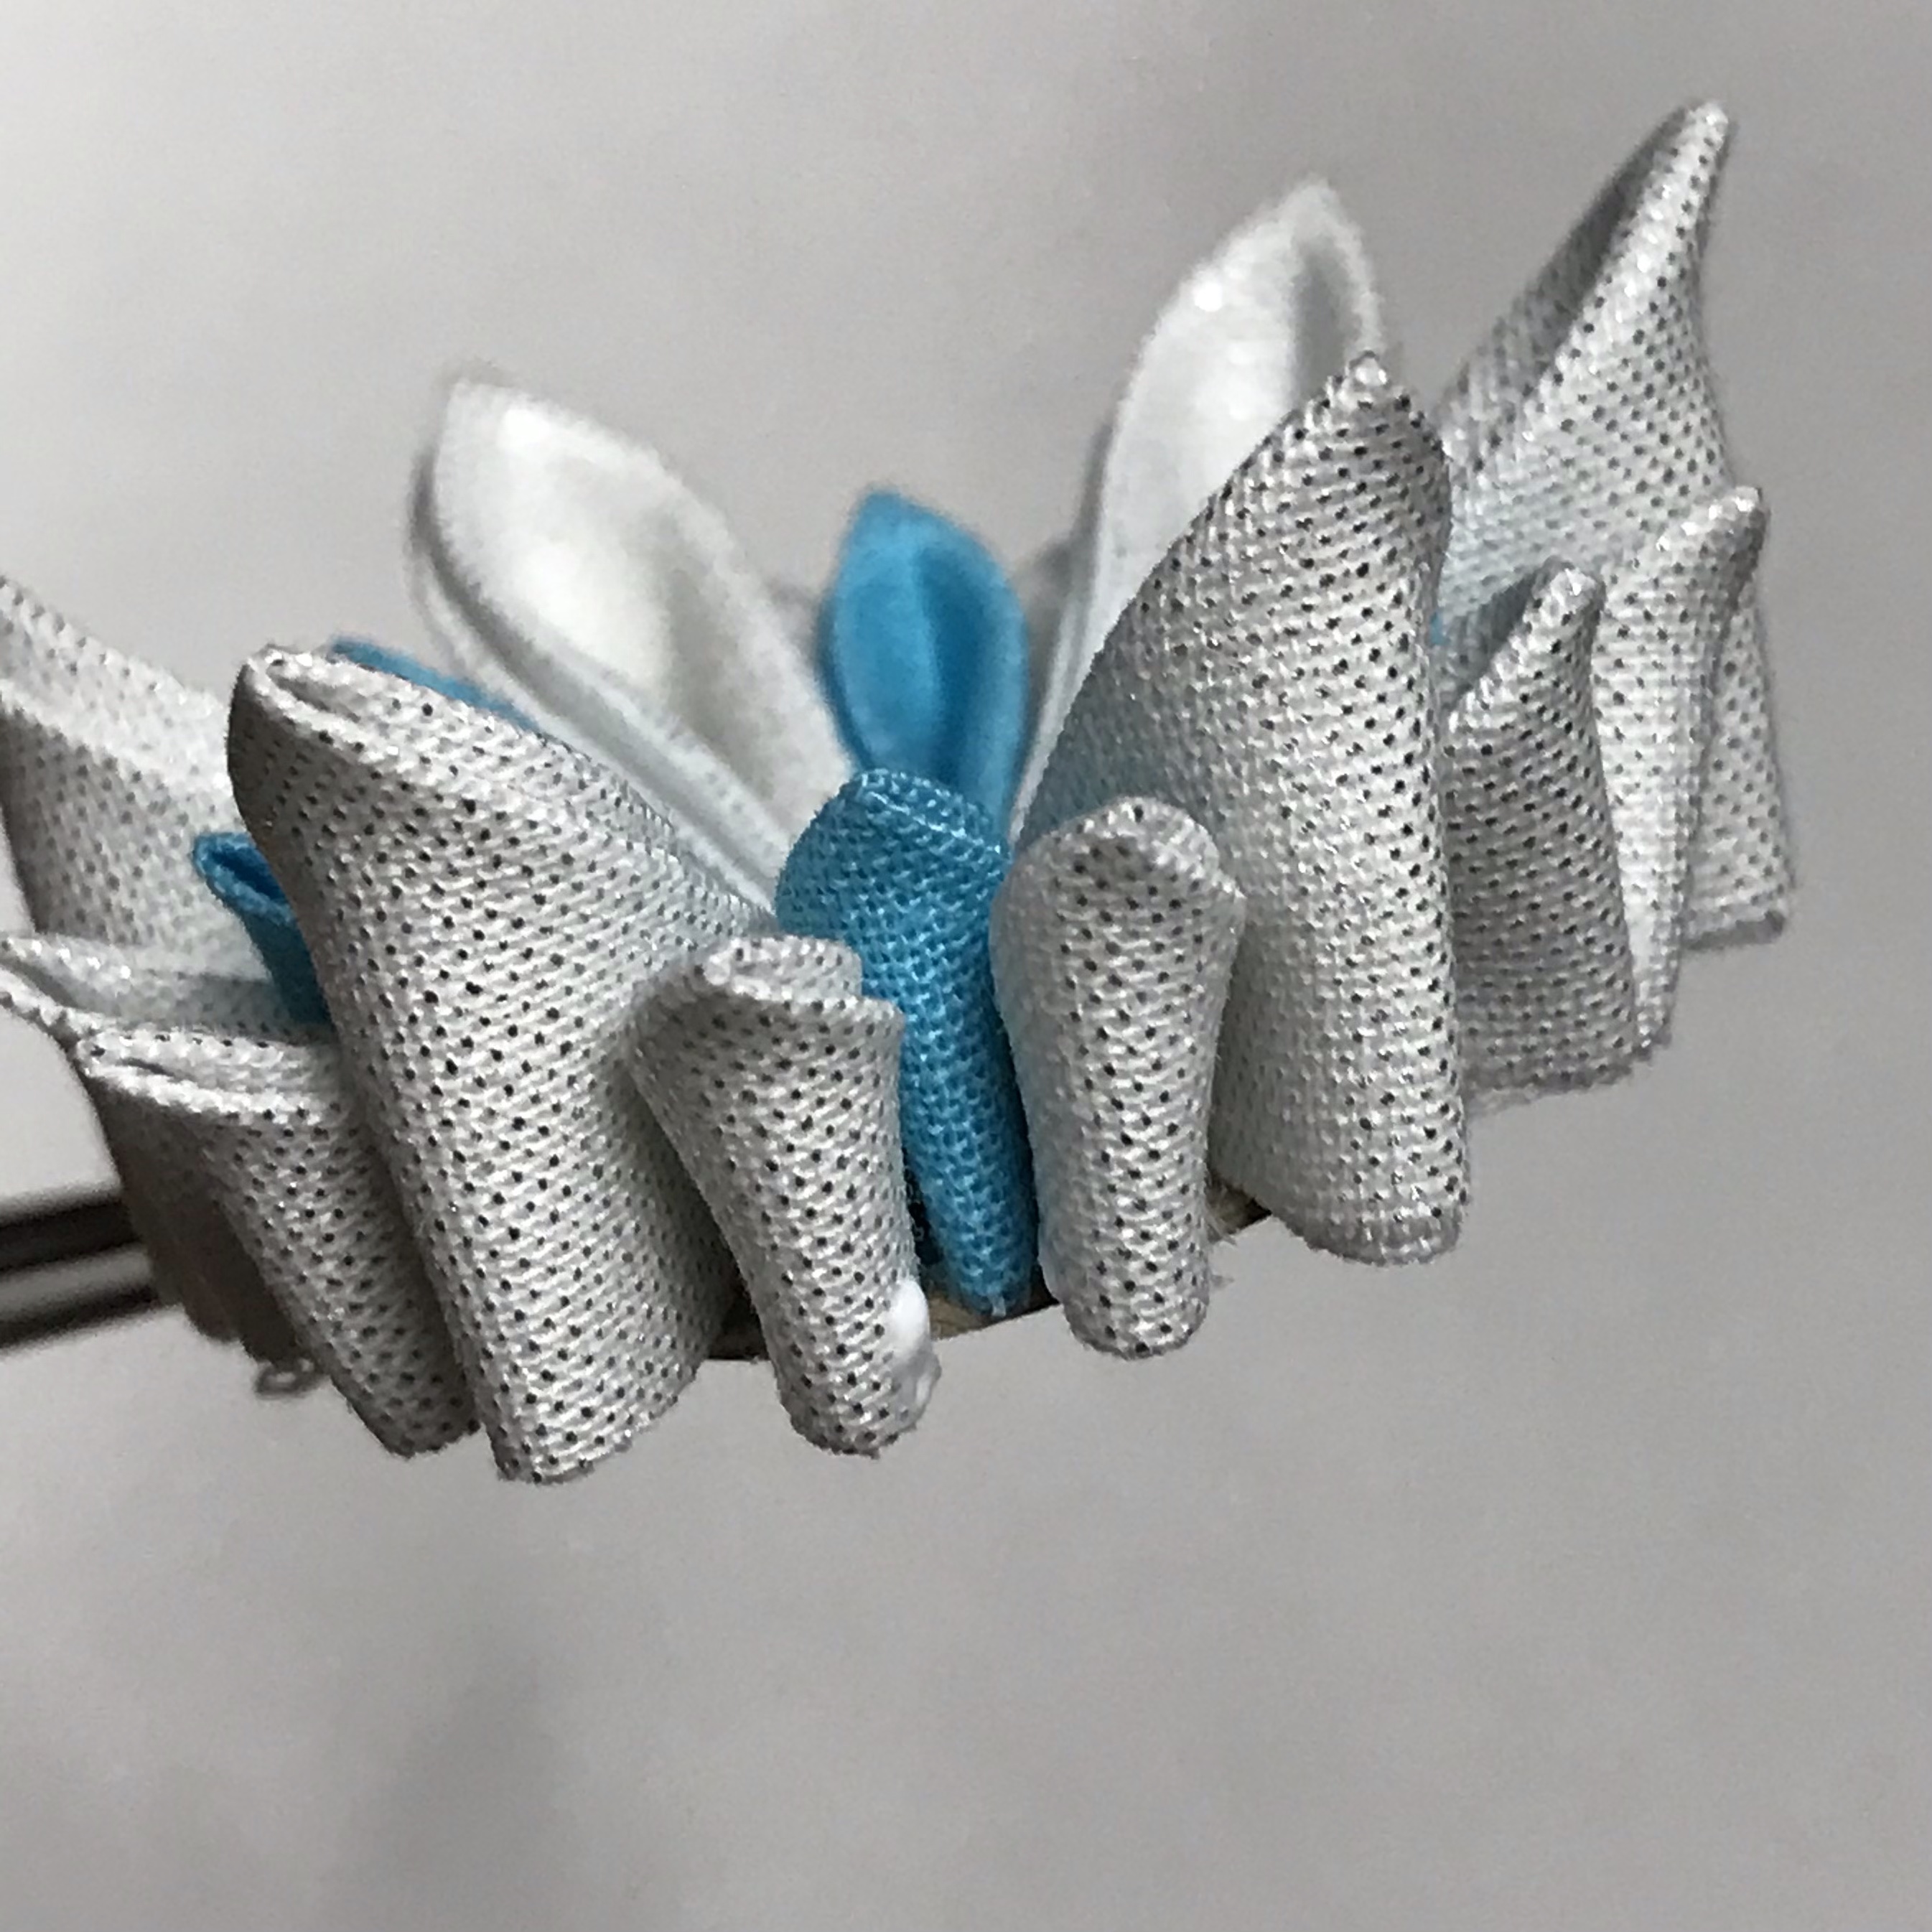
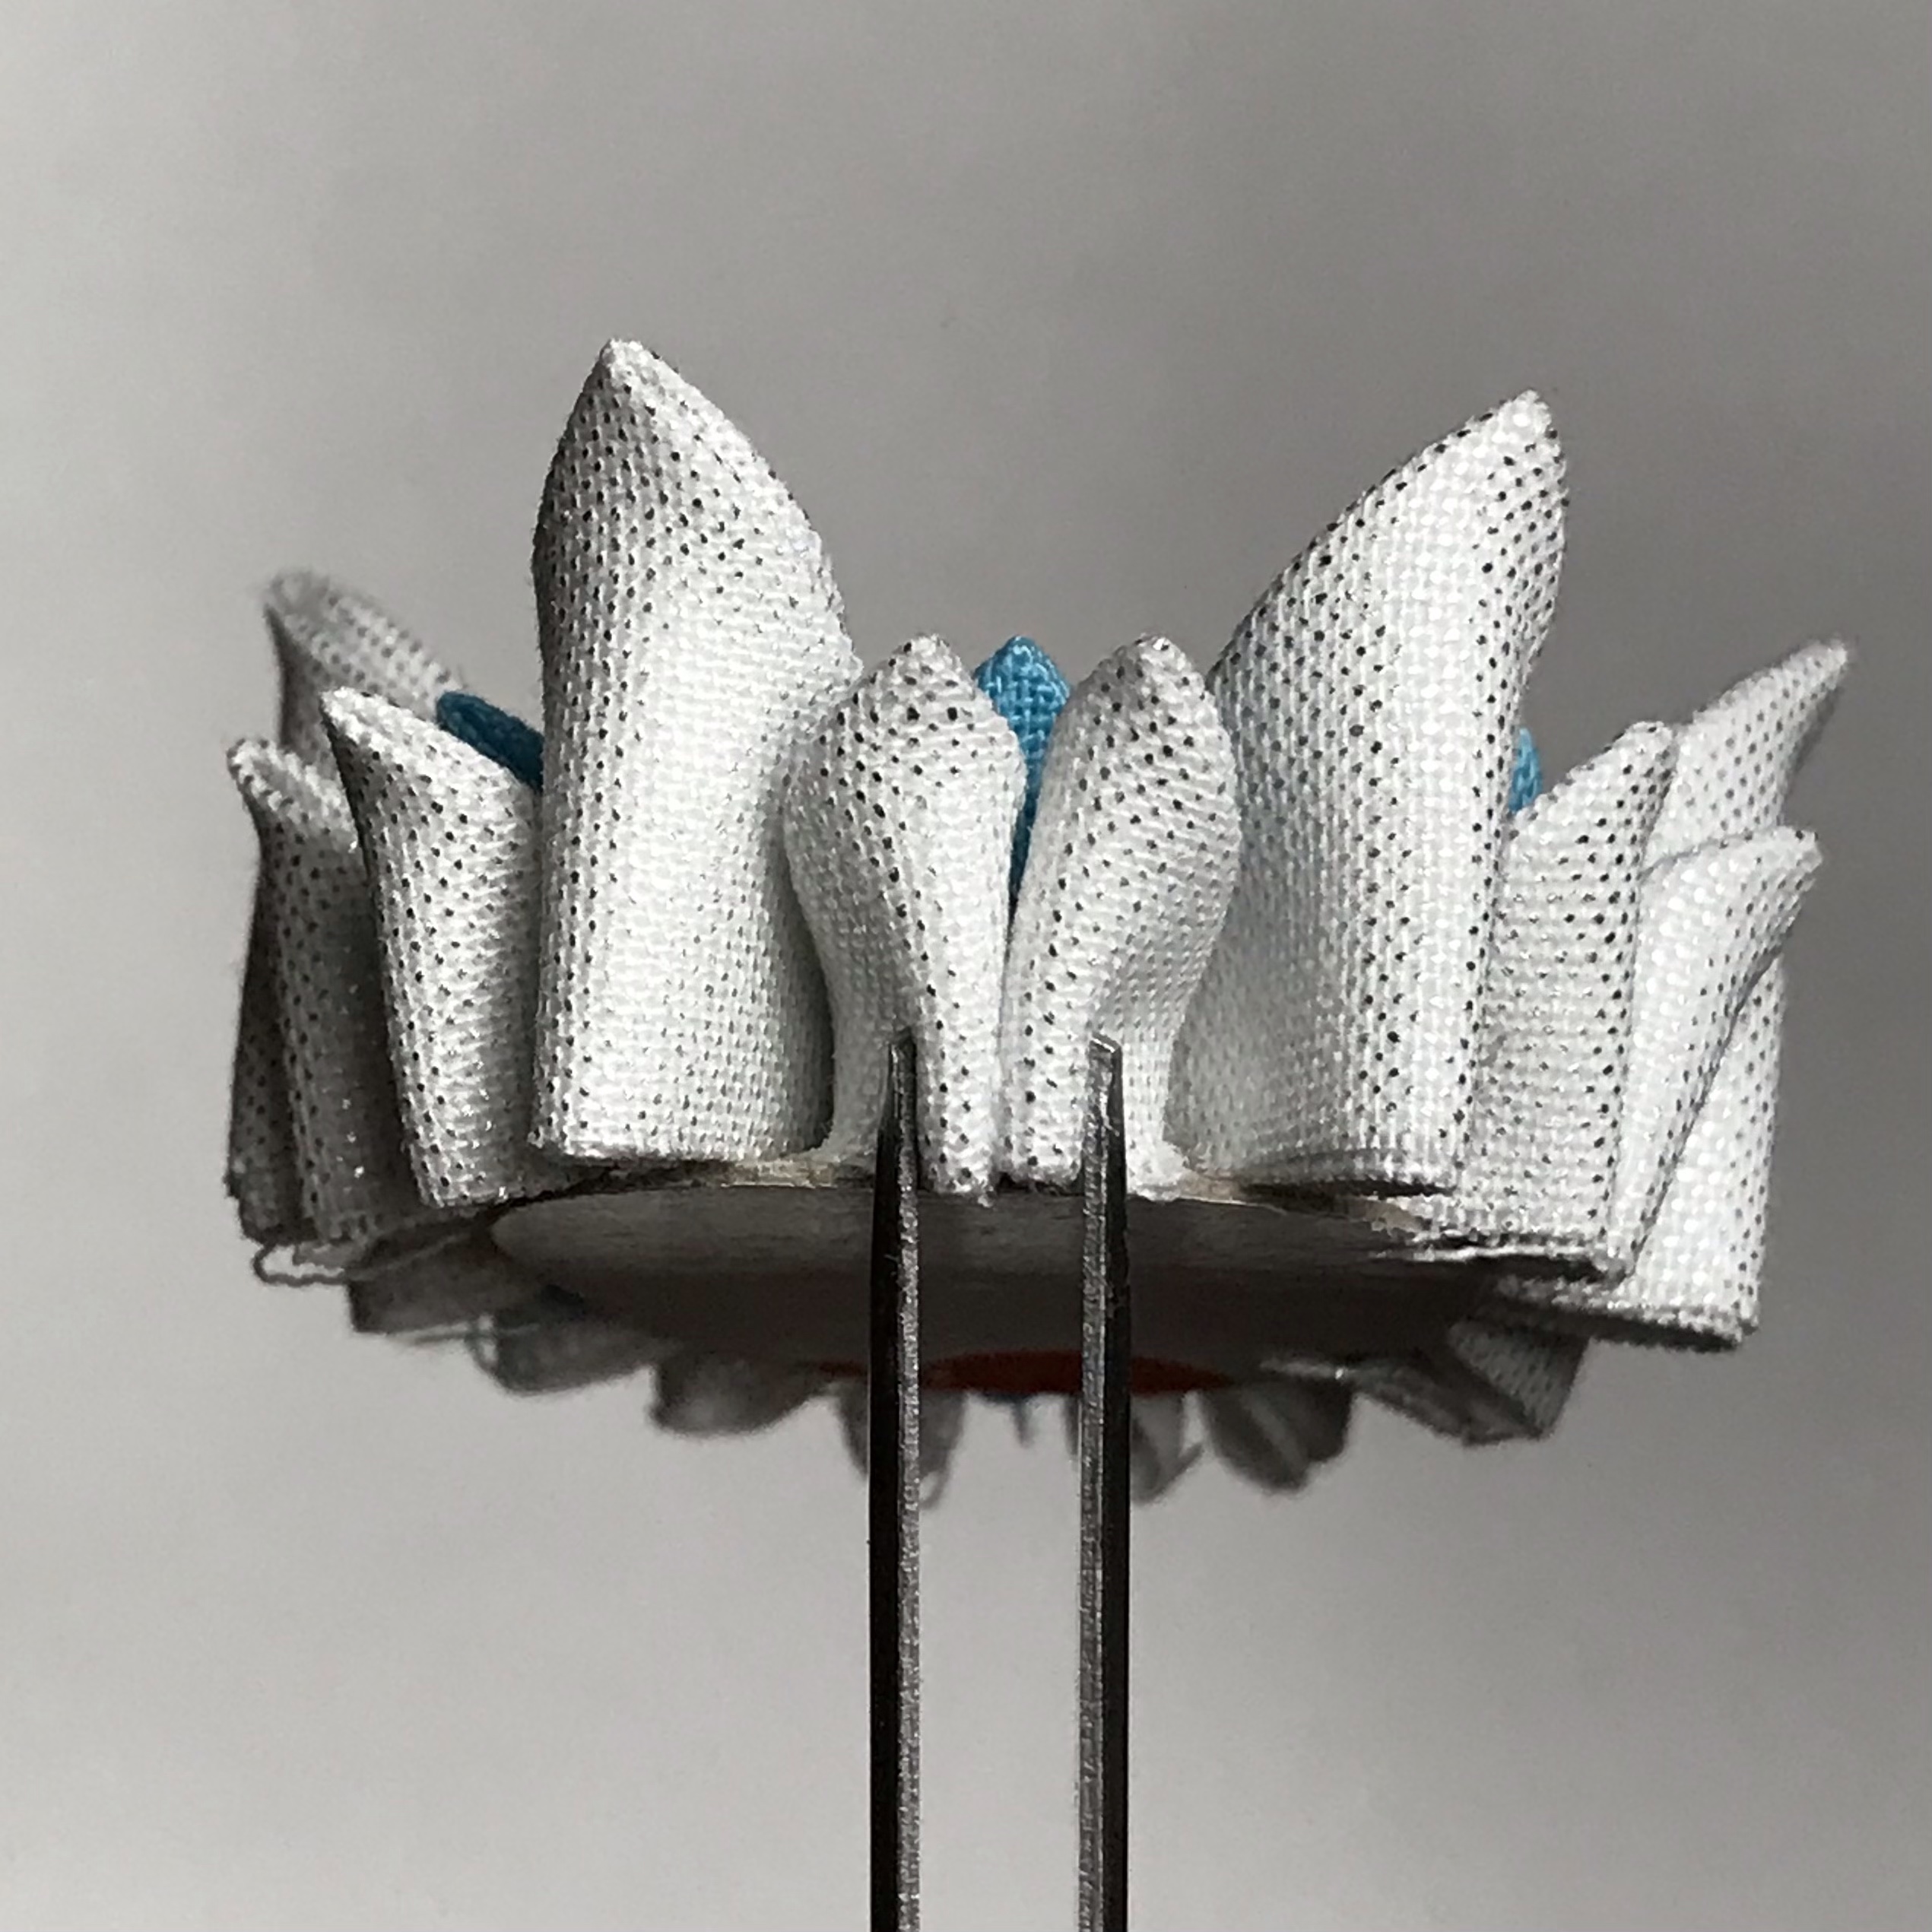
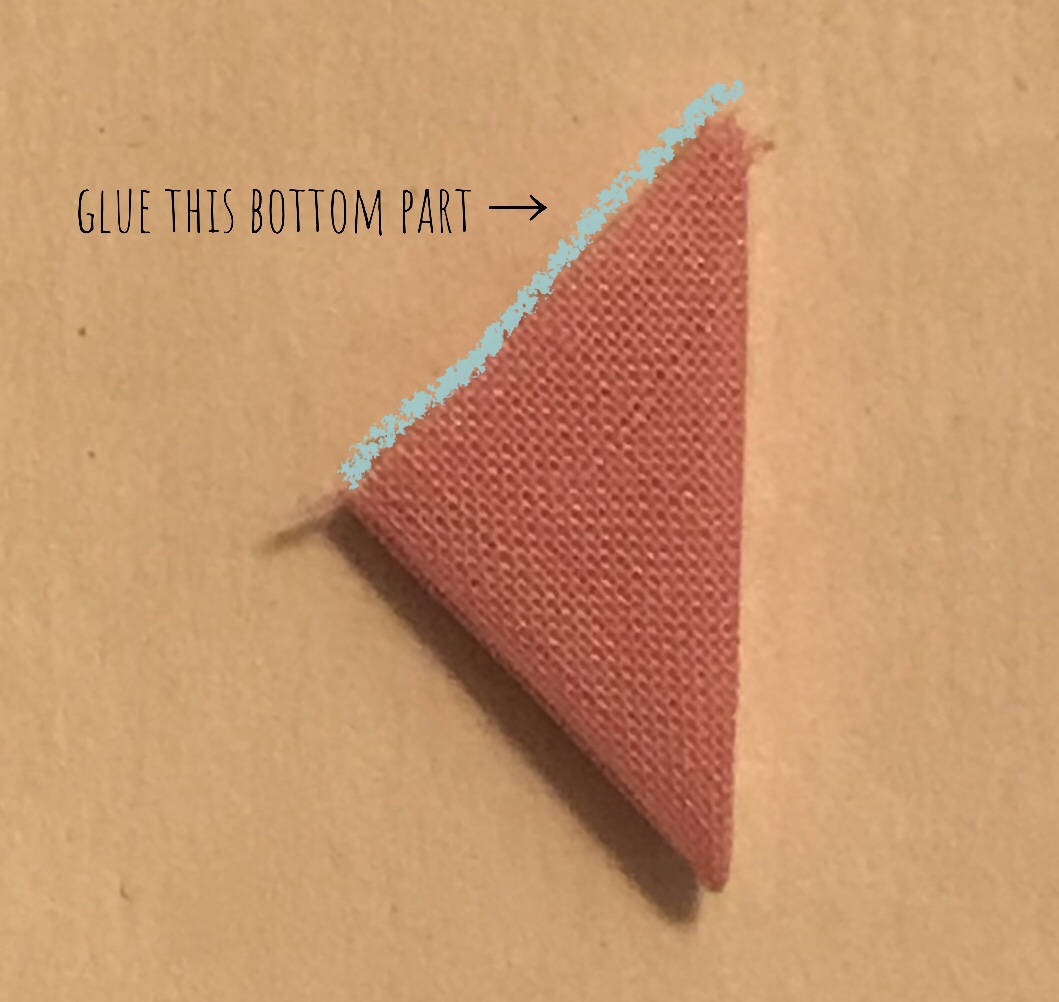
3. Glue the bottom of the leaves and place them on the quarter paper disc. This time, place the round side of the leaf up.
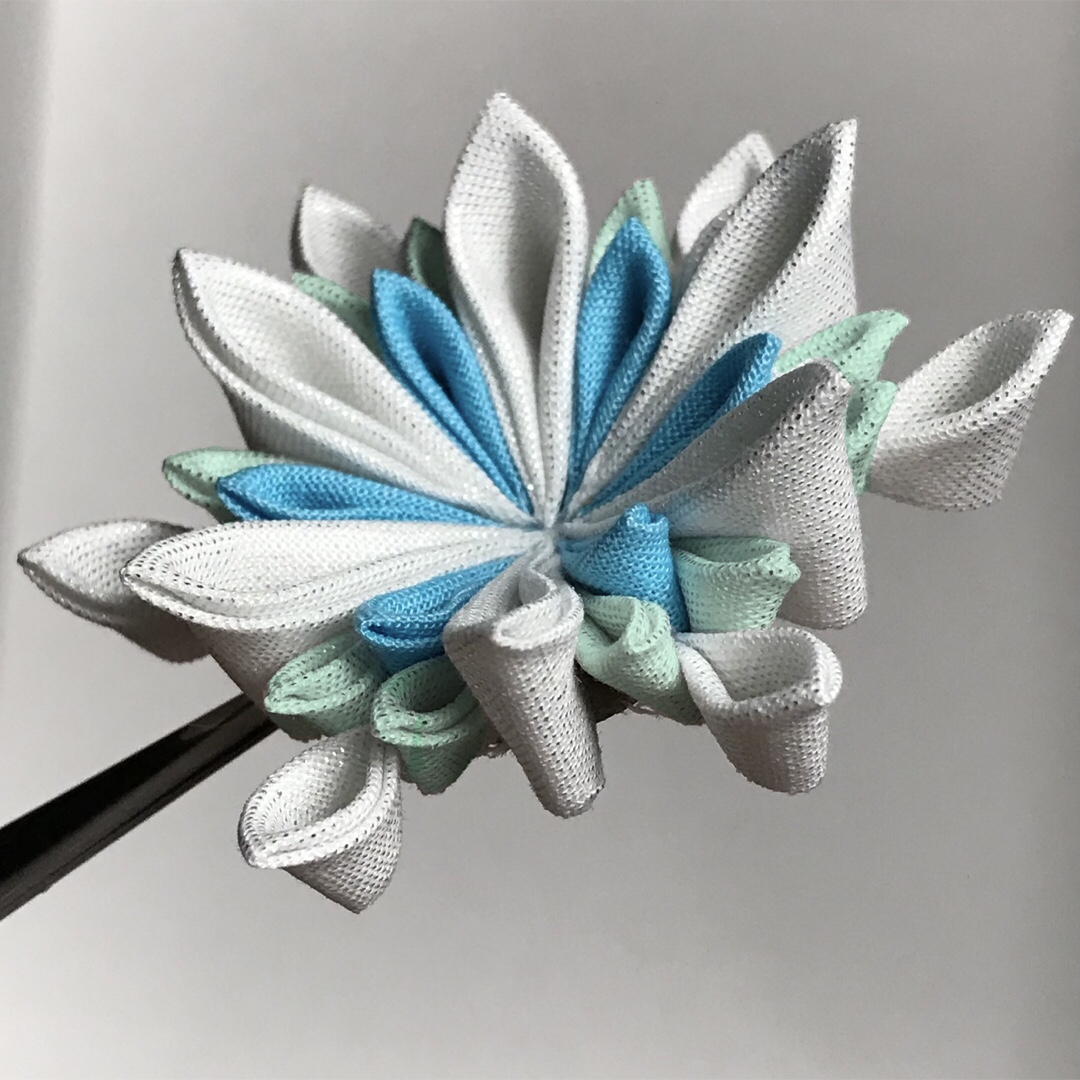
4. Reshape the flower before the glue dries.
5. Let it dry completely.
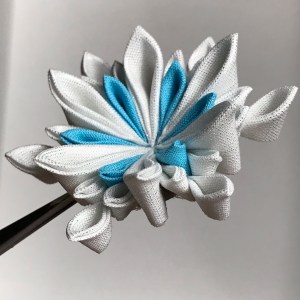
6. Done!
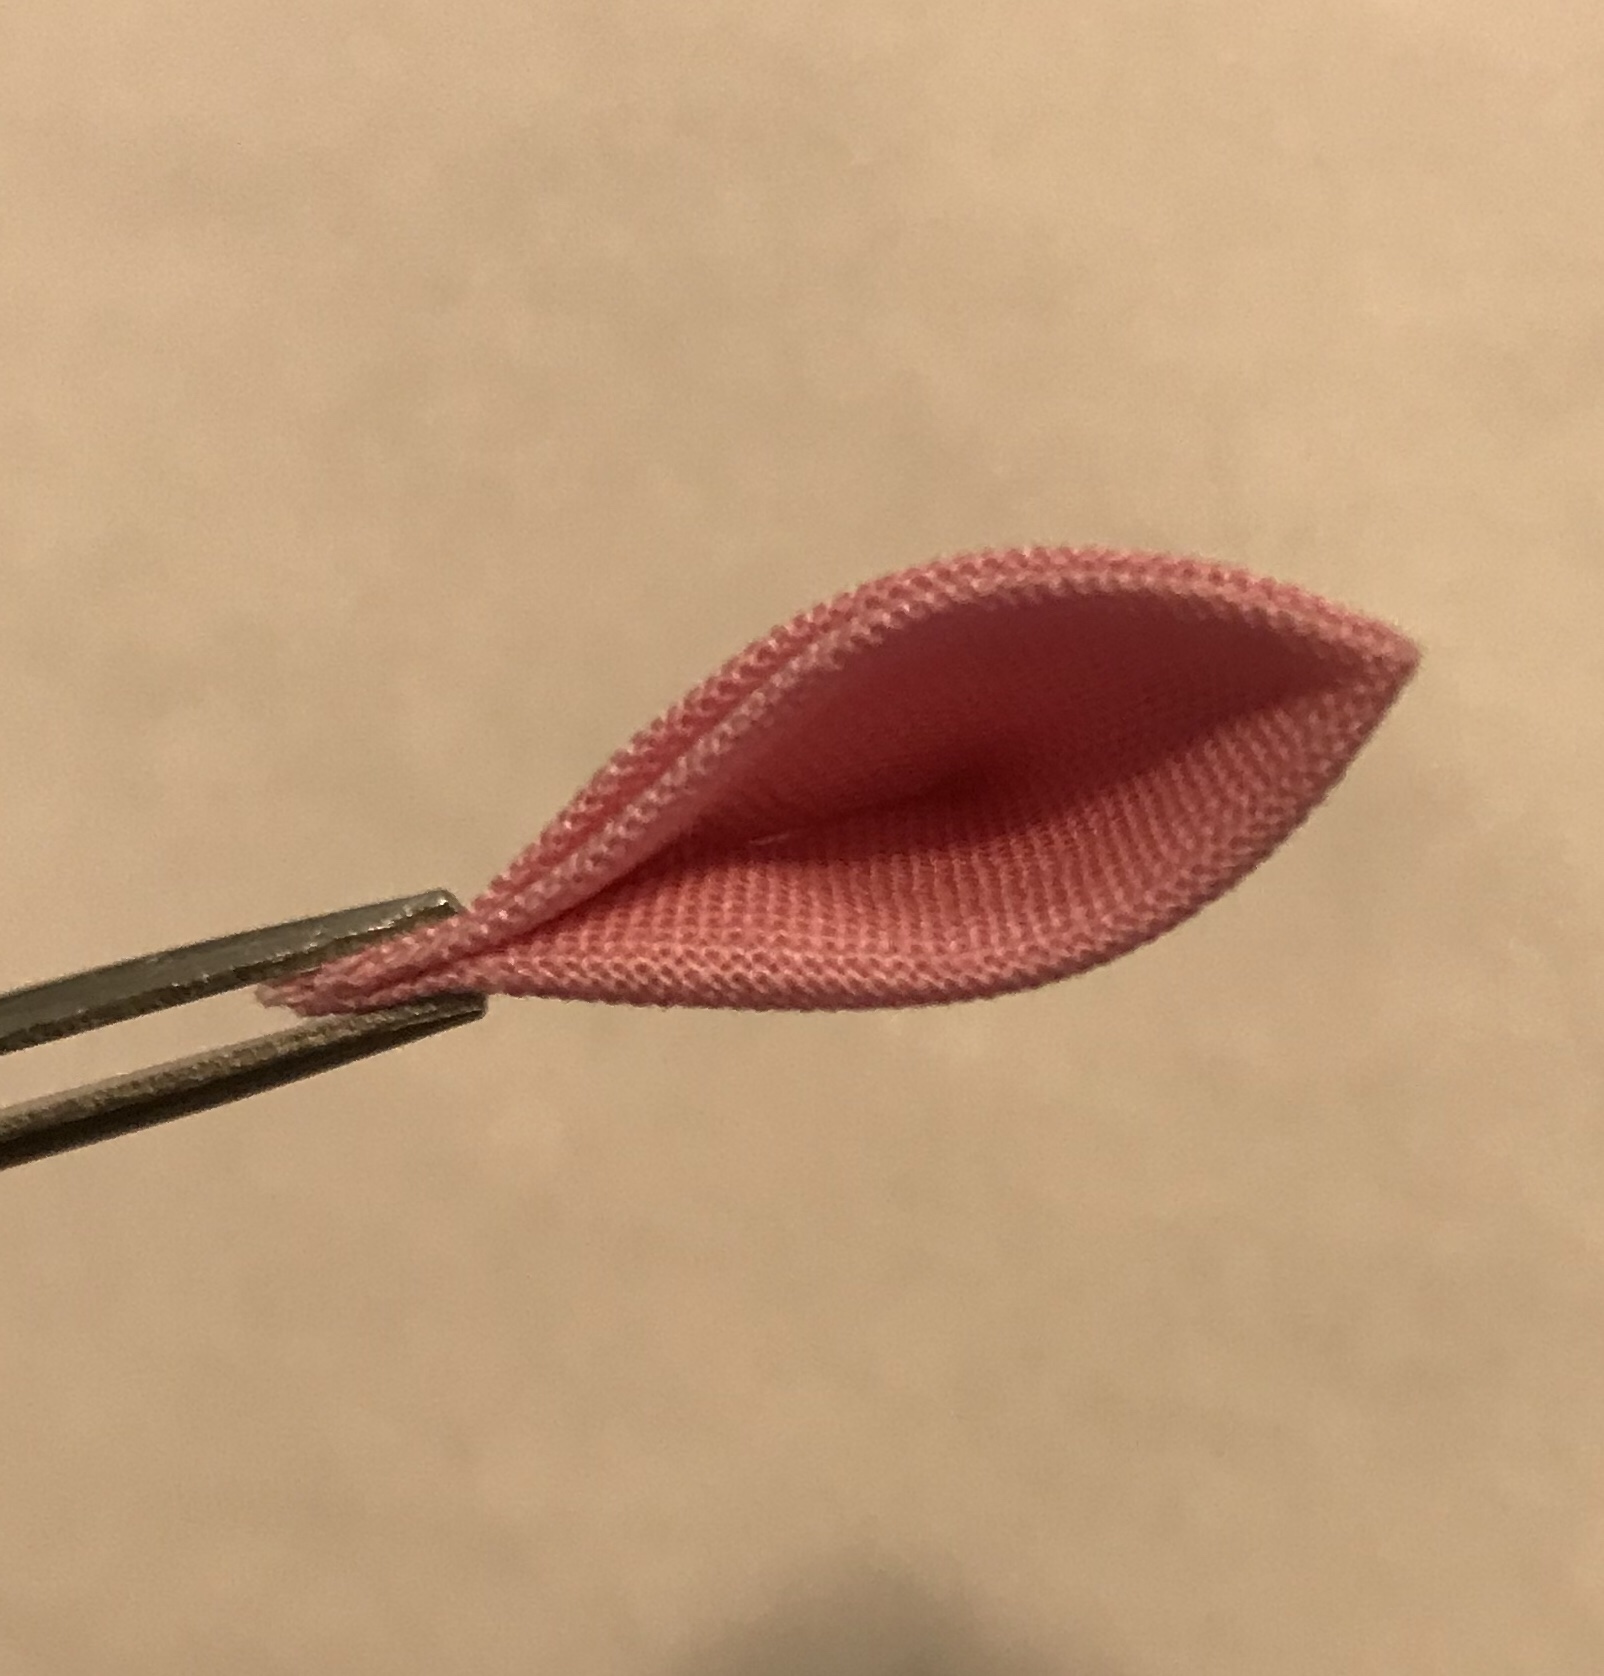
You can make it with two-fold Maru-tsumami too (“How to make twofold Maru-tsumami” is in “Risshun, The First Day of Spring” page).