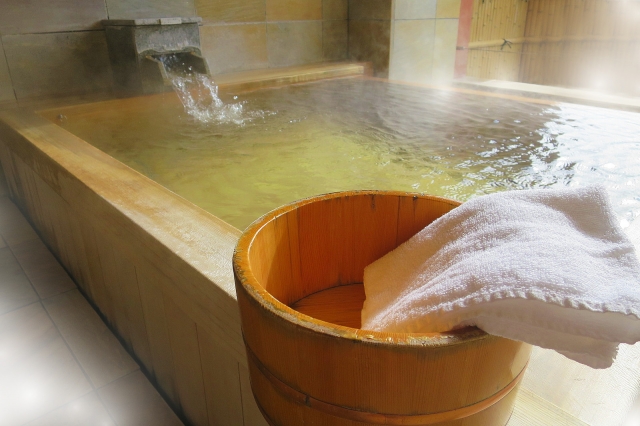
It began as a garment worn for steam baths during the Heian era. Later, when people started bathing in water, it transitioned to after-bath wear. Being associated with relaxation, people also wore it at home—kind of like how people nowadays wear pajamas around the house. Despite looking similar to a formal kimono, Japanese people actually consider Yukata to be casual clothing.
There are some structural differences between mens’ and womens’ yukata. Women’s yukata have open parts under the armpits called Miyatsu-guchi. Another difference is length. Men’s length depends on their height, but you can fold women’s around the waist to the length you prefer. (The folded part is called ohashori.)
While mens’ and womens’ yukata have differences, there is one thing that both genders absolutely must do. You always need to fold the left side over the right side. It’s very important to remember, because wearing a kimono with the right side on top is how we dress the deceased for funerals. Wearing it like that means that you’re dead!
A long time ago, making yukata was seen as women’s work. Girls even learned how to make yukata at school until recently. I remember both my grandma and great grandma making yukata for my sister and I when I was still in preschool. It’s one of my happy memories about yukata.
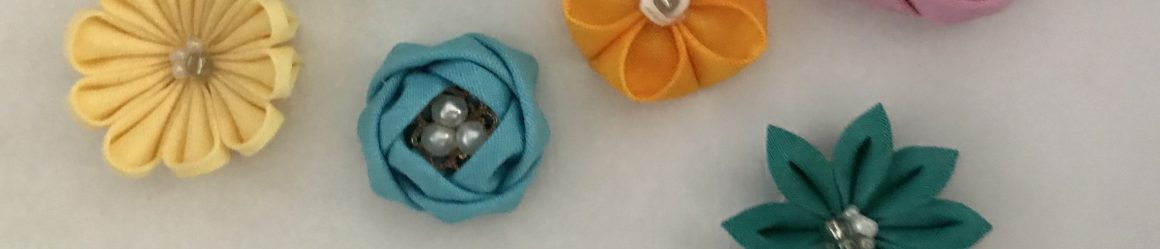
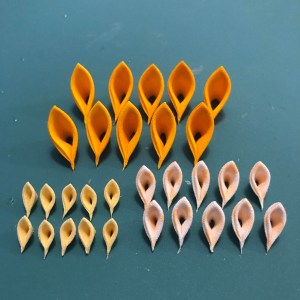
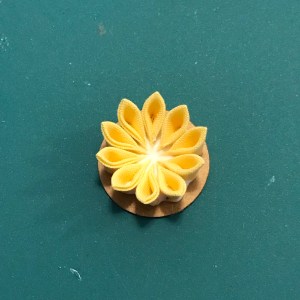
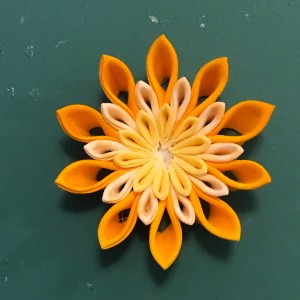
In my last post I wrote about how Japanese hanabi (fireworks) are often described as chrysanthemums and peonies. So today I would like to show you how to use a chrysanthemum and peony pattern to make hanabi-like flowers. I love traditional orange and yellow Japanese hanabi, so I’m going to use those colors. But I think you should use whatever your favorites are. (Also, using 2 or 3 colors makes hanabi flowers beautiful!)
Summer is here, and one of the most important things about summer in Japan is hanabi! Hanabi means “fireworks” in Japanese. It is written using the characters for “flower” and “fire.” We enjoy watching fireworks at summer festivals, and having fun with sparklers with family and friends.
I love watching fireworks. From a closer distance, it’s a more sensory experience. The boom of the explosion, the sudden brightness, vivid colors, smoke, and crackles as the sparks spread across the night sky! Even the silence takes on a presence once the show comes to an end.
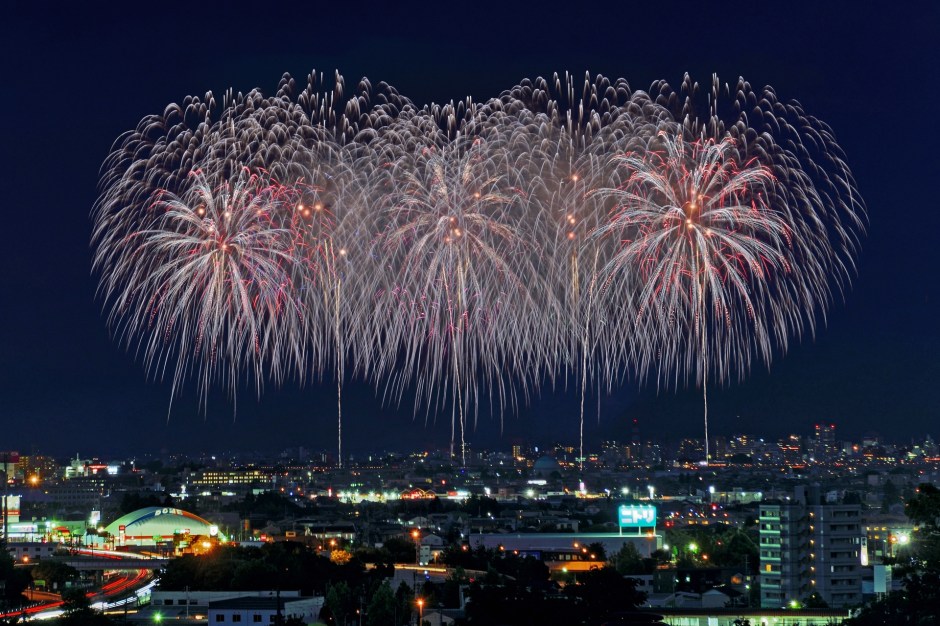
From far away, the delay between color and sound is like lightning and thunder. The fireworks are smaller, but they blend together with the scenery to highlight the landscape. I think it’s yet another way to enjoy them.
So today, I would like to write about Japanese fireworks.
Significance
In Japan, summer fireworks have a deeper meaning than just entertainment. The “Bon” holiday happens in the middle of August. We believe that departed souls return to their family during this holiday, so we build a fire as a beacon to guide their souls back to this world. Once Bon is over, we send them off with prayers as they return to the afterlife. Some people say that fireworks serve this same purpose. There is a story of one shogun who sent off the souls of those who lost their lives to disease and famine with a fireworks display.
Japanese Fireworks
Aesthetically, Japanese appreciate fireworks’ homogeneousness and symmetricalness, so many Japanese fireworks are round like chrysanthemums and peonies. Firework artisans place immense importance on creating round, homogeneous “hoshi.” In Japanese, “hoshi” usually means star, but here it’s used for the explosive parts of the firework. Setting expertly crafted hoshi around a sphere creates a beautiful, flowerlike pattern that is appreciated not only for its colors, but as an expression of the artisan’s skill.
Here is a video from YouTube about Japanese fireworks making. It is in Japanese but you can still see how Japanese fireworks are made, as well as the artisan’s skill. If you watch it, pay particular attention to their motions, as they have honed their technique for years. You can also turn on Youtube’s translations in your language if you’d like.
Fireworks Festivals
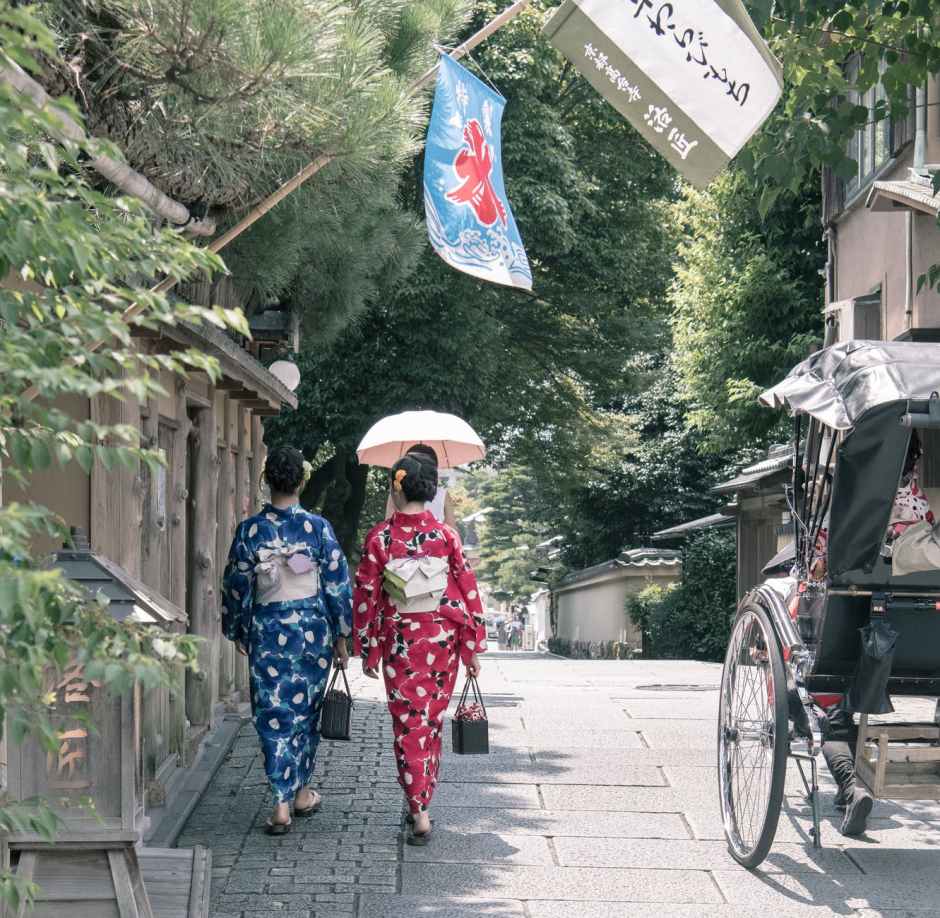
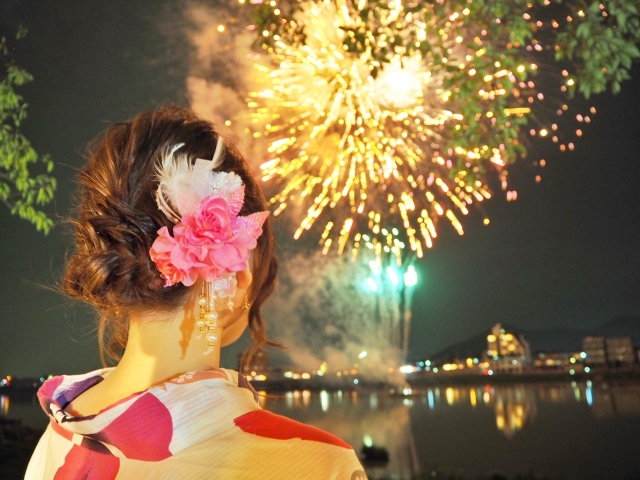
During summer, especially July and August, there is a fireworks festival every weekend somewhere in Japan. Many people attend wearing yukata, traditional Japanese clothing for summer. (A yukata is like a thin kimono.) Fireworks festivals usually have many stands with food and games, so you will see people wearing yukata waiting in line for treats like shaved ice, one of the more popular festival eats.
In Japan, people can sponsor fireworks. They “buy the rights” to an individual or a group of fireworks, and an announcer reads a message when they are launched. Some people use them to show their gratitudes to loved ones. Some festivals are even competitions where fireworks artisans compete with each other to create the best display.
Many festivals have been cancelled recently because of the pandemic. However, if you have a chance to visit Japan in the future, visiting a fireworks festival will be a great experience. Don’t miss the chance to wear a yukata, either!
Every July 7th is the Star Festival, called “Tanabata” in Japan. The original story came from China and arrived in Japan during the Nara era (710 – 794).
The story is like this:
A long time ago, there was a girl named Orihime, a daughter of one of the gods and a very good weaver. Her father was searching for a husband for her, and found a boy named Hikoboshi, a cattle herder.
They fell in love and got married. However, they became lazy after the marriage and did not work at all. Orihime’s father became furious about their complacency and set each on either side of the Milky Way as punishment. The pair was heartbroken and wept constantly. Feeling compassion for them, Orihime’s father gave the couple permission to see each other once a year on July 7th at night.
But, it is said that they cannot meet if it rains, so we always wish for no clouds in the sky.
There is a Japanese tradition of making decorations and putting them on bamboo branches for Tanabata. People also write their wishes on colorful rectangle papers and set them on the bamboo along with the decorations. Because Orihime was good at weaving, people usually wish to become skilled at something.
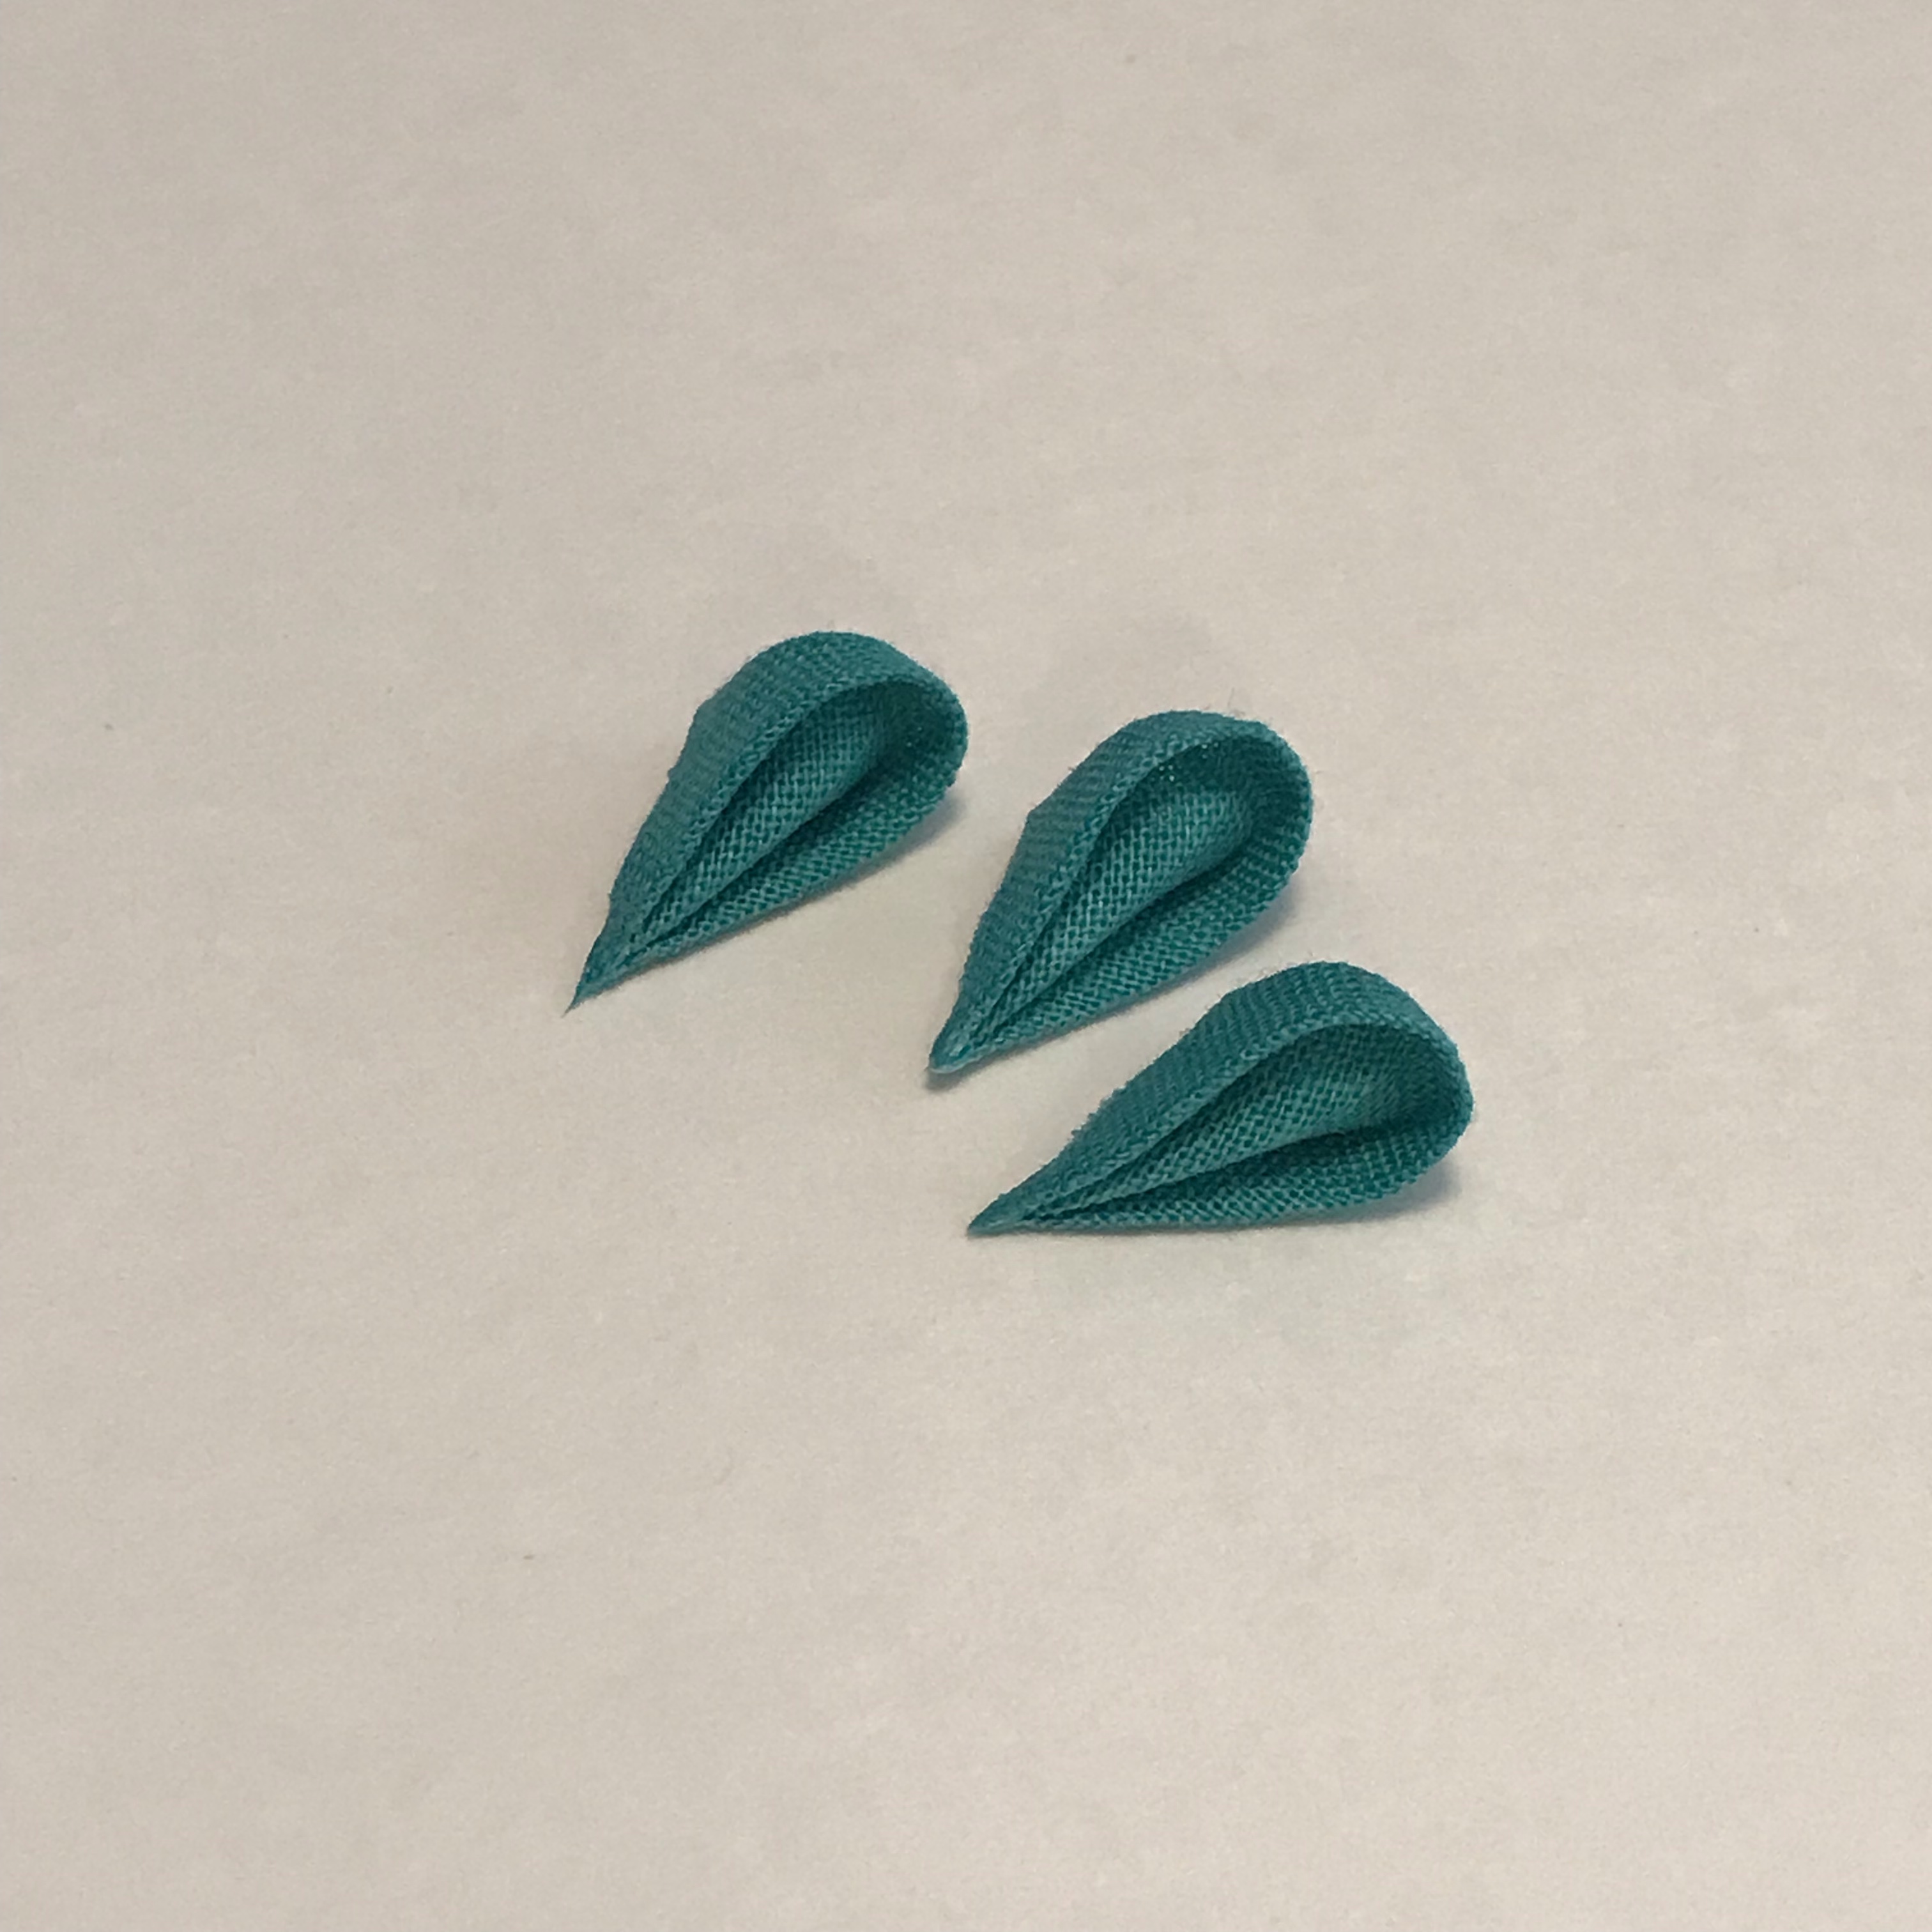
Bamboo is important for Tanabata, so today I would like to share how to make bamboo leaves with Tsumami-zaiku.
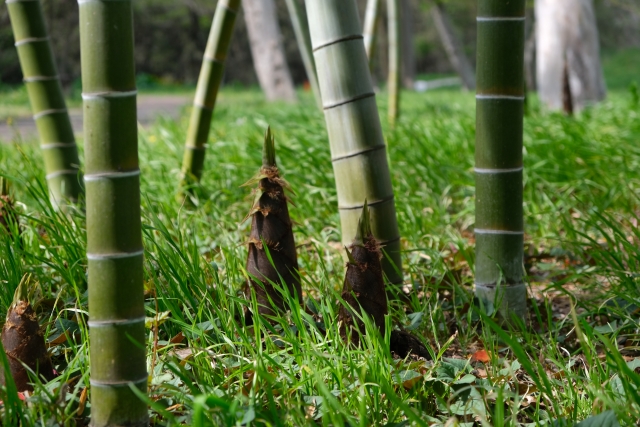
By the way, bamboo is a very important plant for Japanese culture in general, not just on (hopefully) starry holidays. It is a bringer of good luck, along with plum and pine plants. We use it with many things like crafts and tools. Bamboo shoots are also a seasonal food eaten in spring.
How to Make Bamboo Leaves
It is very easy!
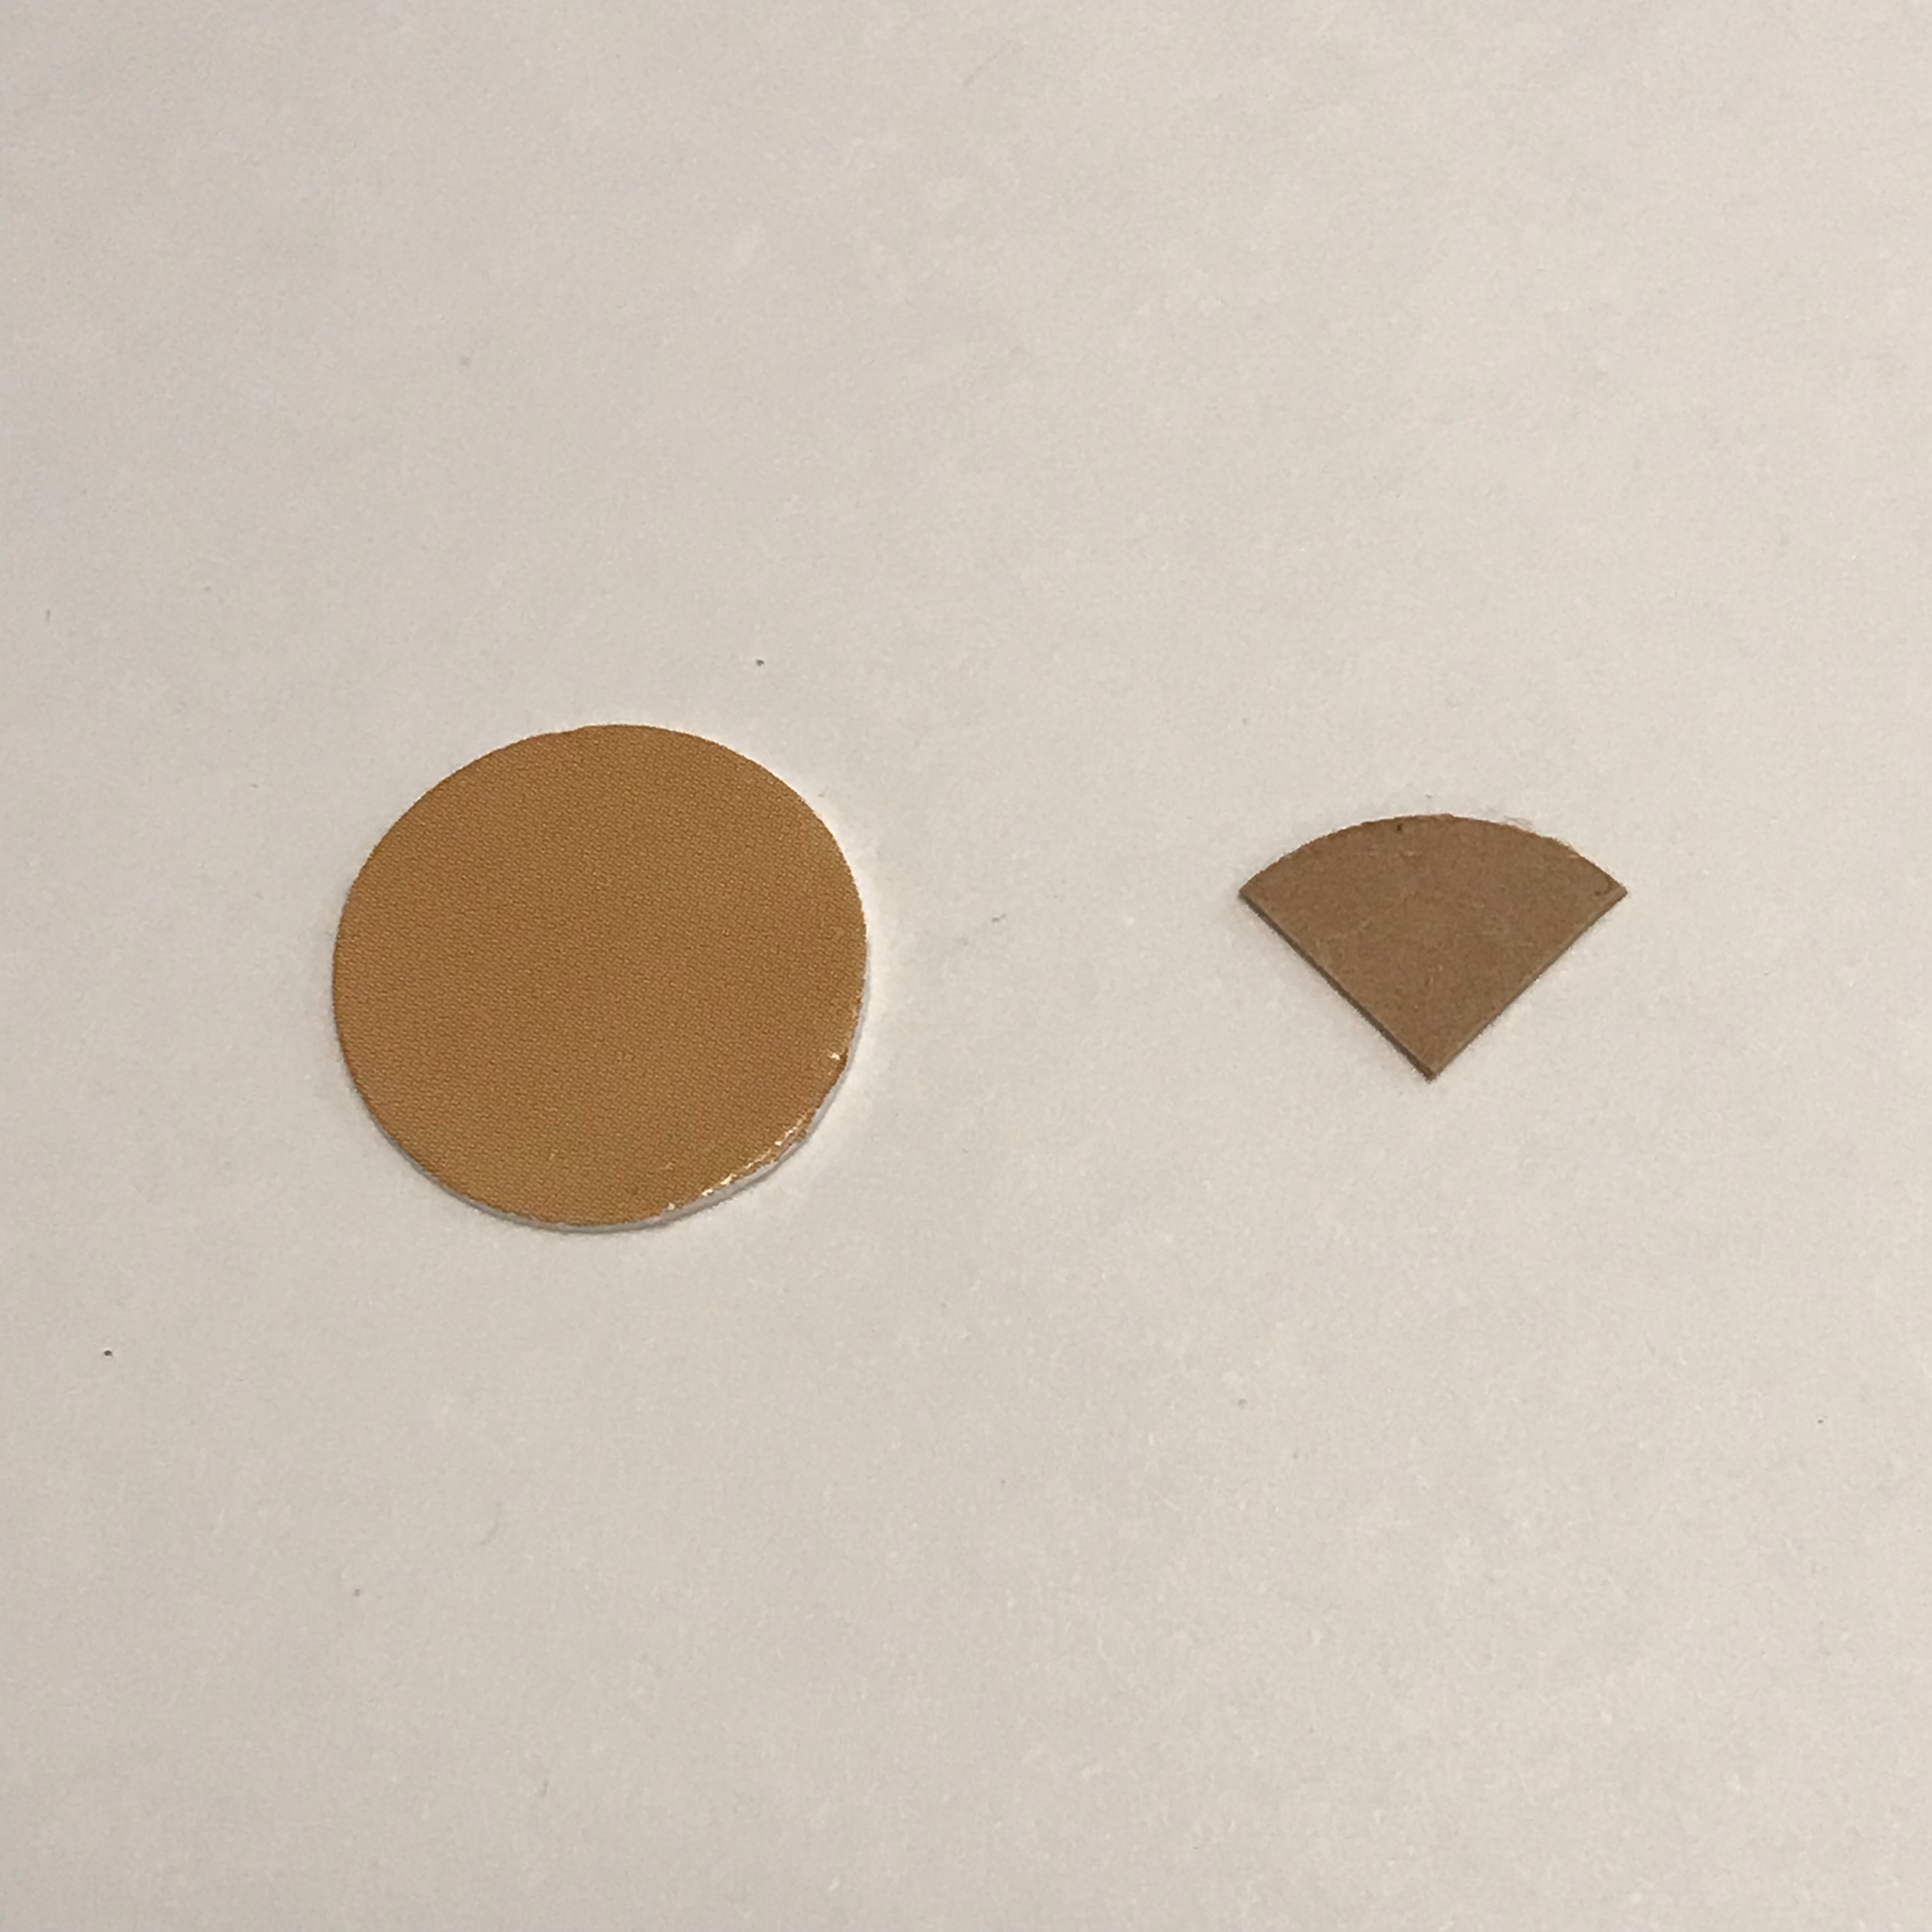
You will need:
three 1 inch (2.5cm) square cloth (green)
one ¾ inch (1.9 cm) round paper disc (thick paper is better)
glue
tweezers (You don’t need tweezers, but it’s much easier with them)