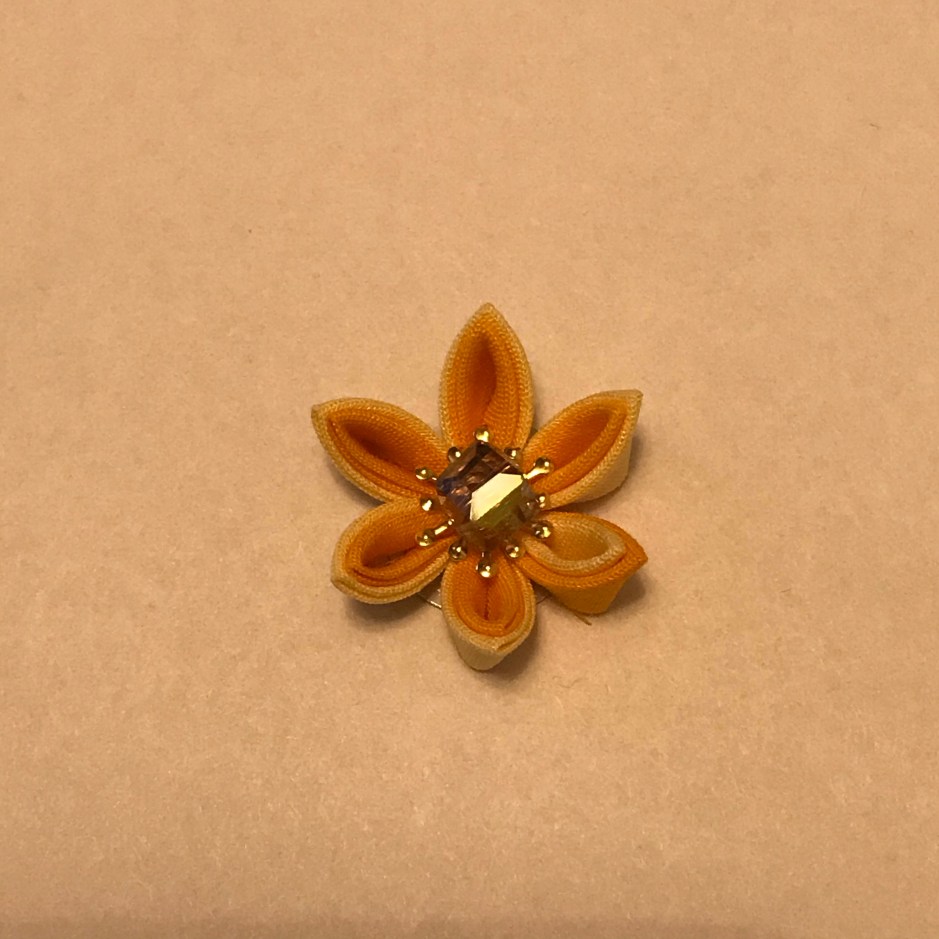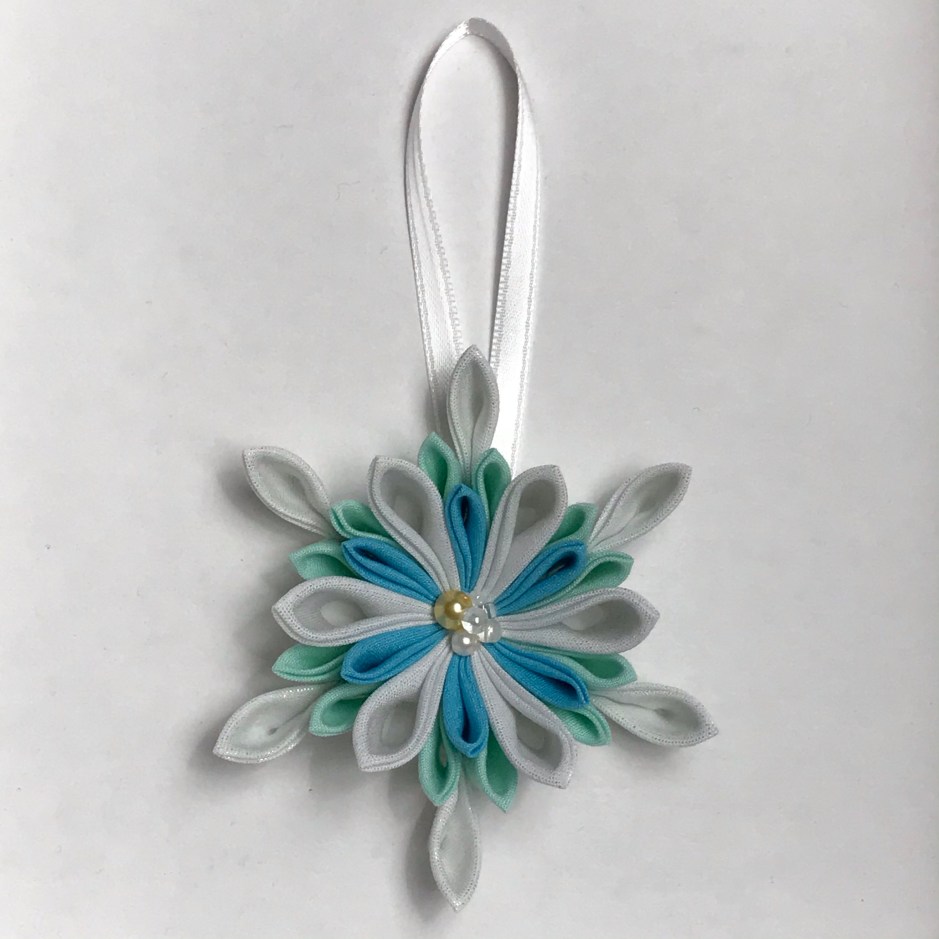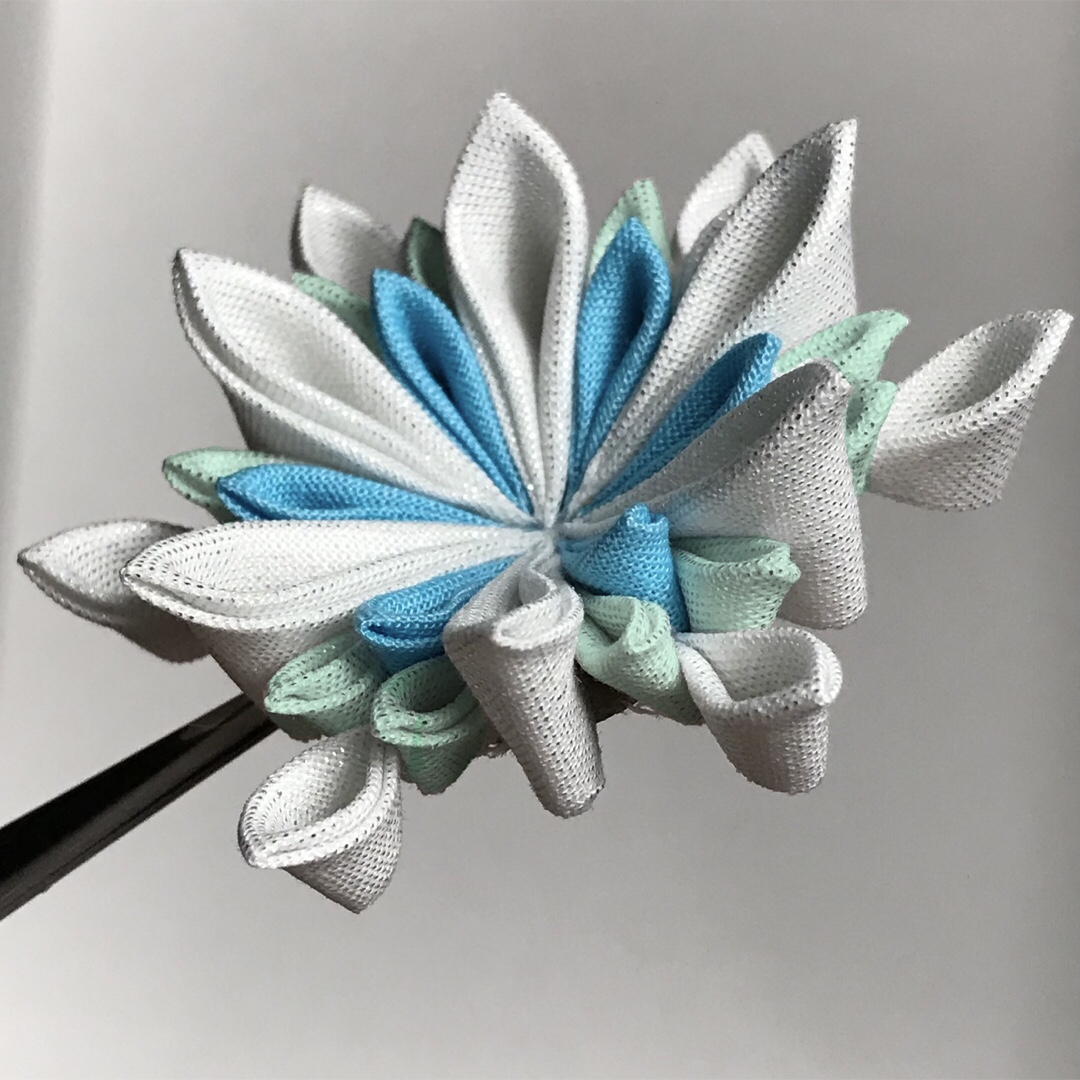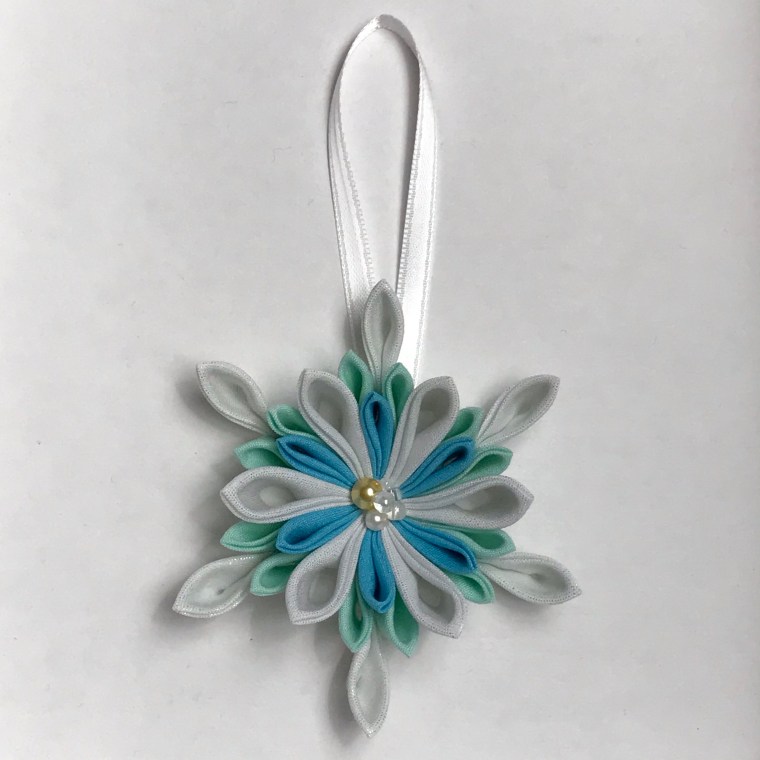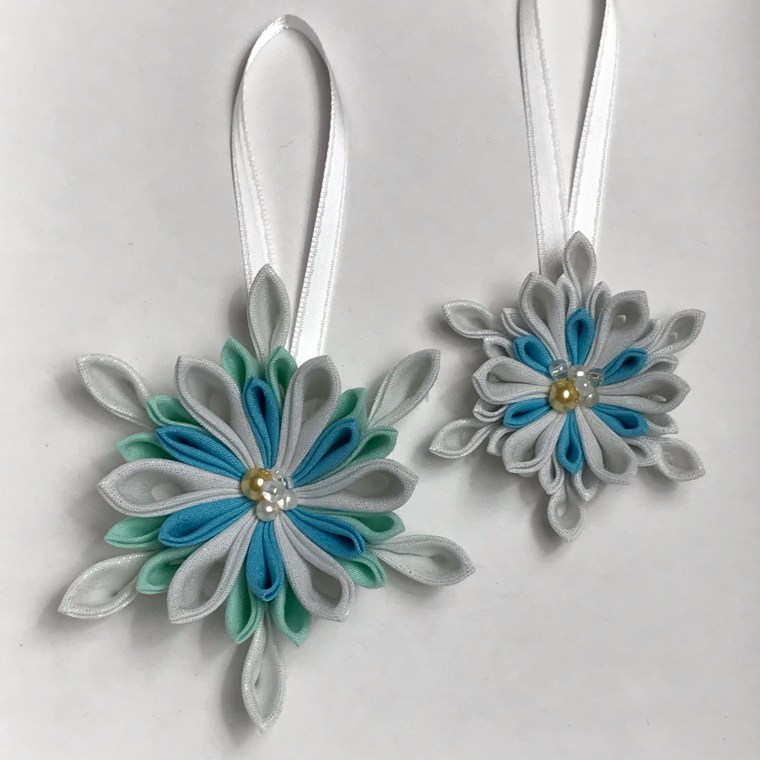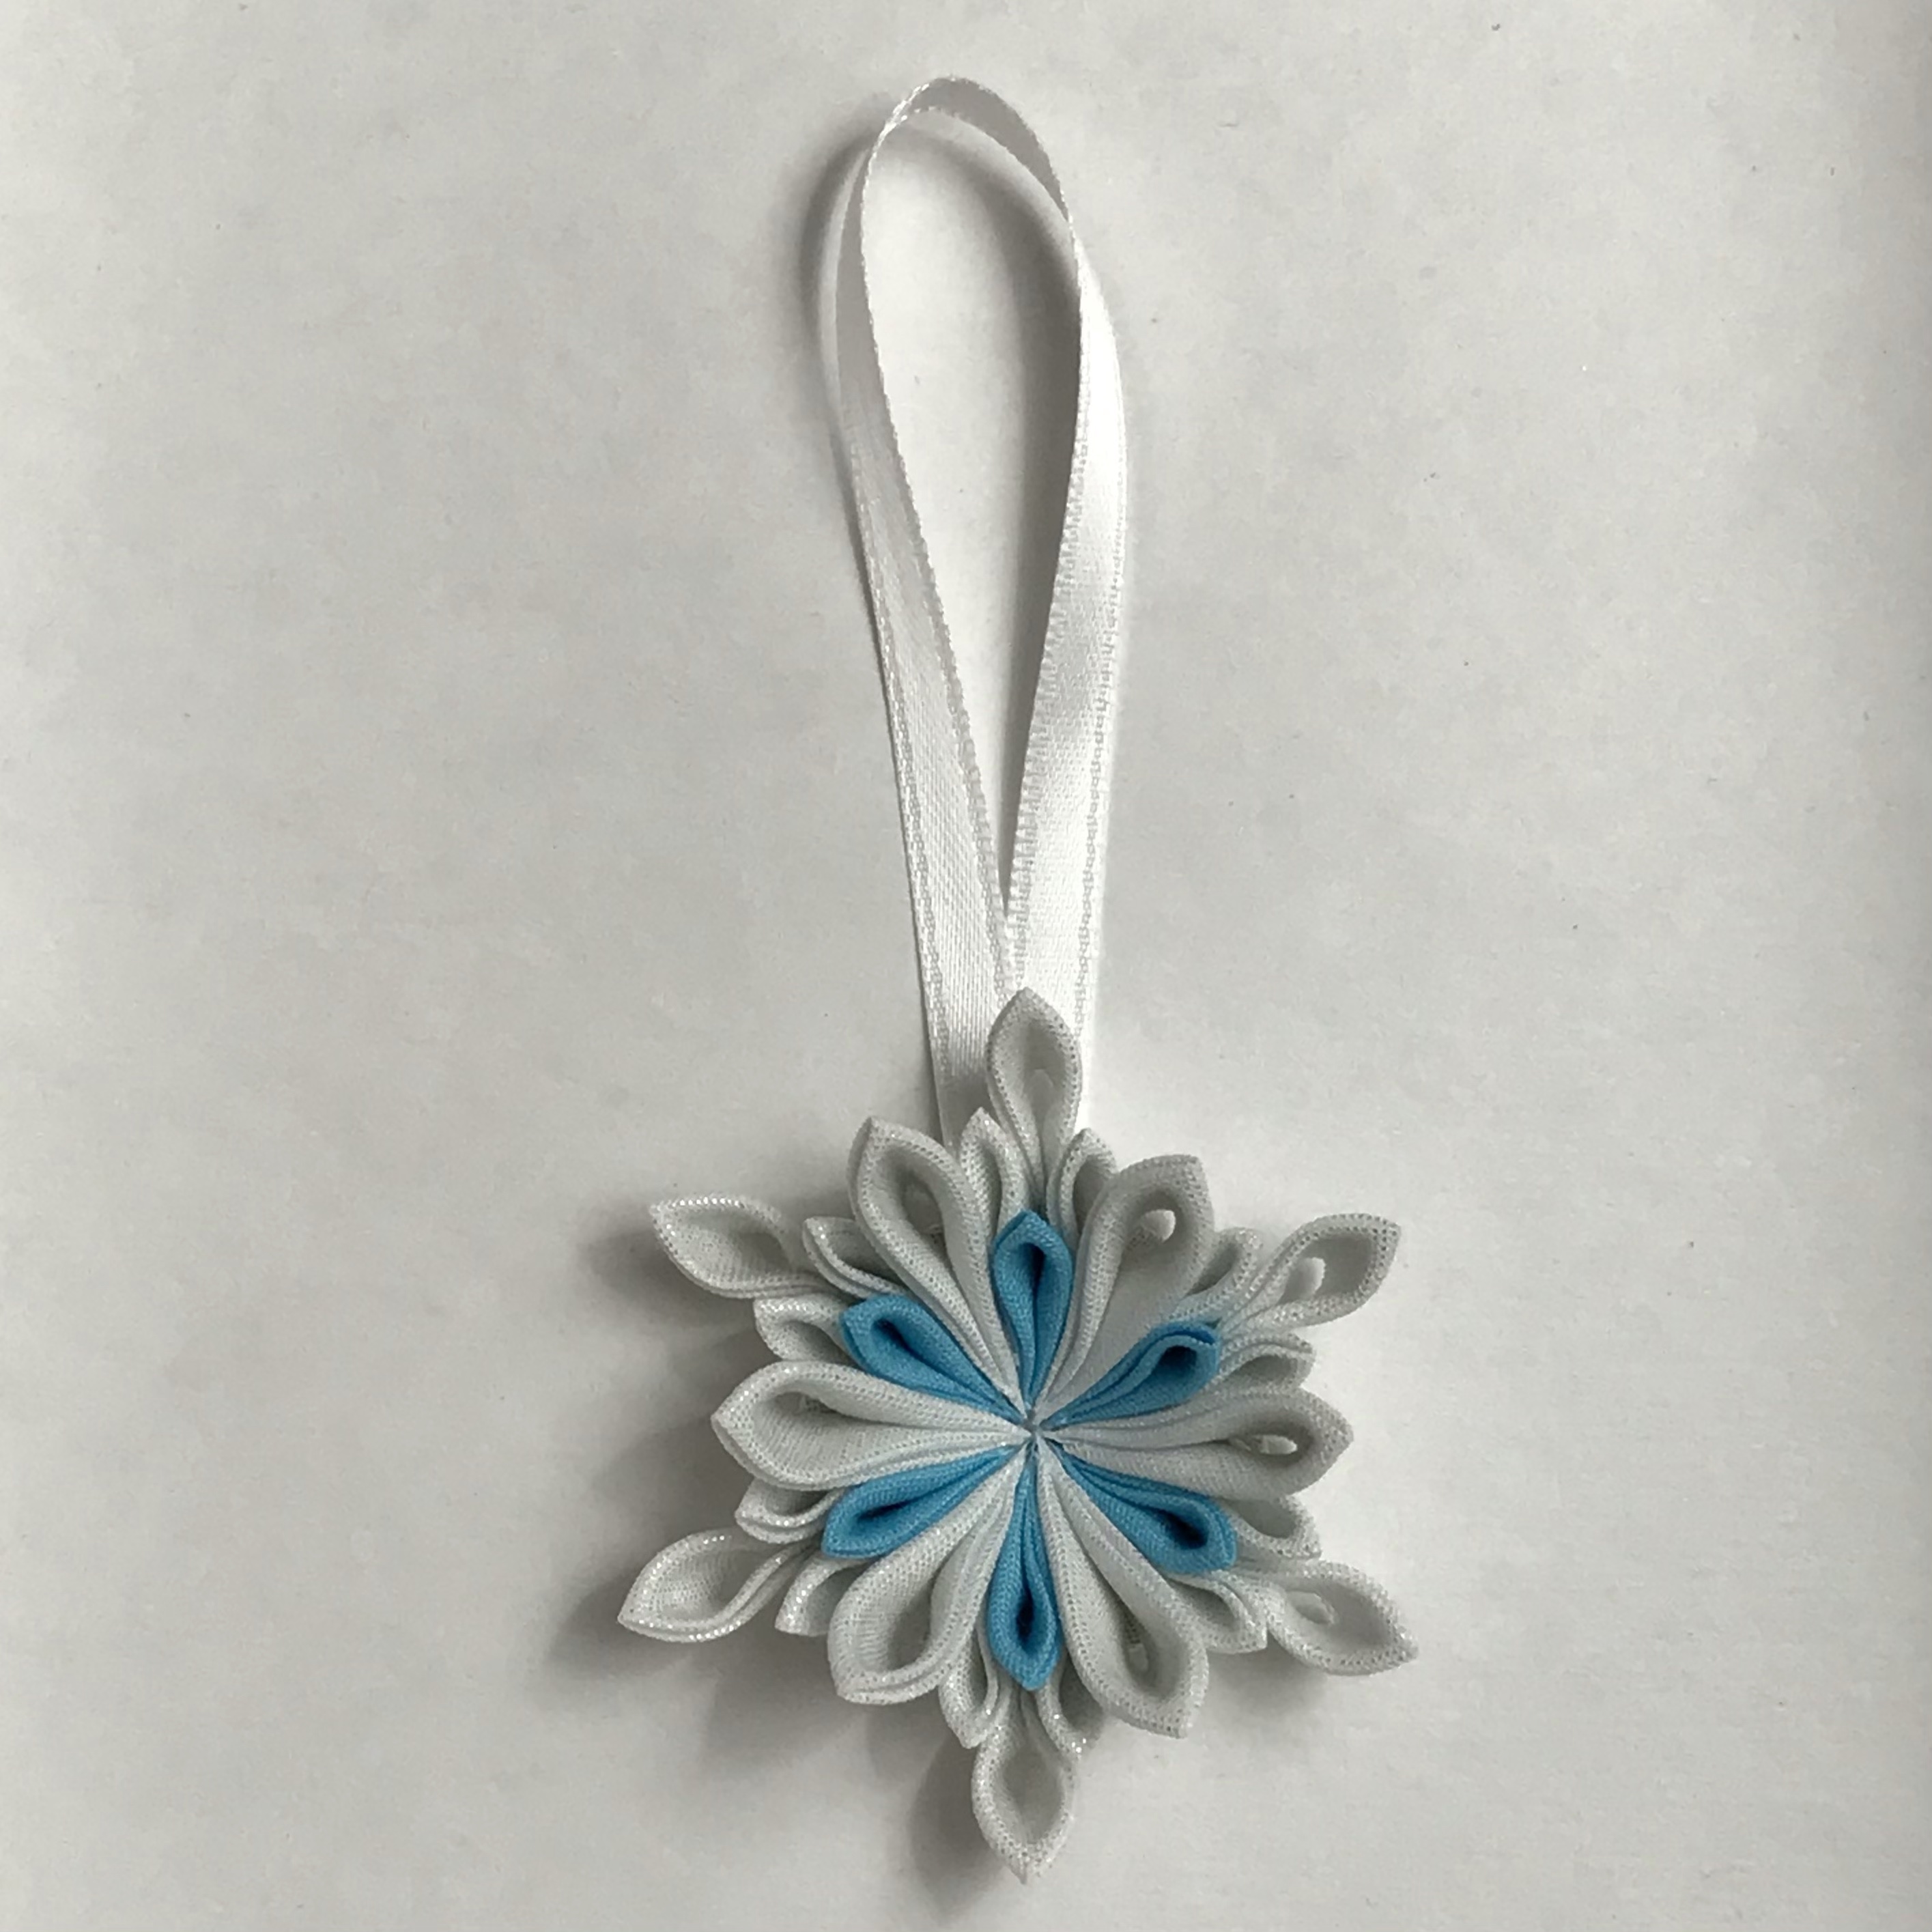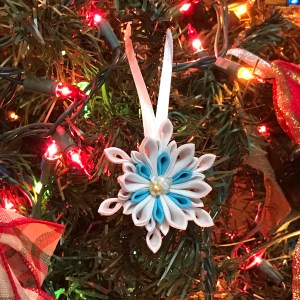
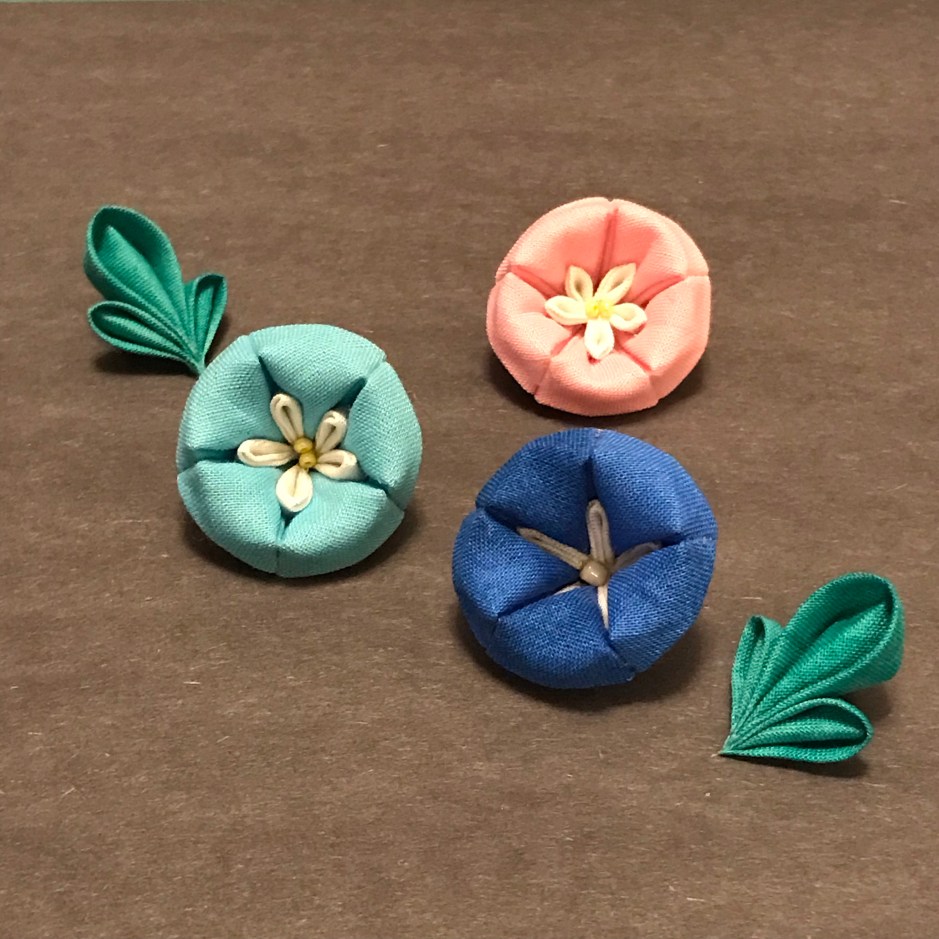
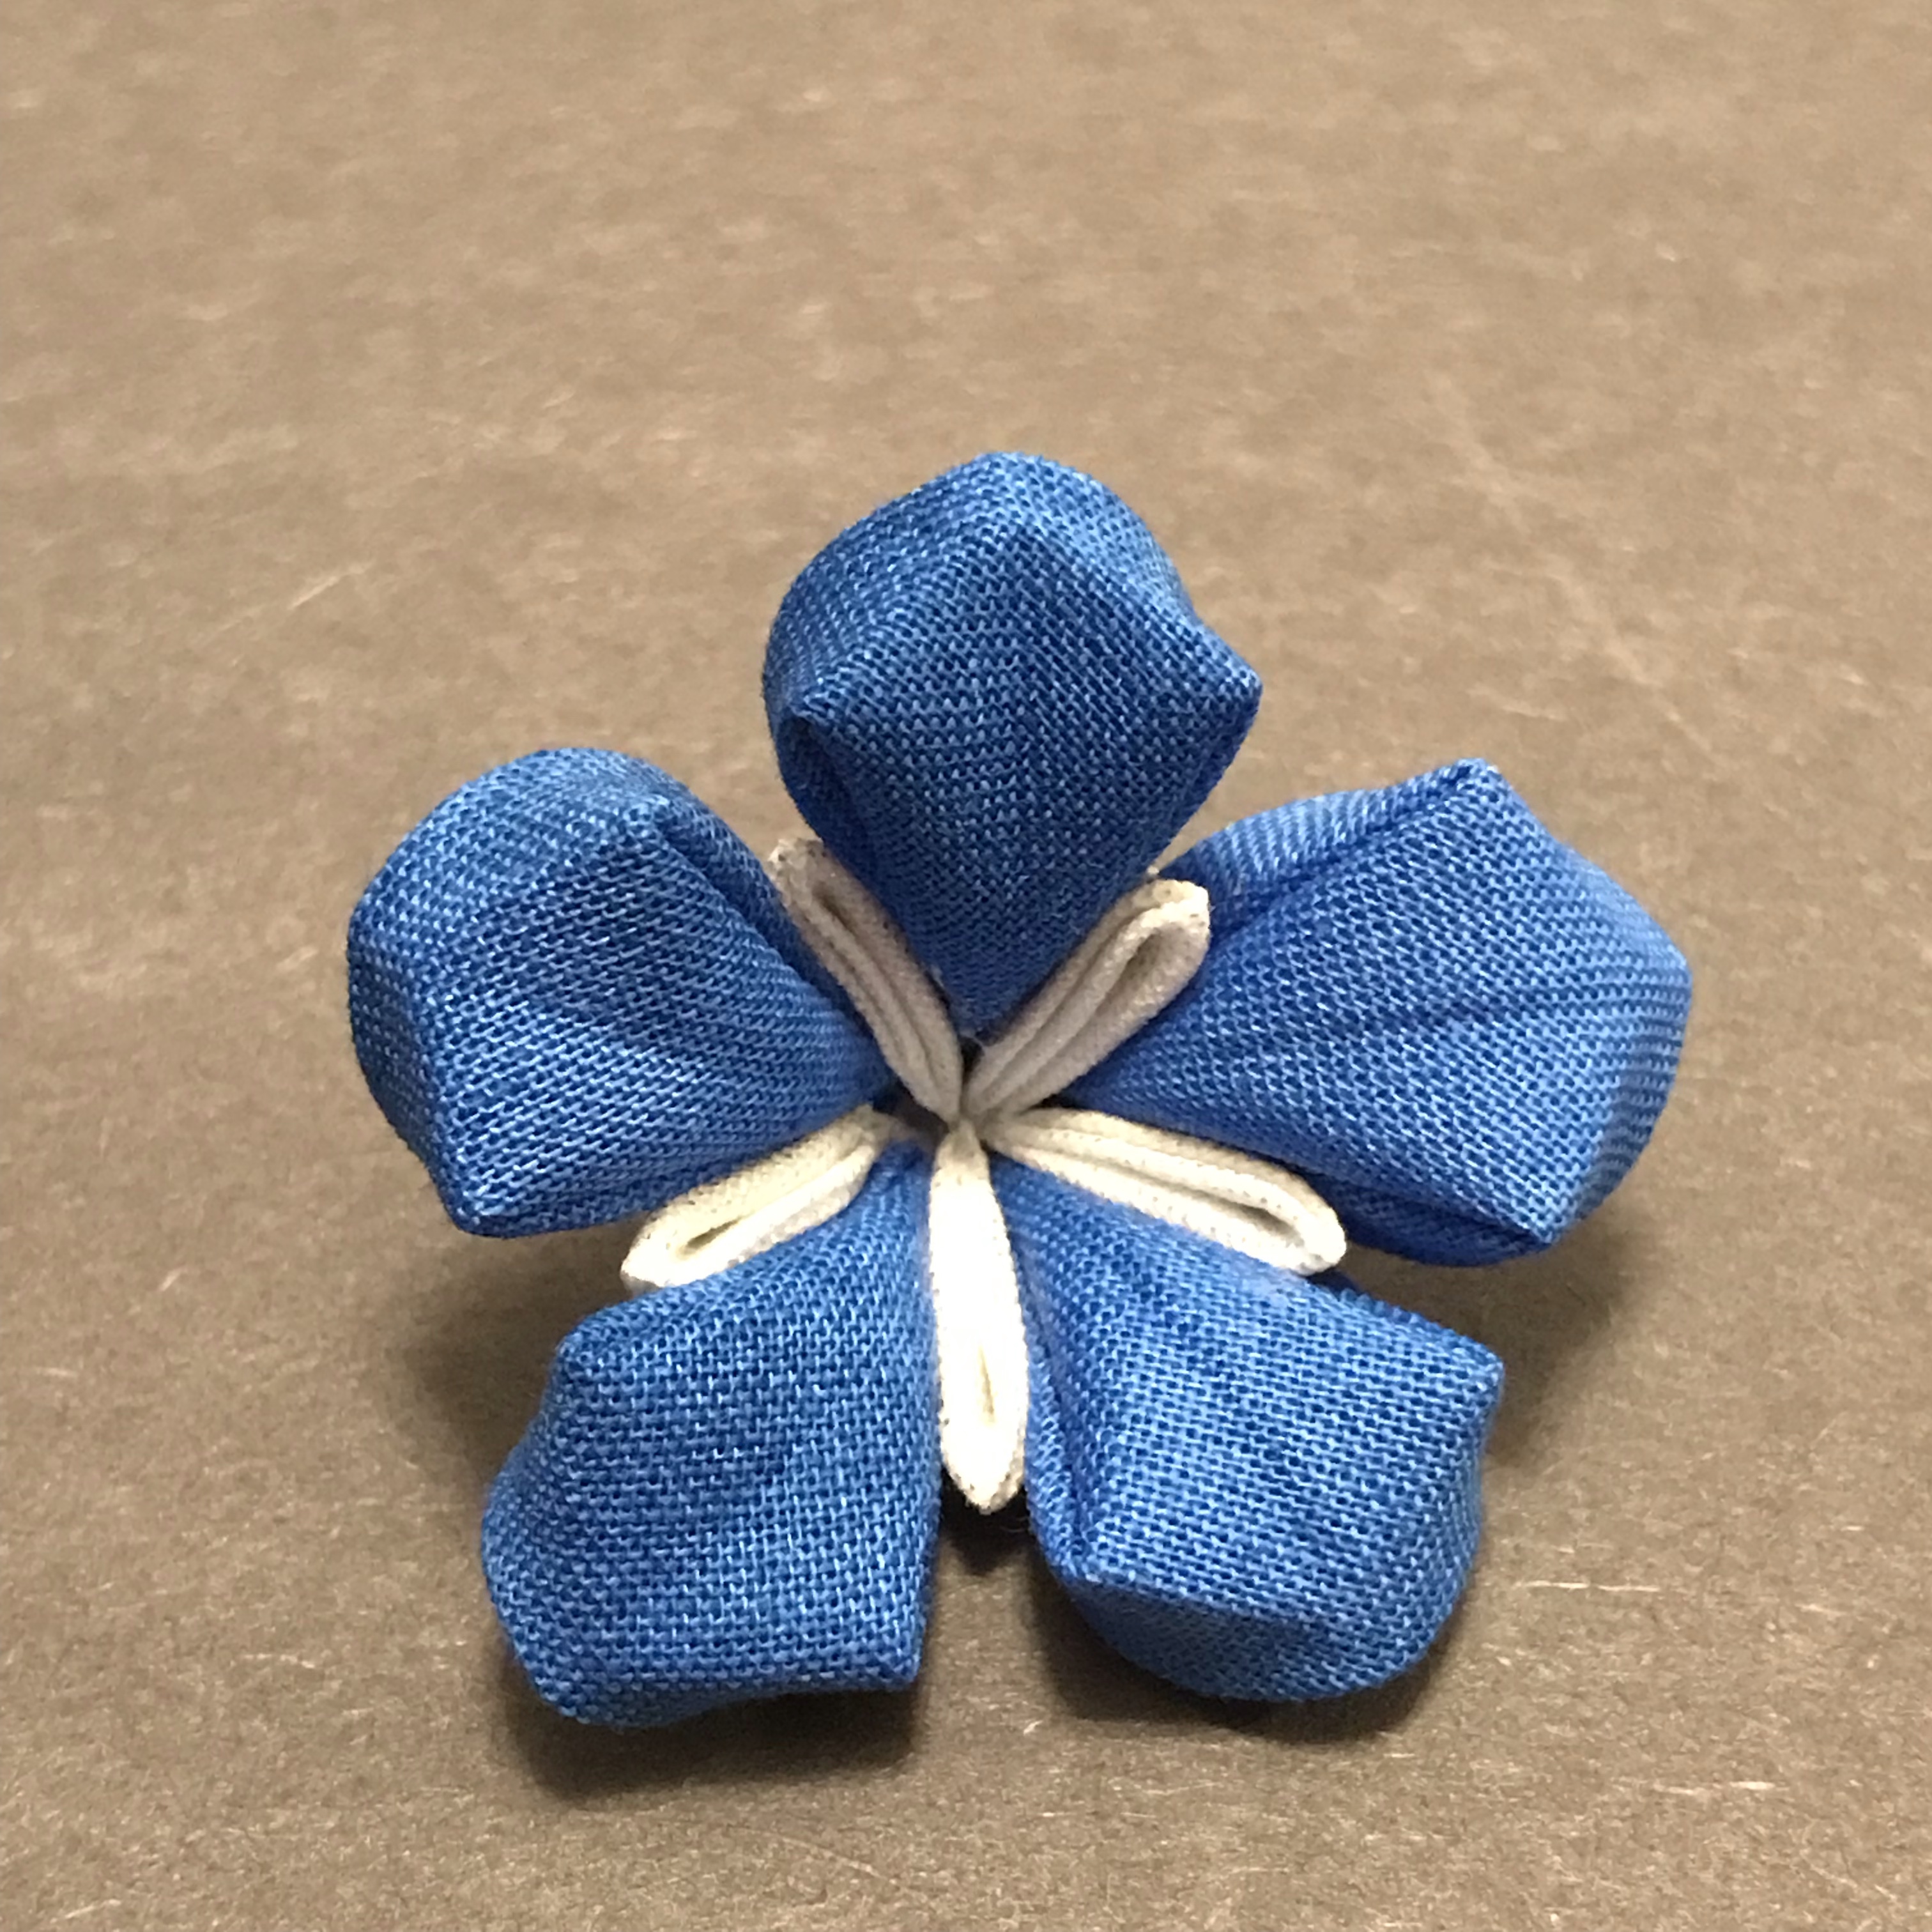
You can find Asagao, the Japanese morning glory, in almost all colors, but it is usually blue, purple, or pink. So today I would like to make a simple blue Asagao tsumami zaiku flower with white stripes.

You’ll be learning new techniques this time! The first is making a corn-shaped base, and the next is turning petals inside out. They may be a little bit hard at first, but don’t worry! You can do it!
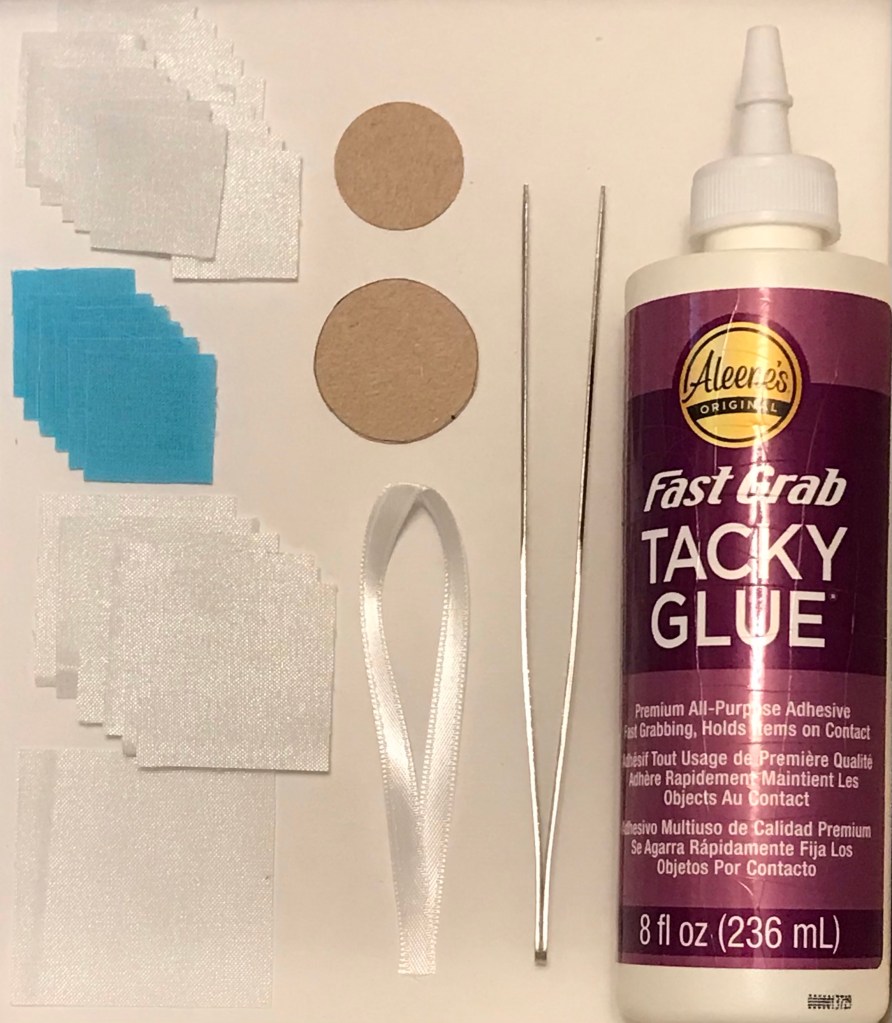
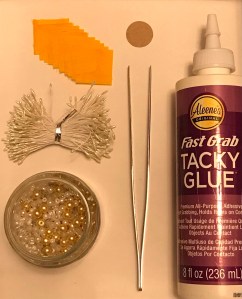
You will need:
- five 1.5 (3.8 cm) inch blue cloth squares
- five 1 (2.5 cm) inch white cloth squares
- one 1 (2.5 cm) inch round thick paper disc
- one 1.5 (3.8 cm) inch white cloth square
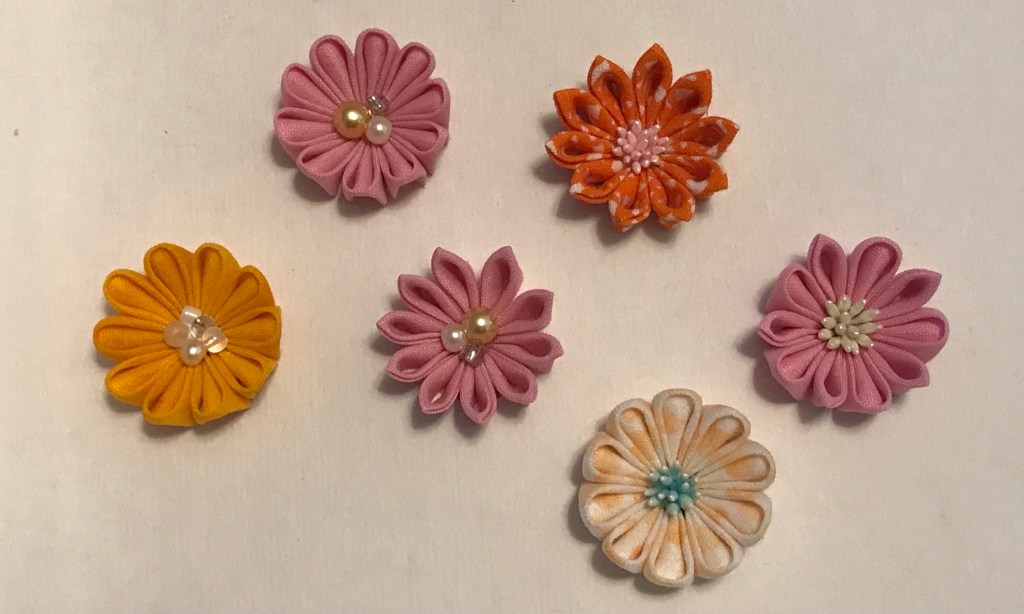
- decorations for the center (see my examples!)
- glue
- tweezers
- wet towel to clean your finger
How to make:
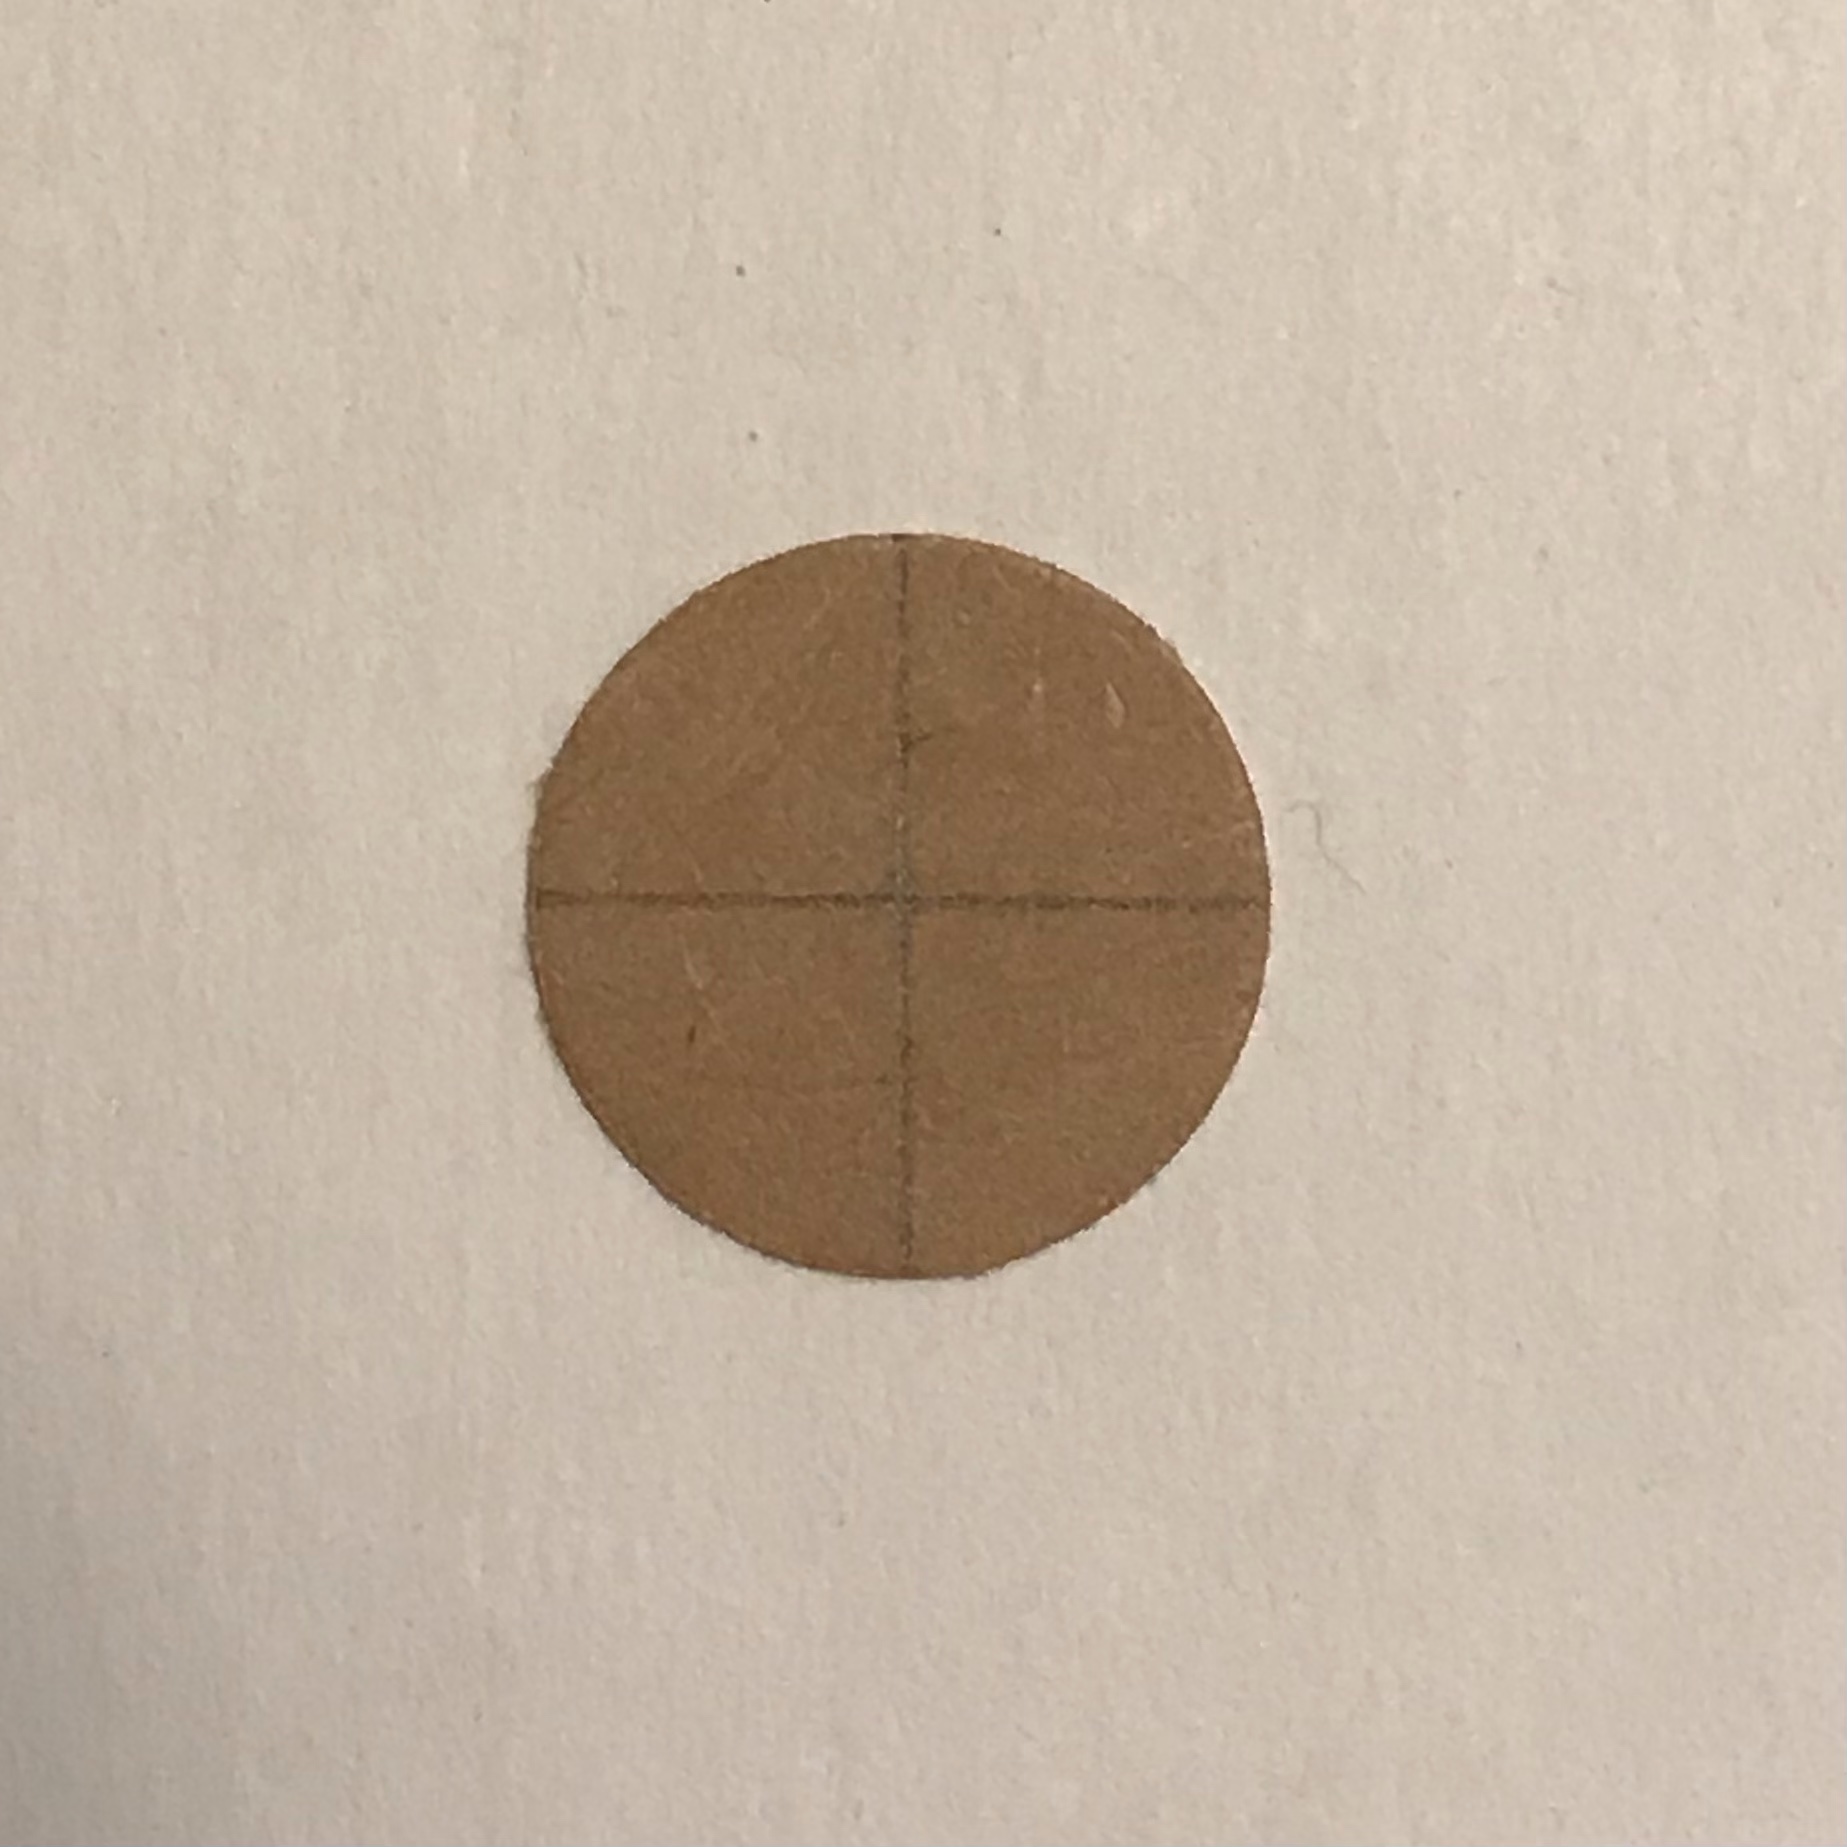
1.Make a base.

a. Slit the paper disc halfway and glue about ¼ of it.

b. Put some glue on the convex side and put 1.5 inch white cloth on.
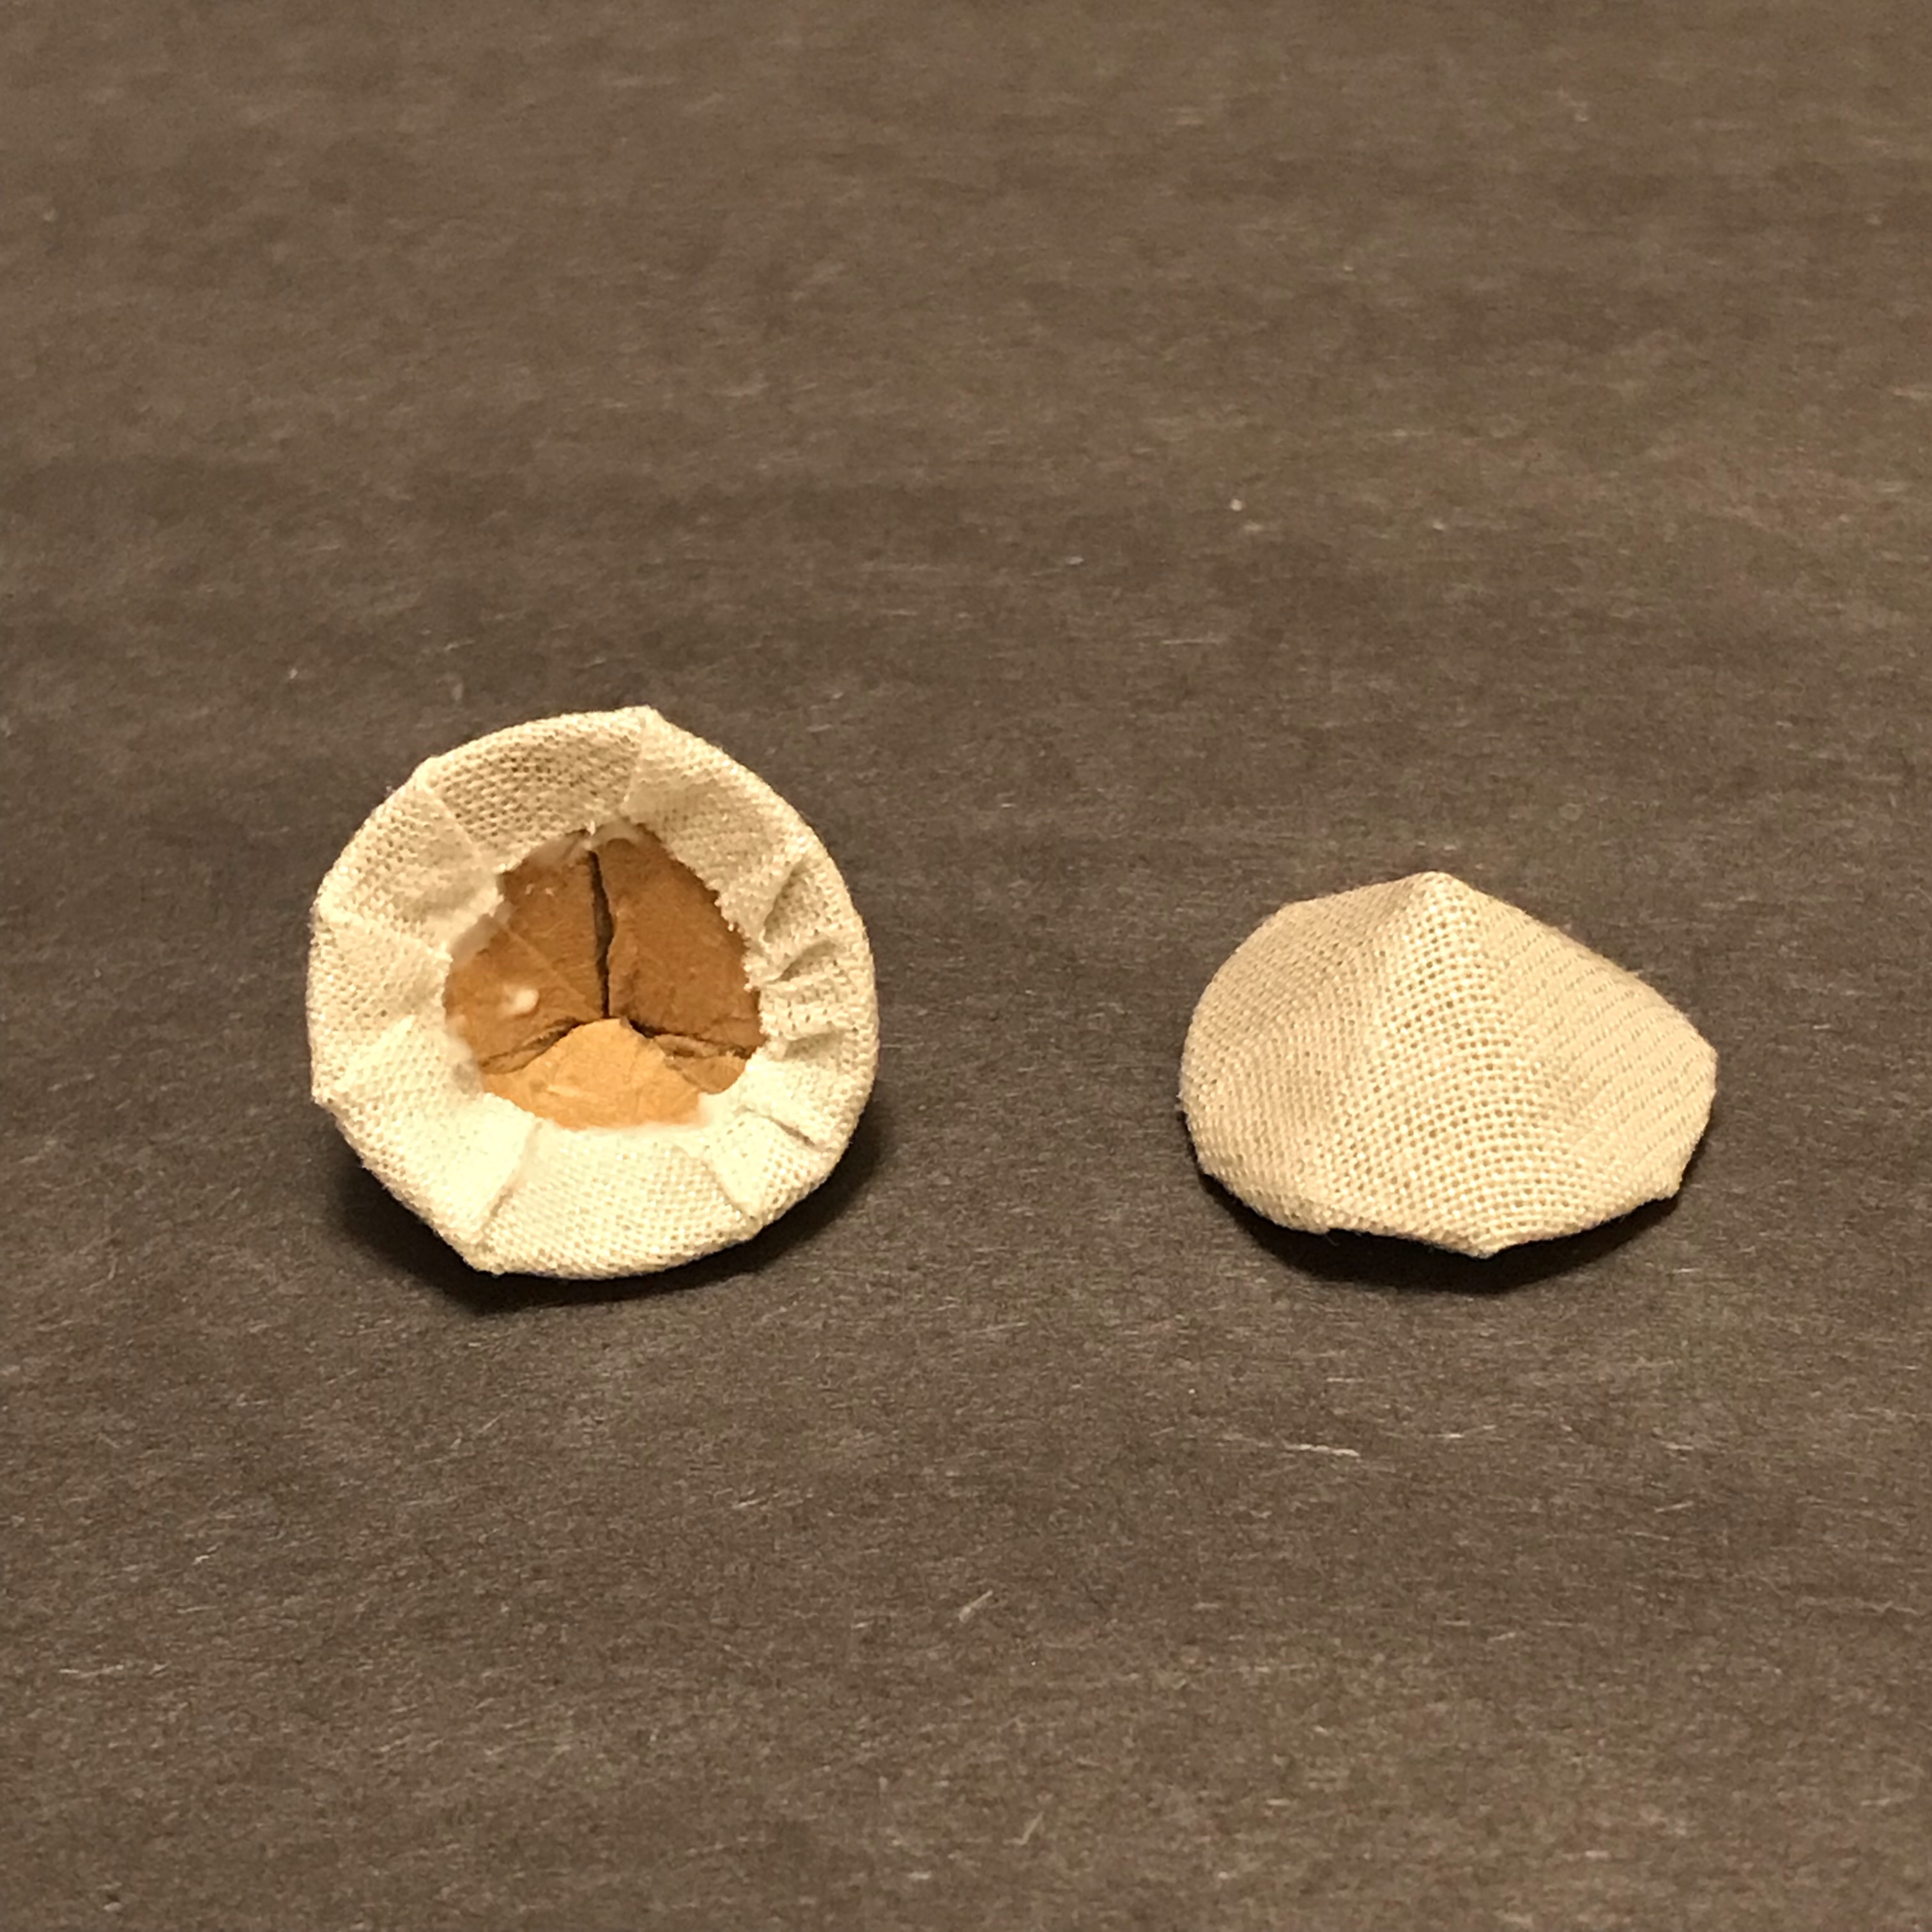
c. Cut off the excess cloth and glue the cloth inside (concave side).
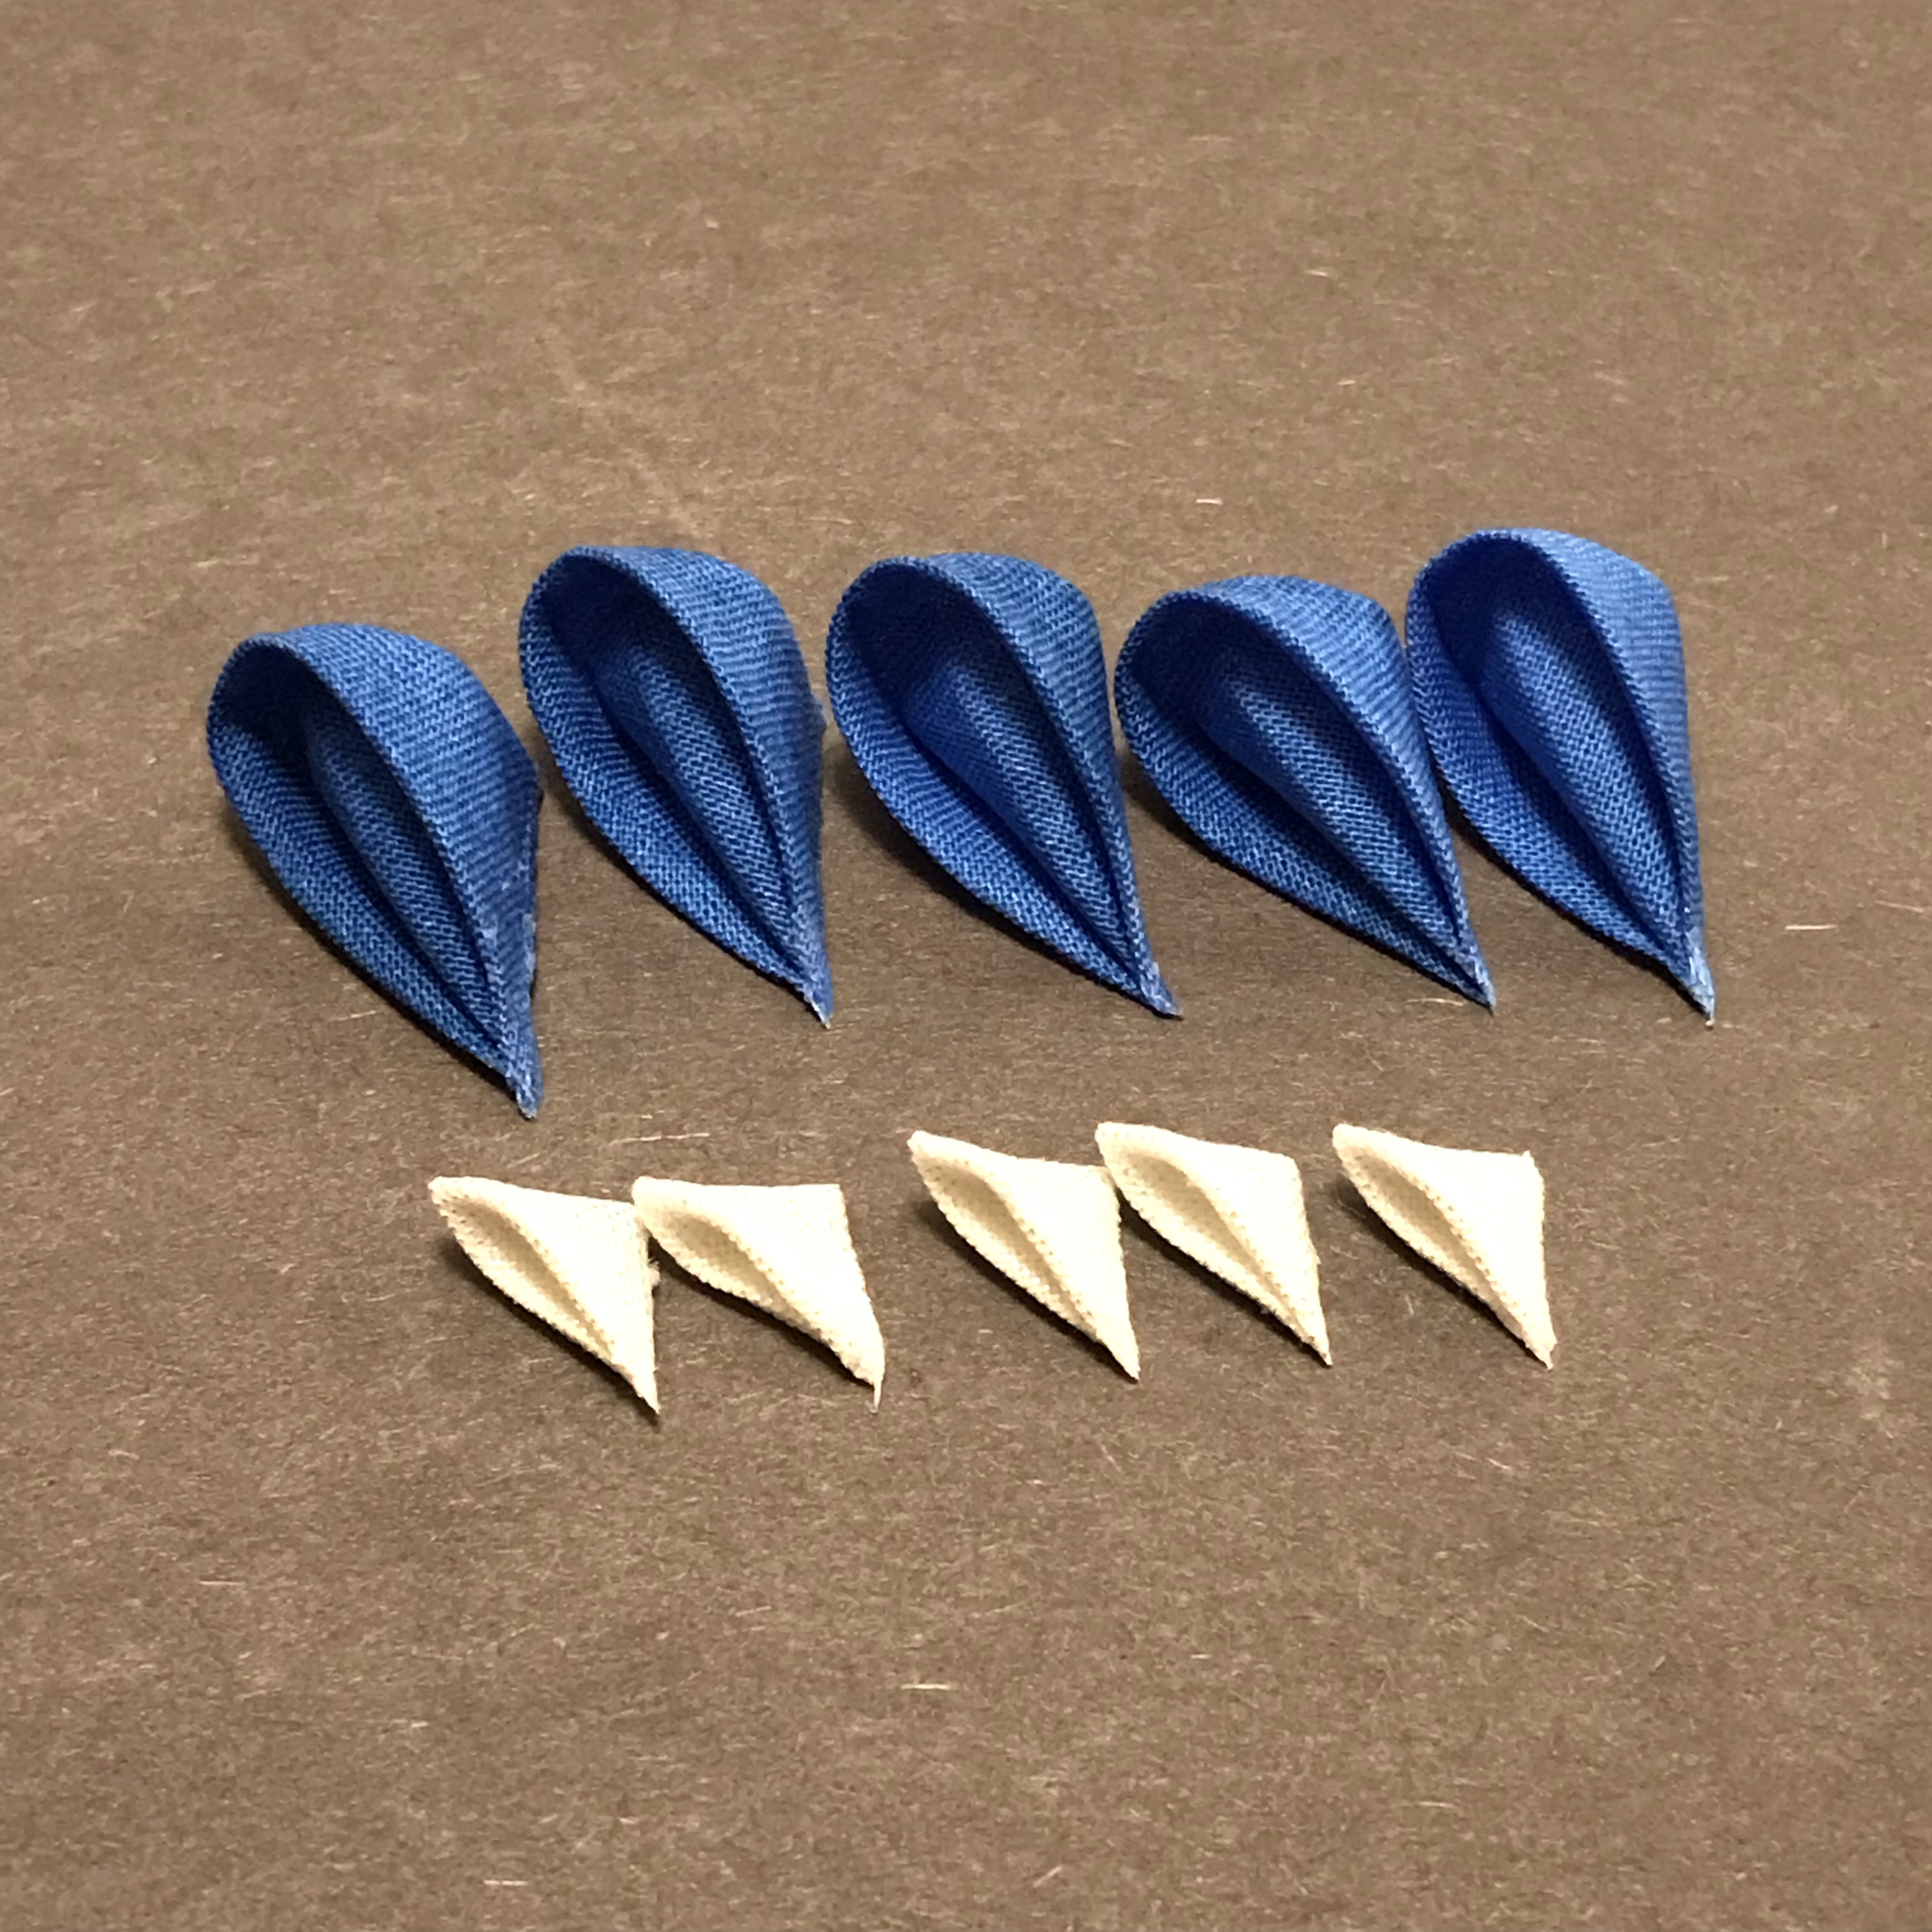
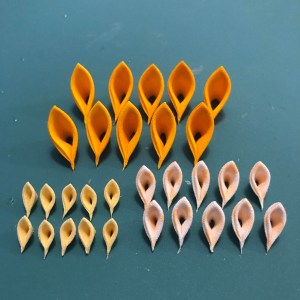
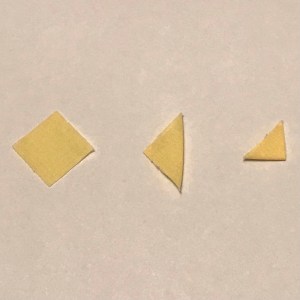
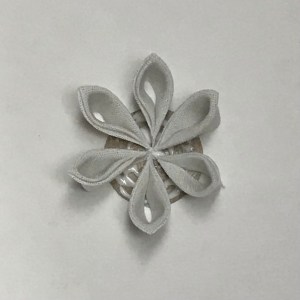
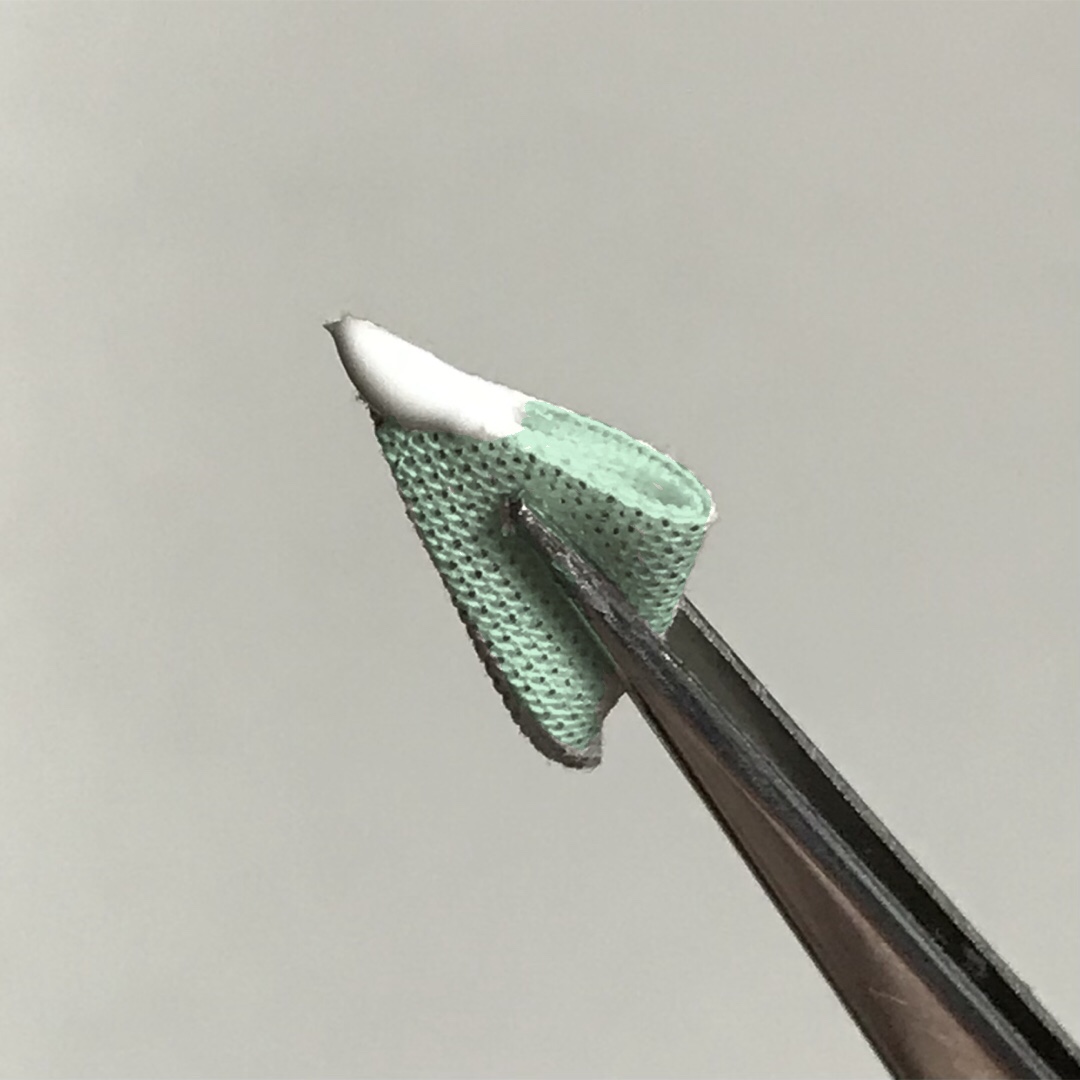
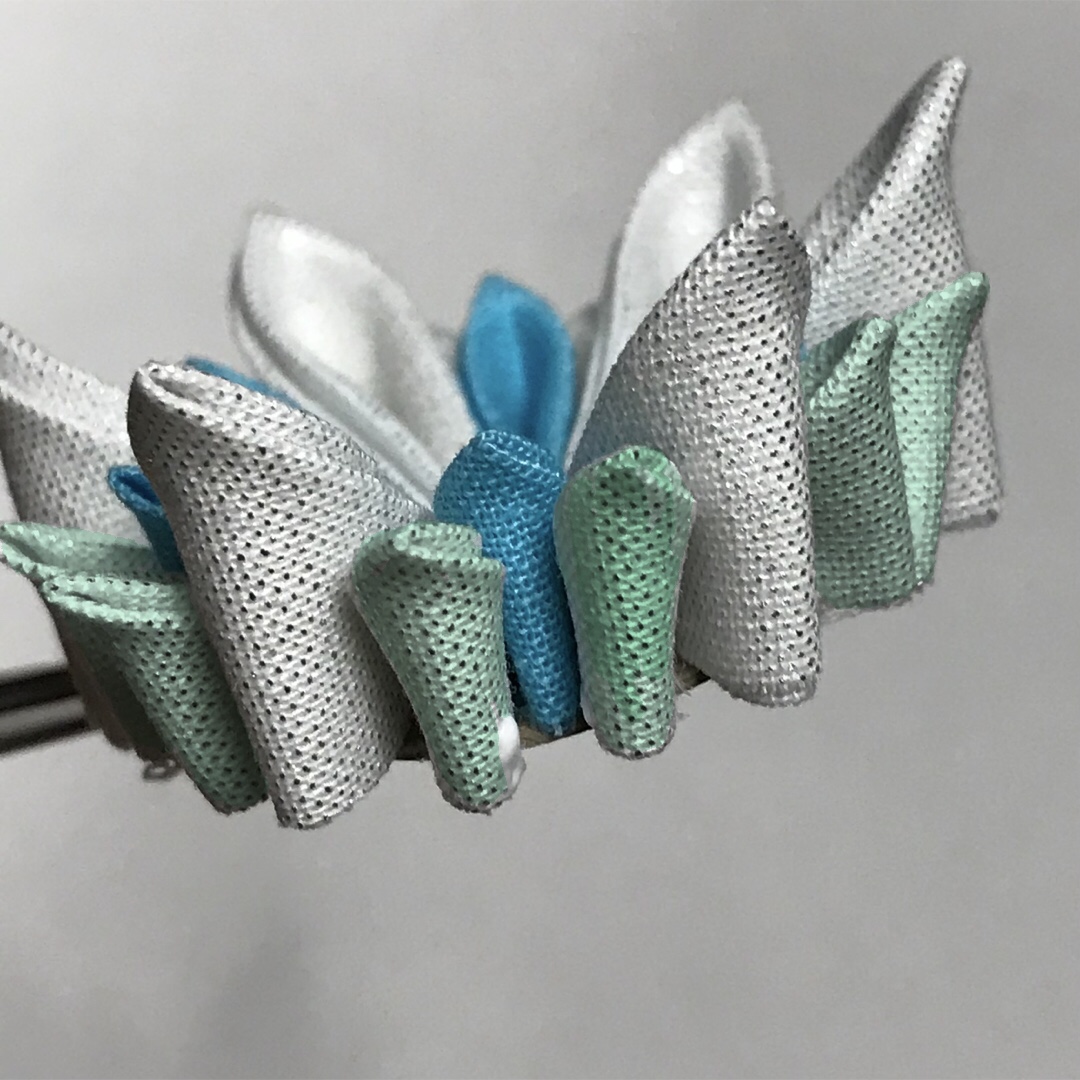
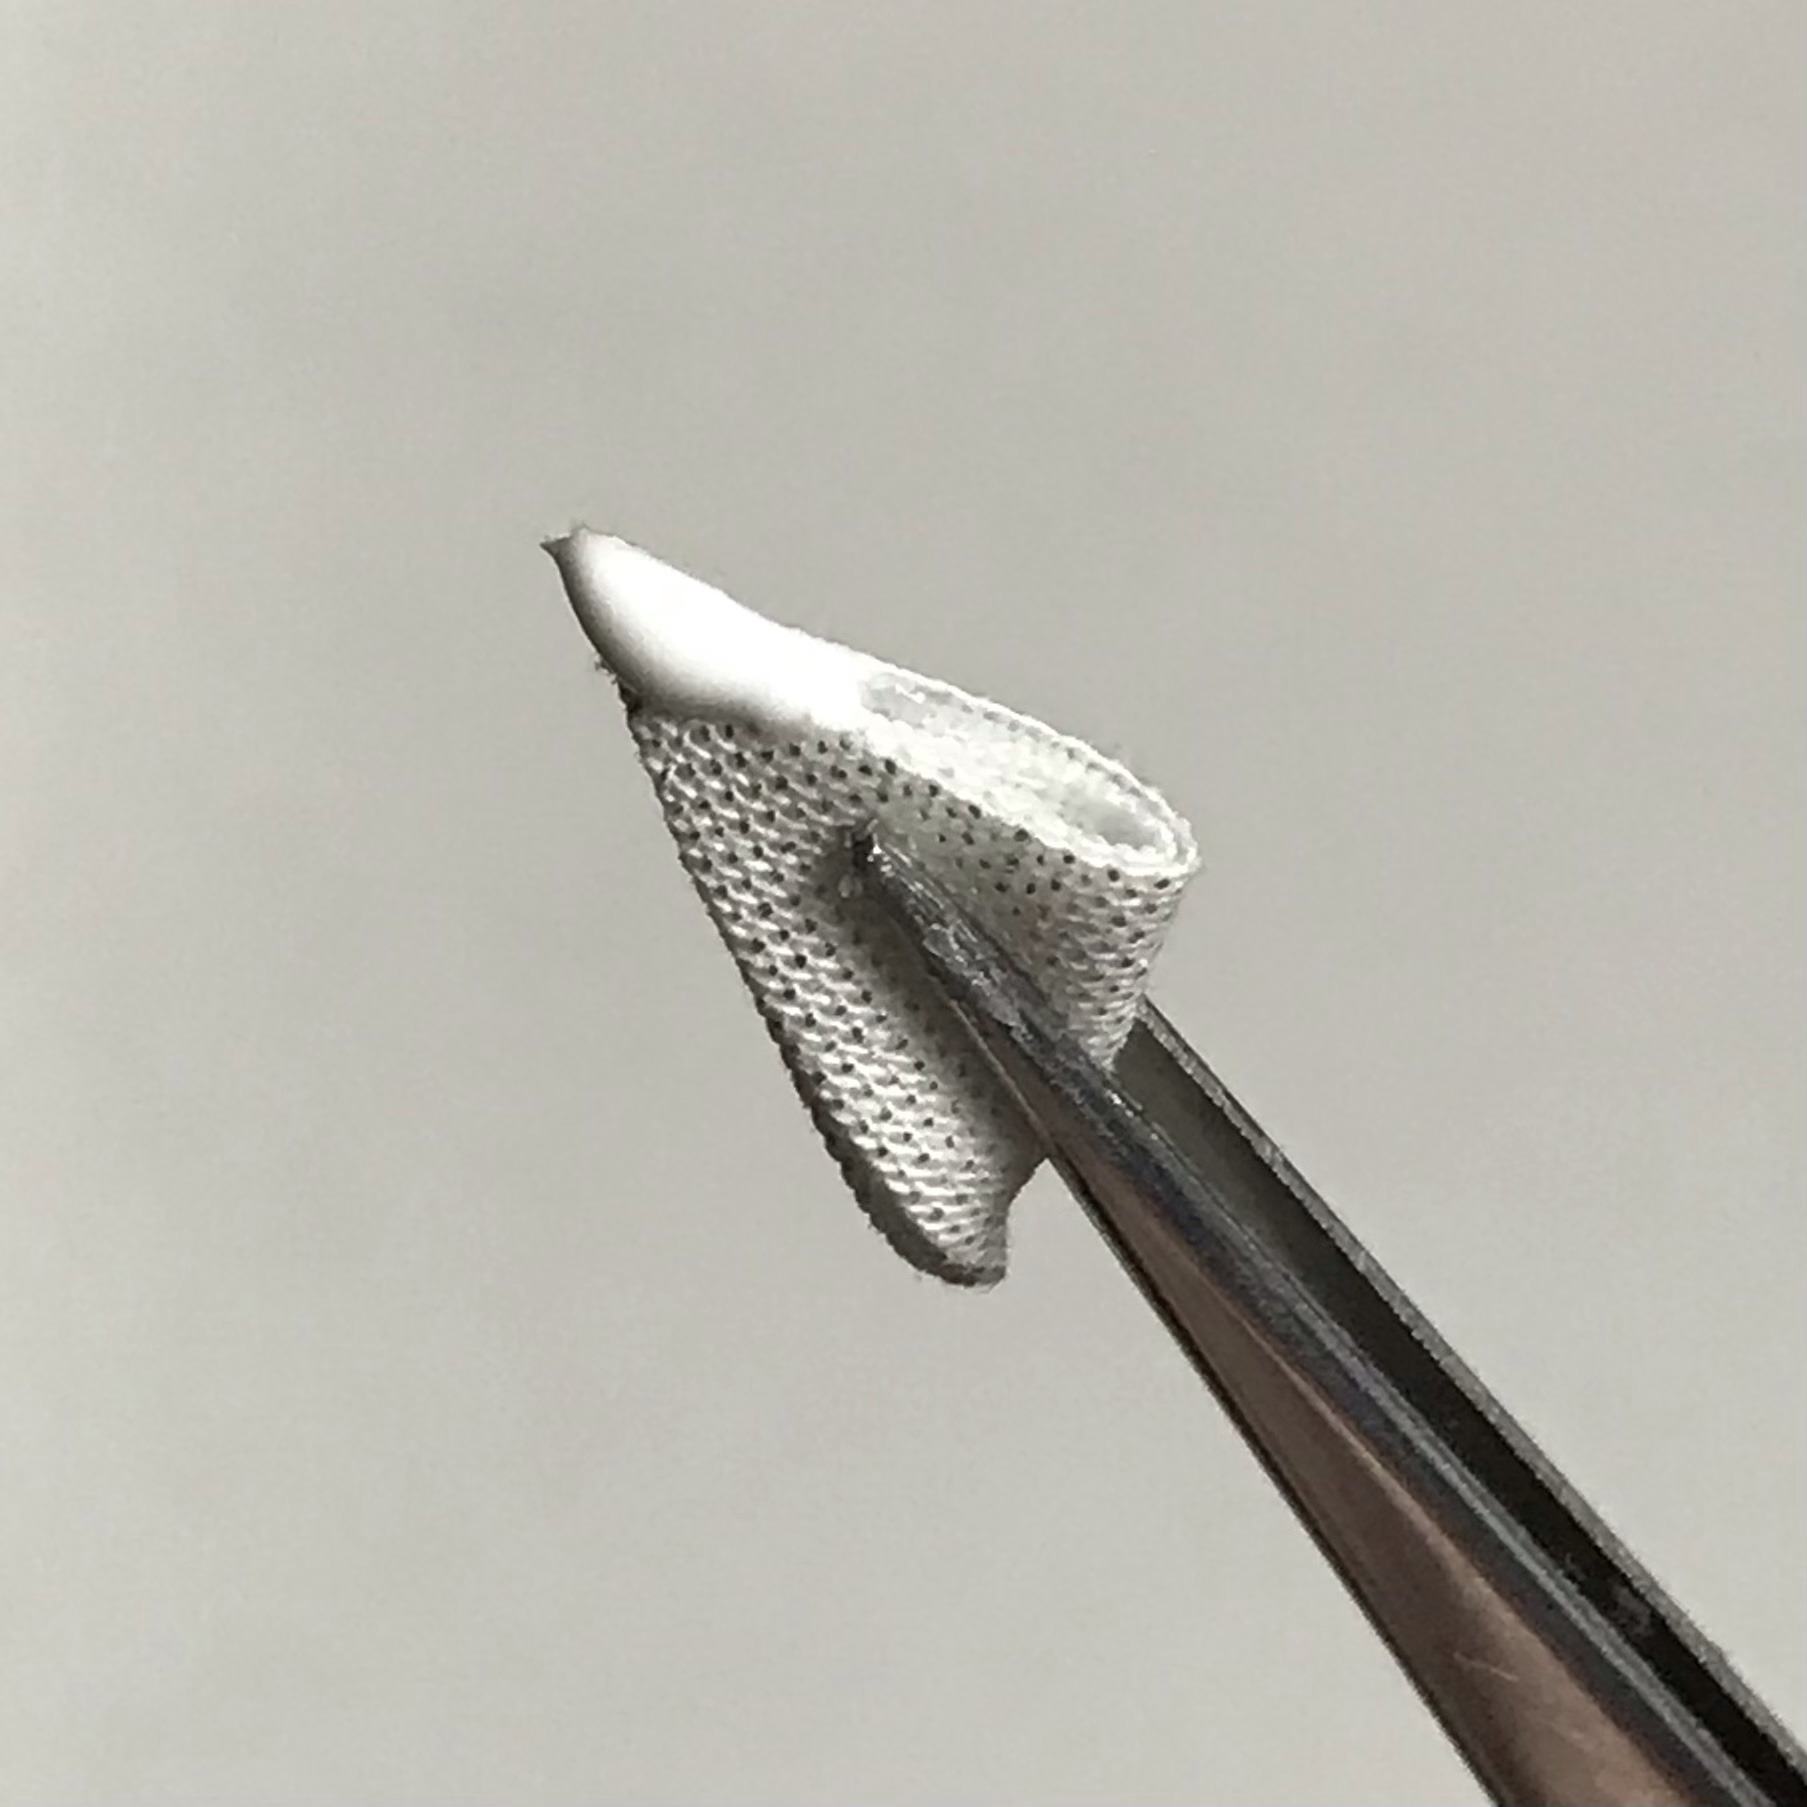
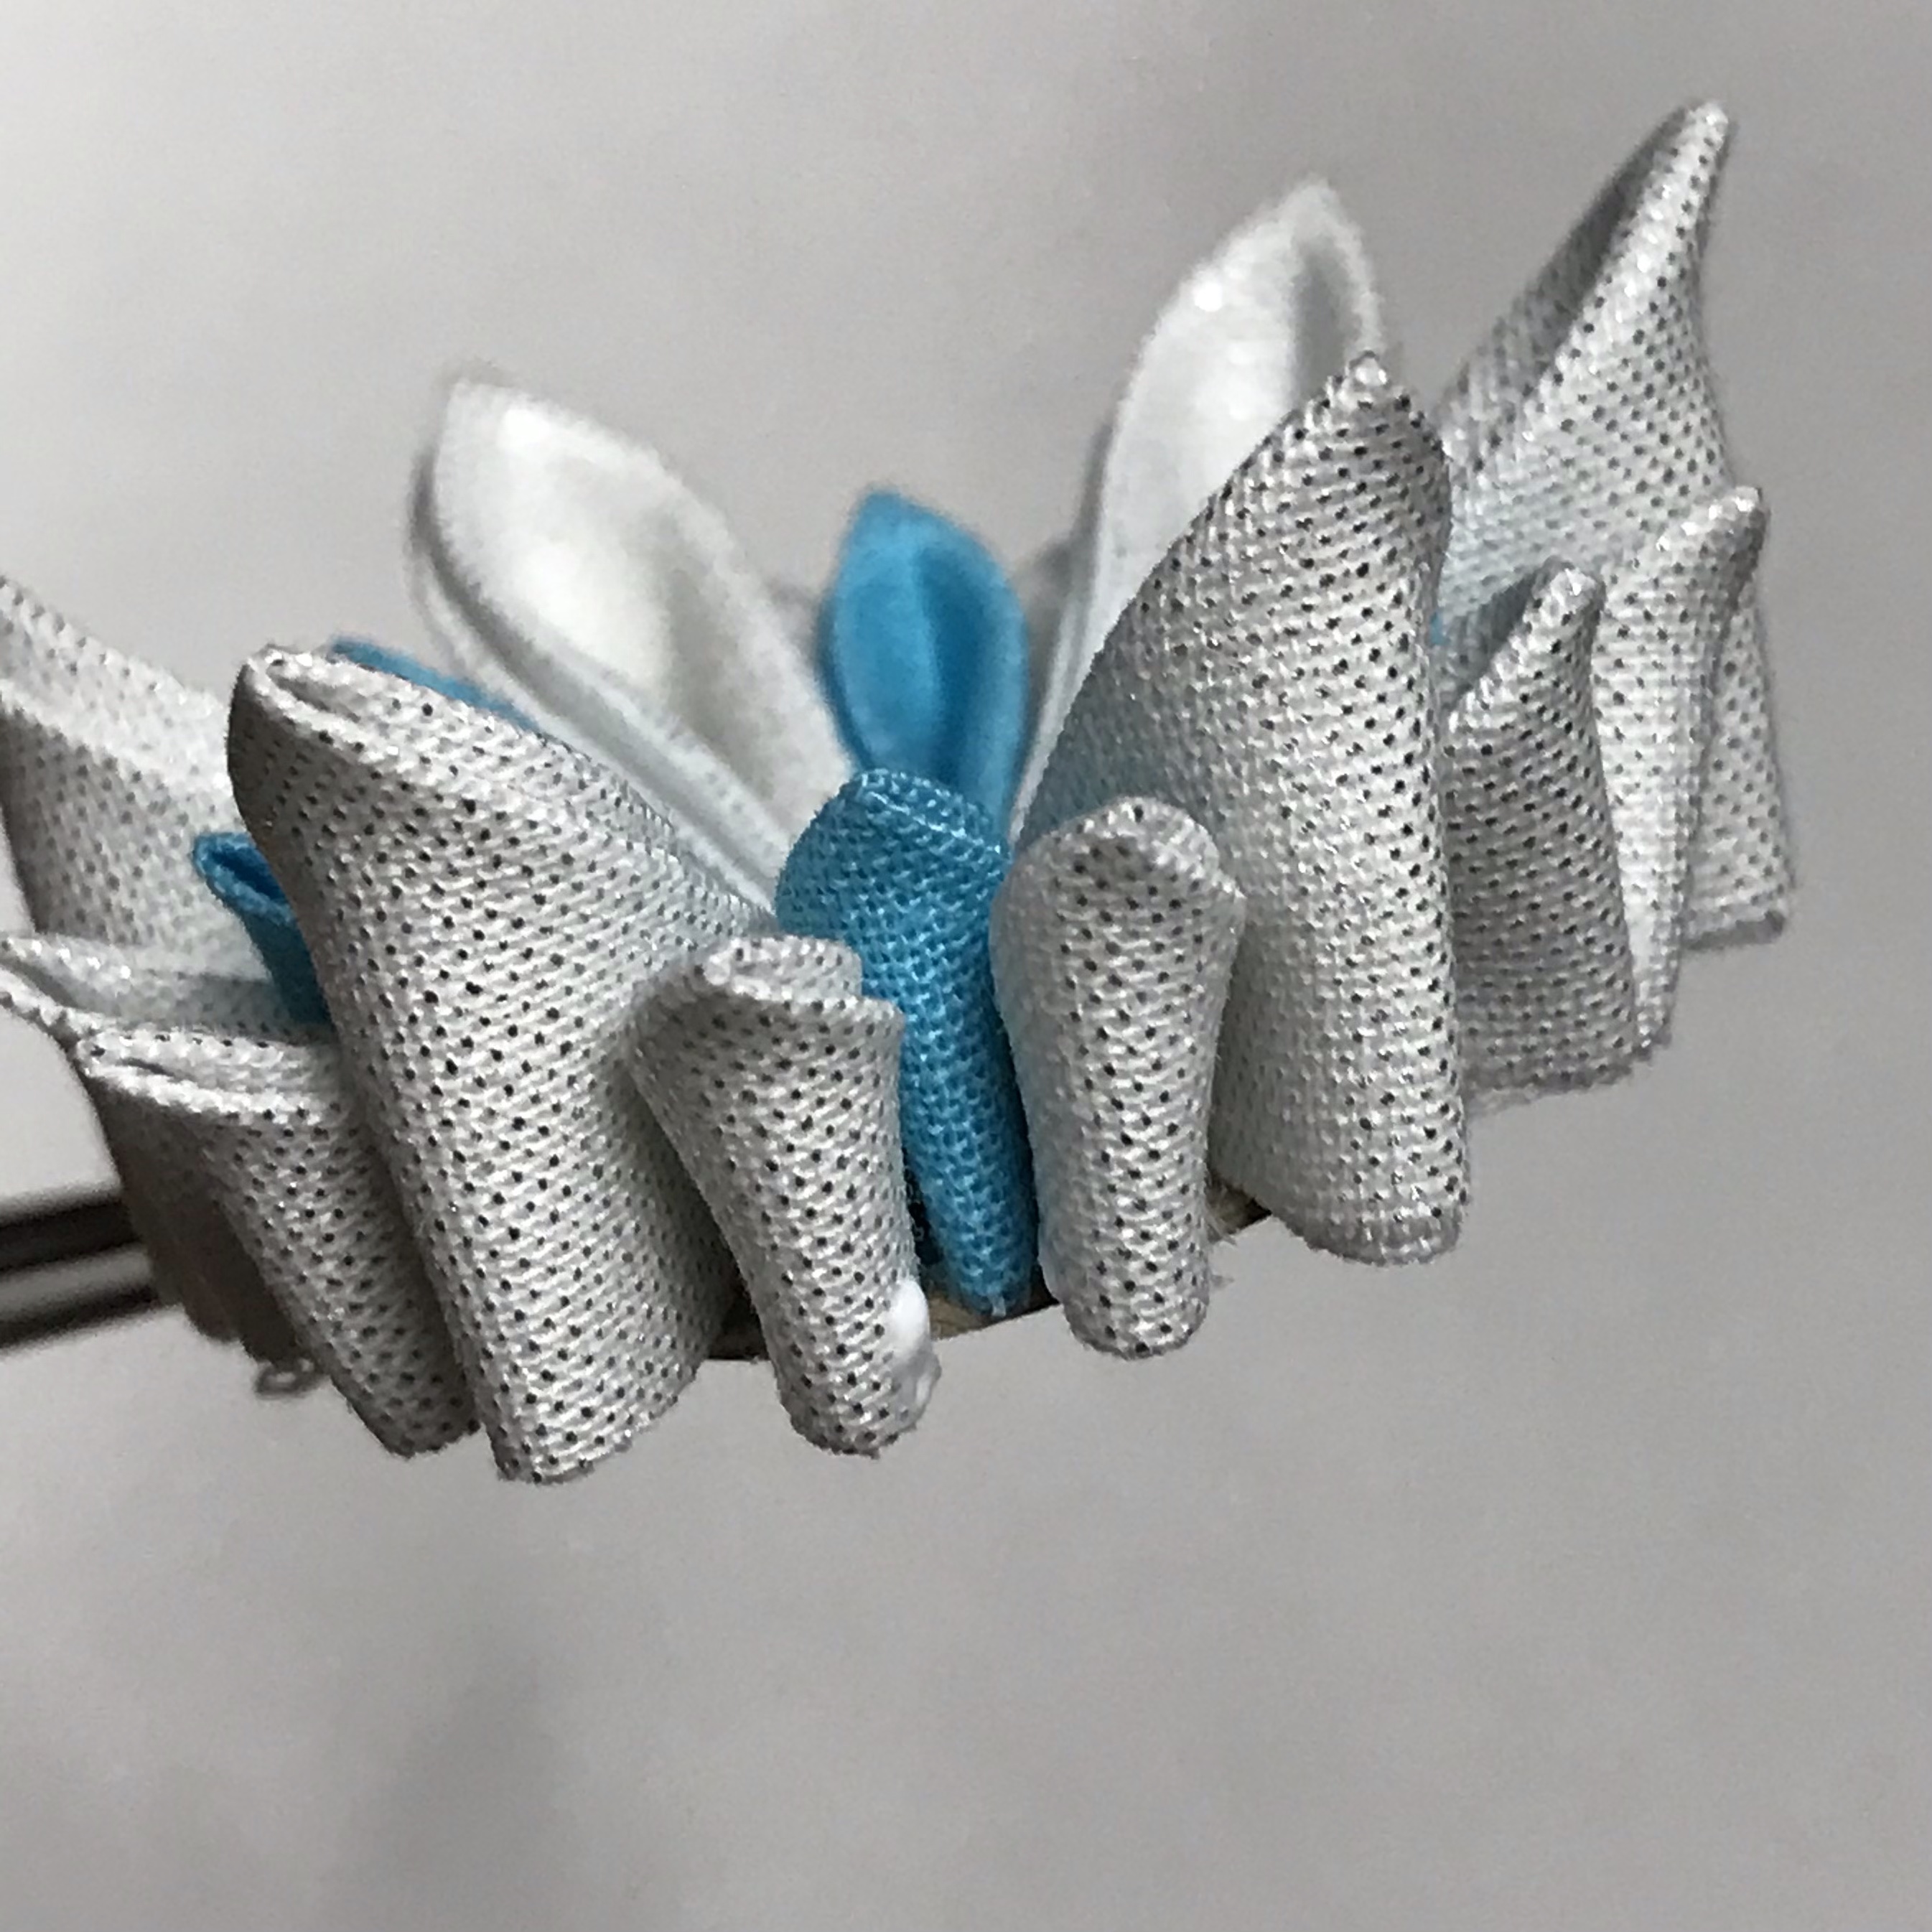
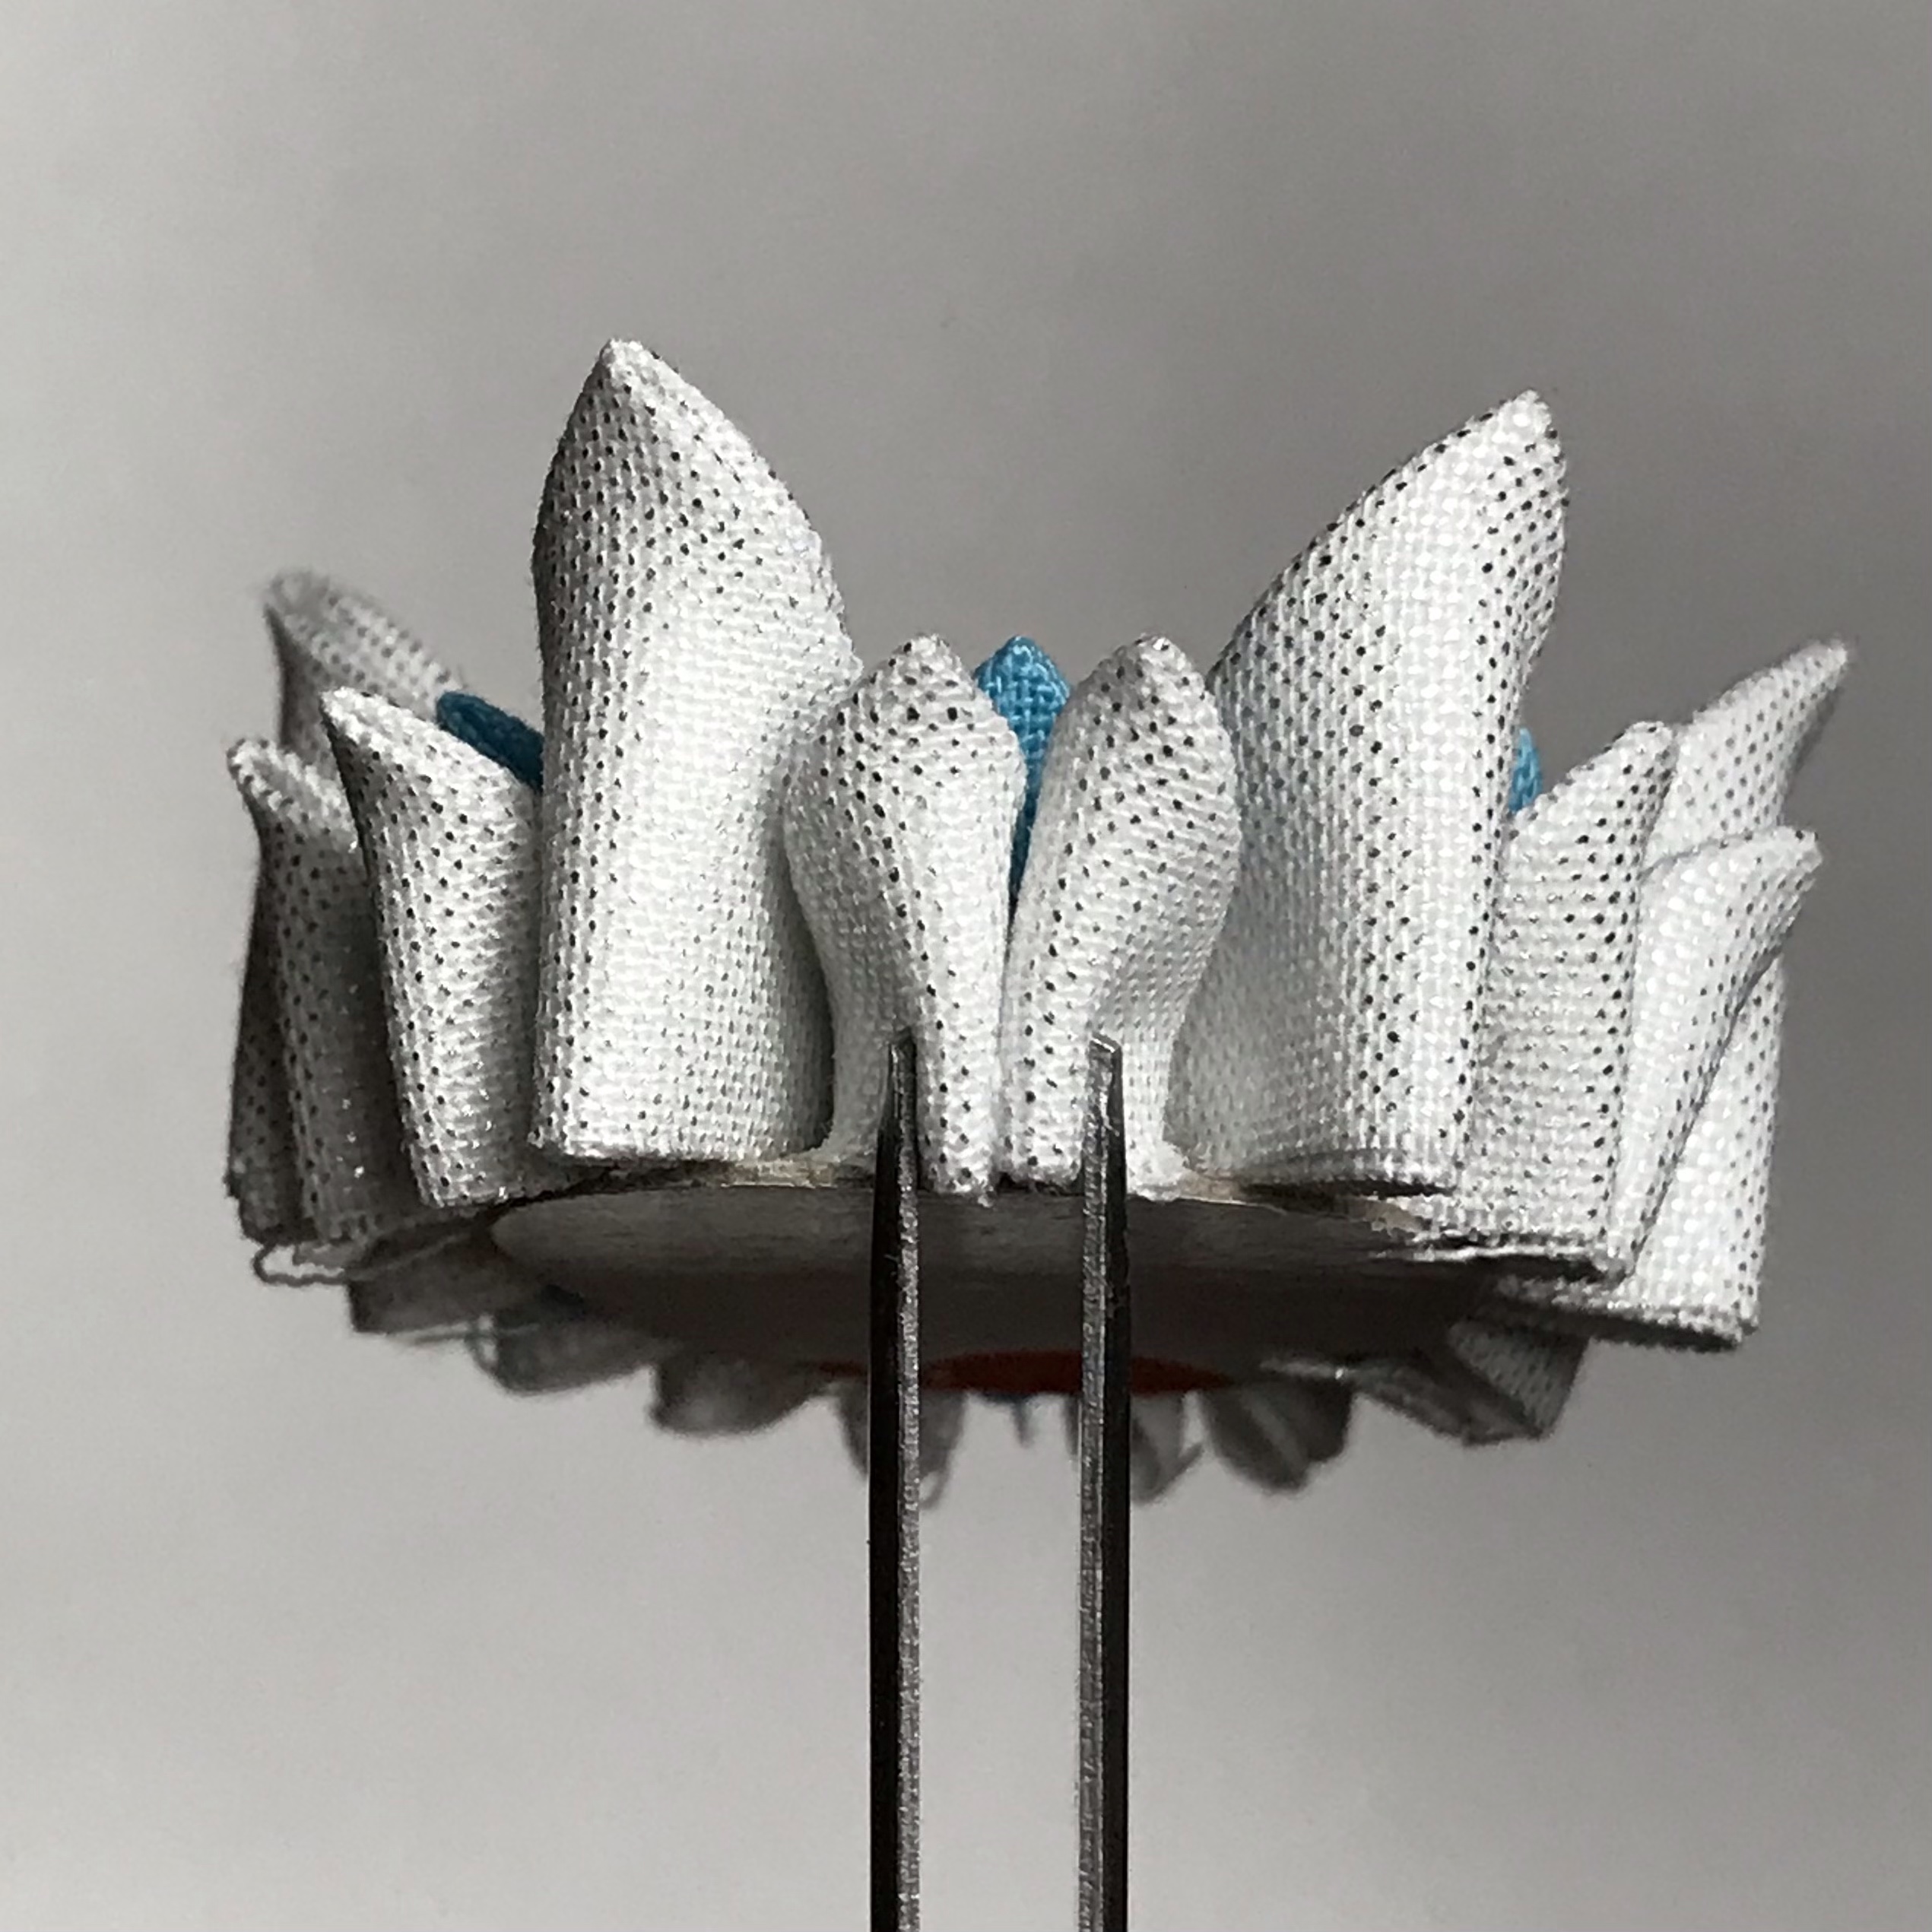
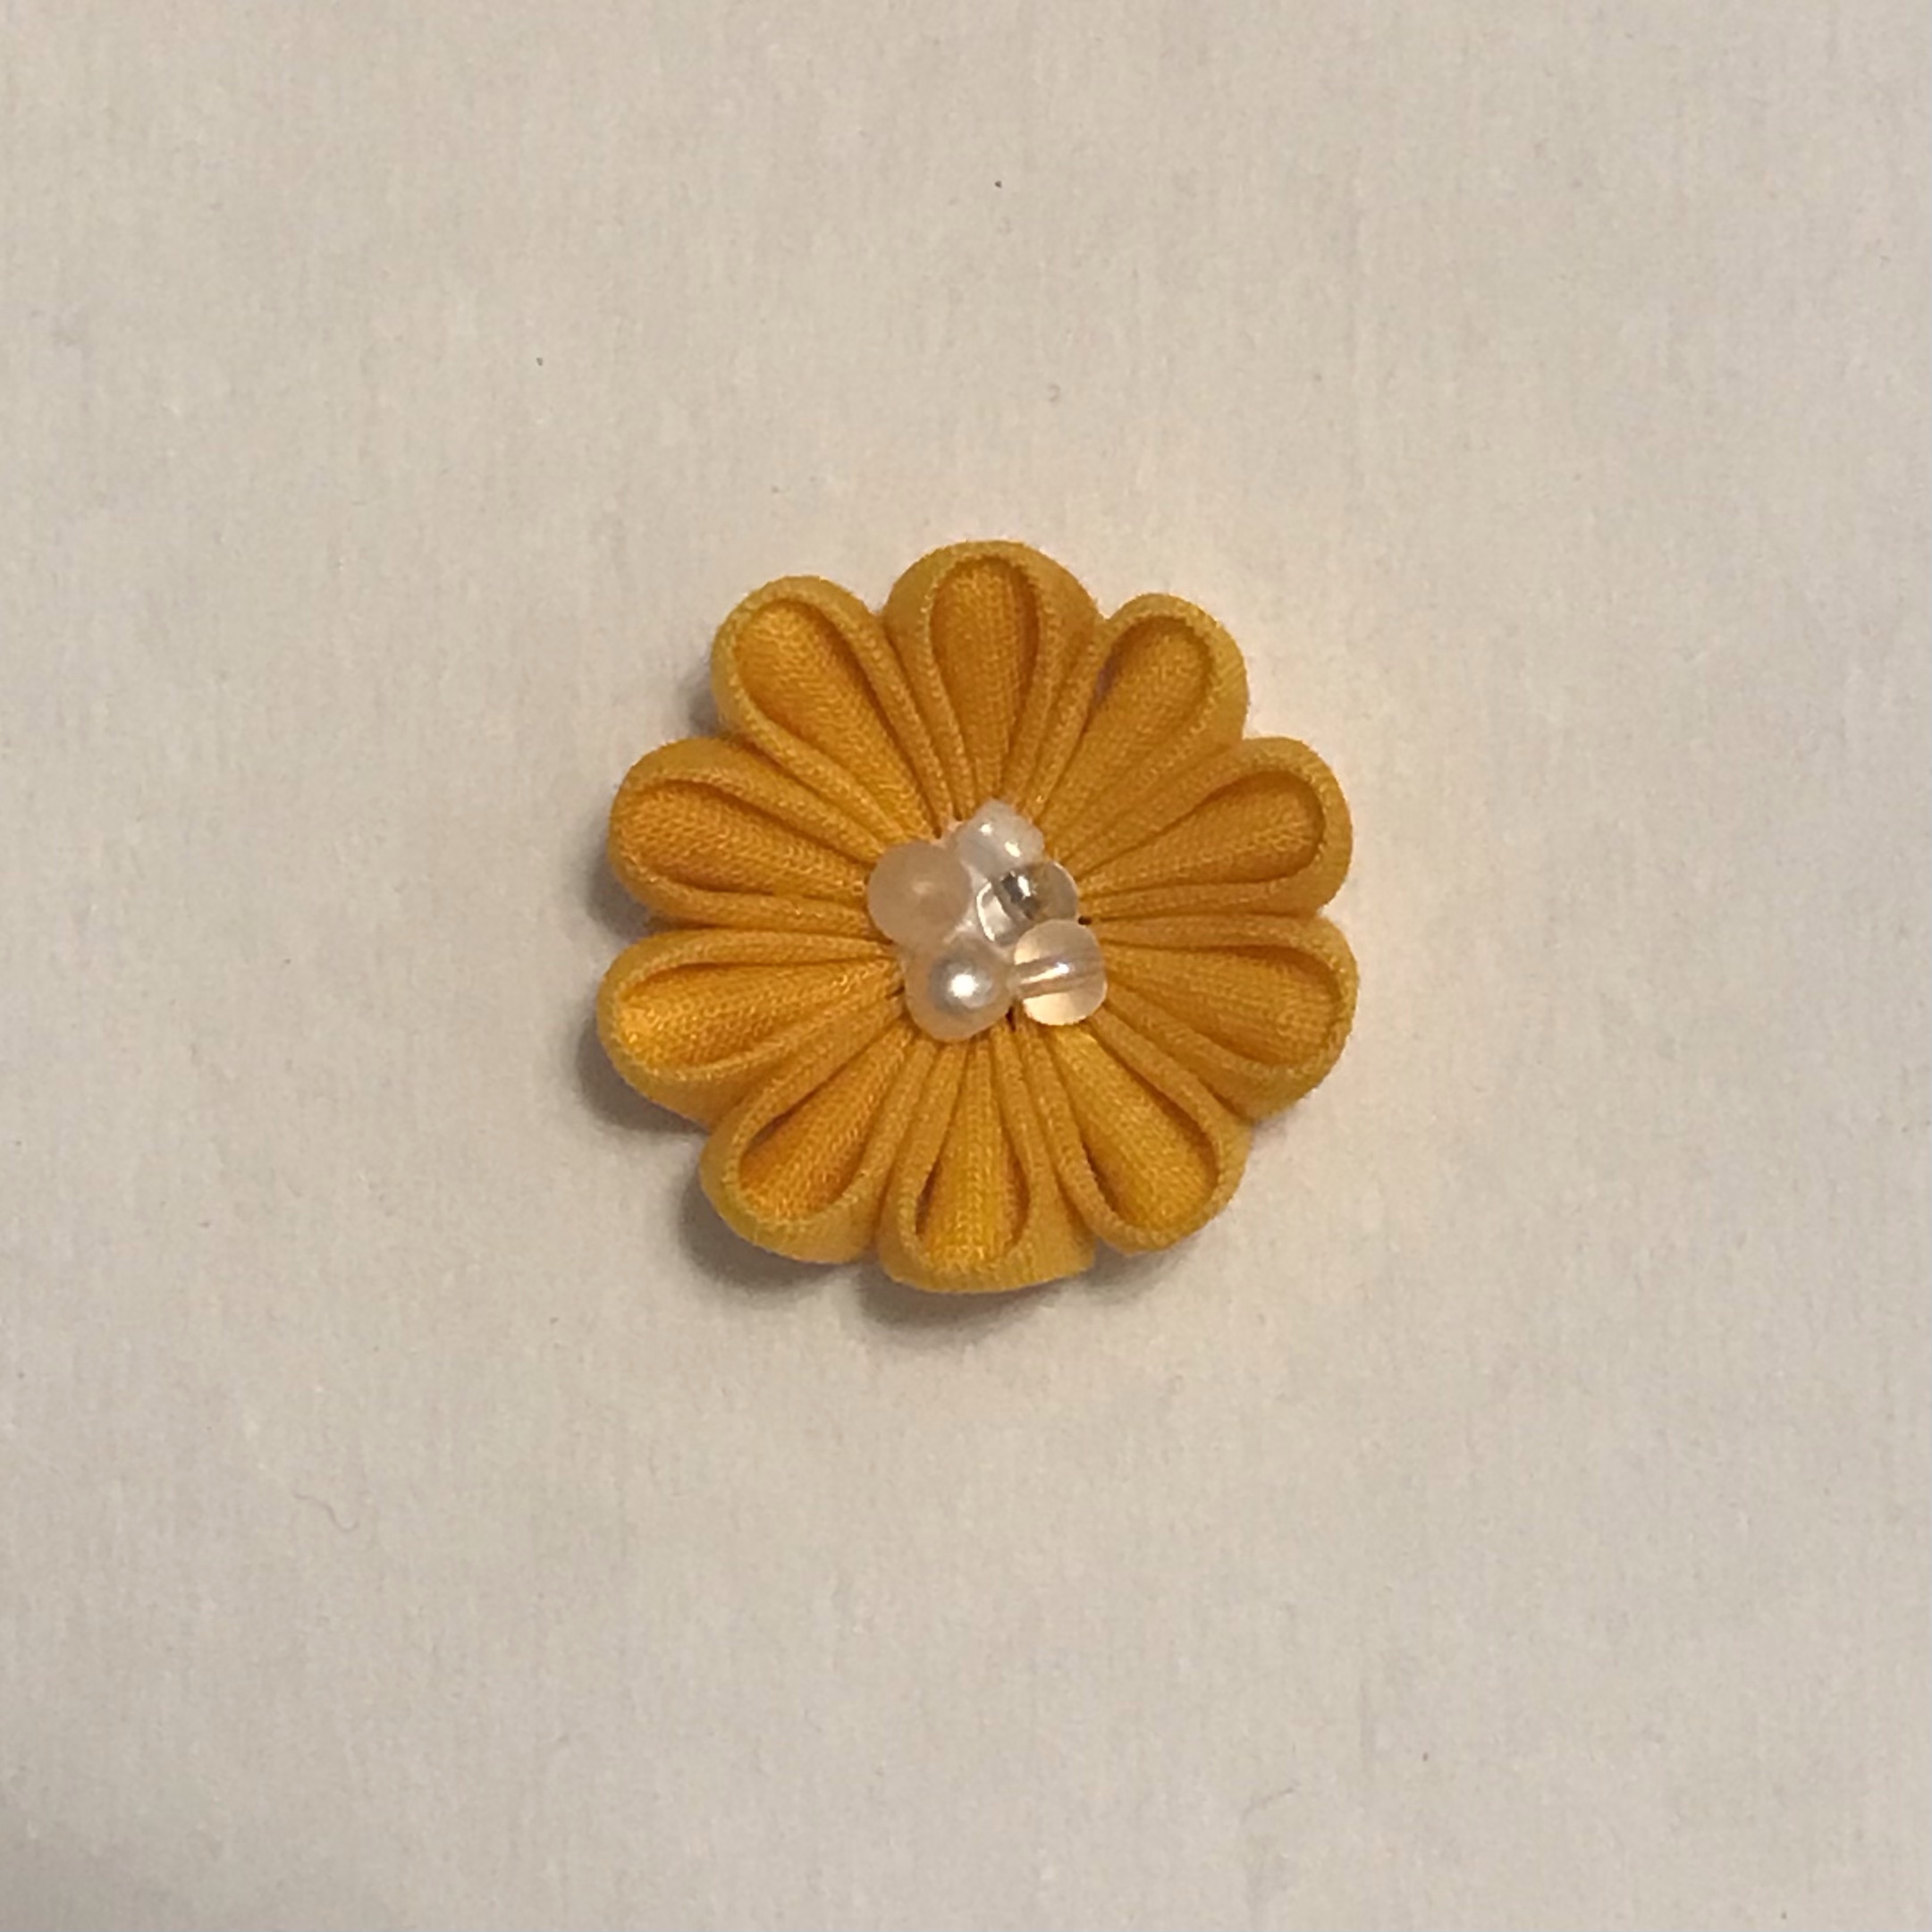
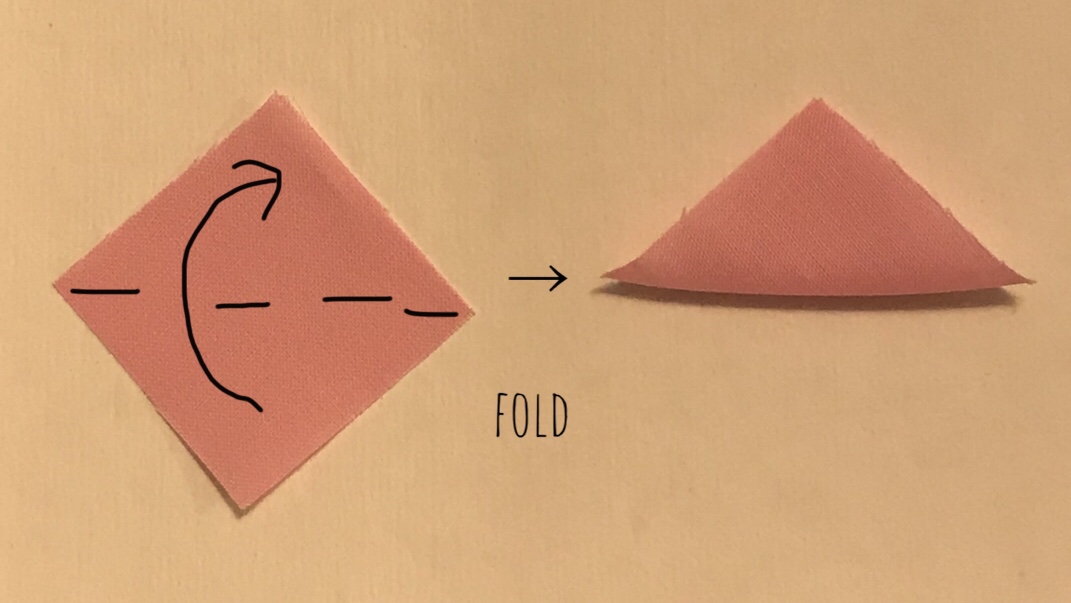
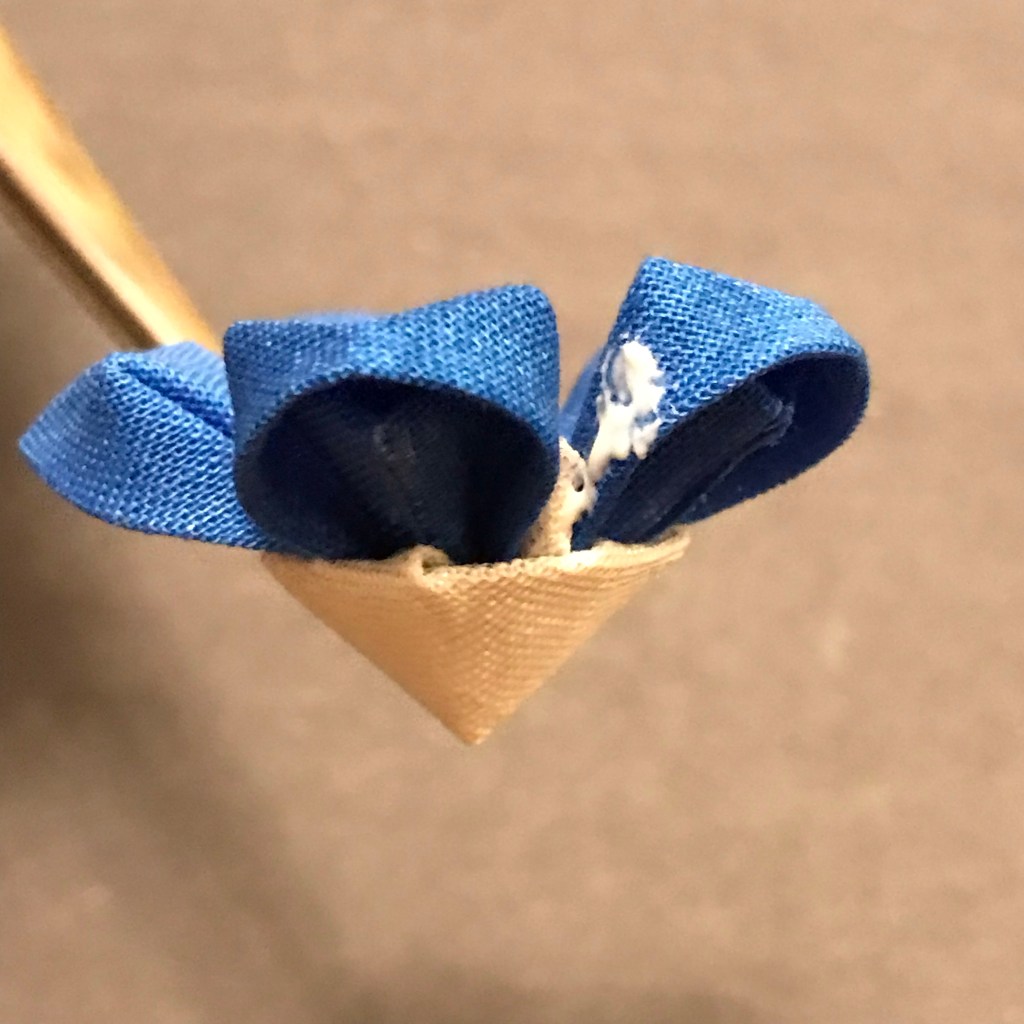
2. Make 5 petals with blue cloths using Maru-tsumami.
3. Make 5 petals with white cloths using Ken-tsumami.

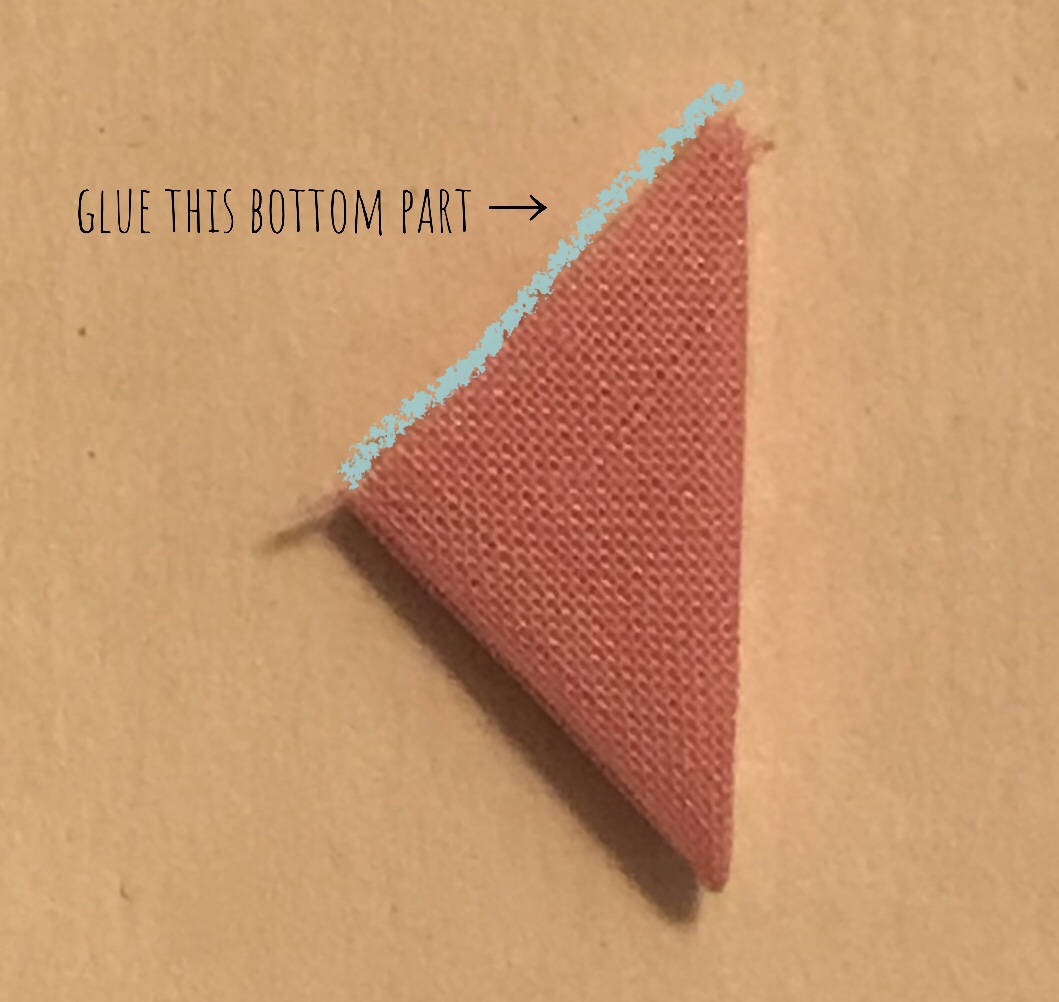
4. Cut the bottom parts of white petals.
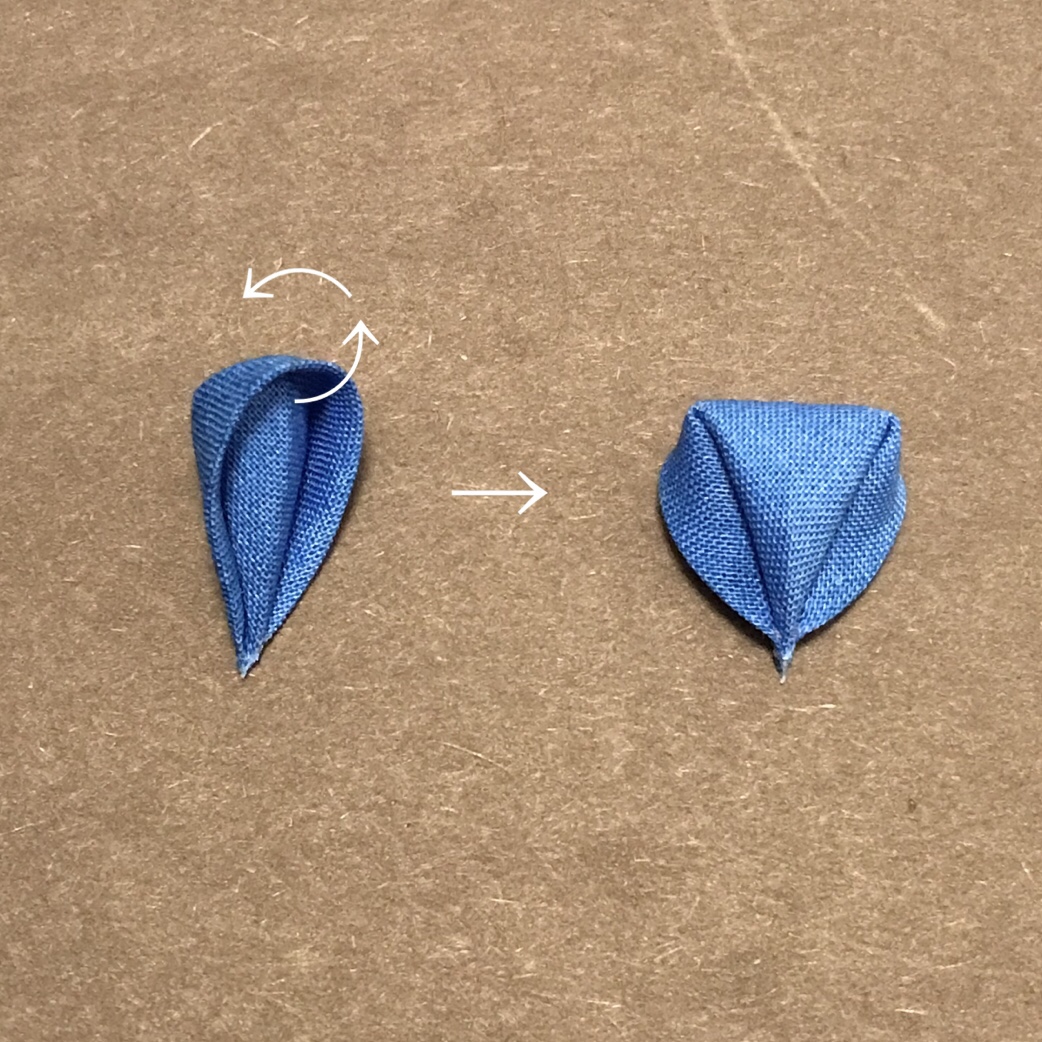
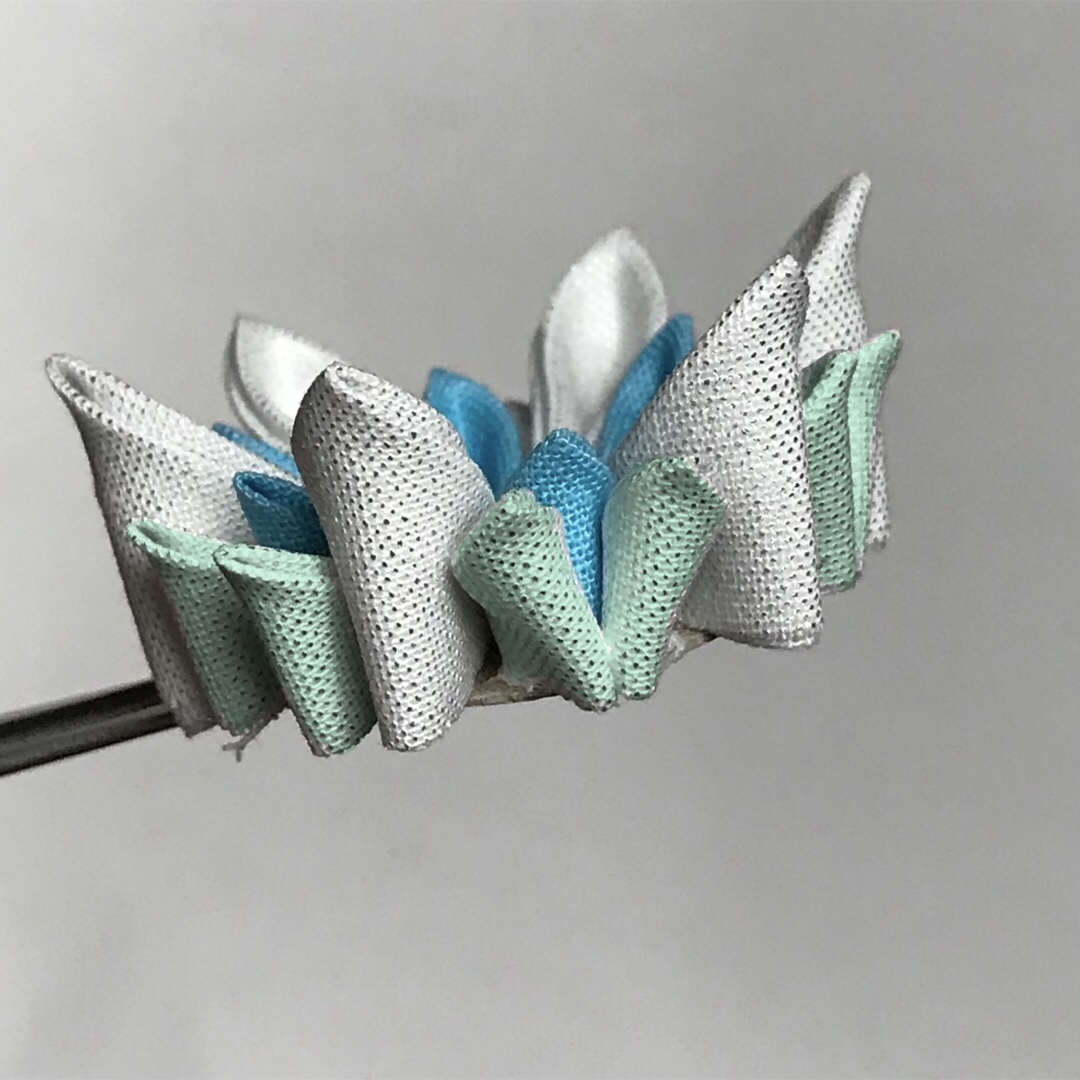
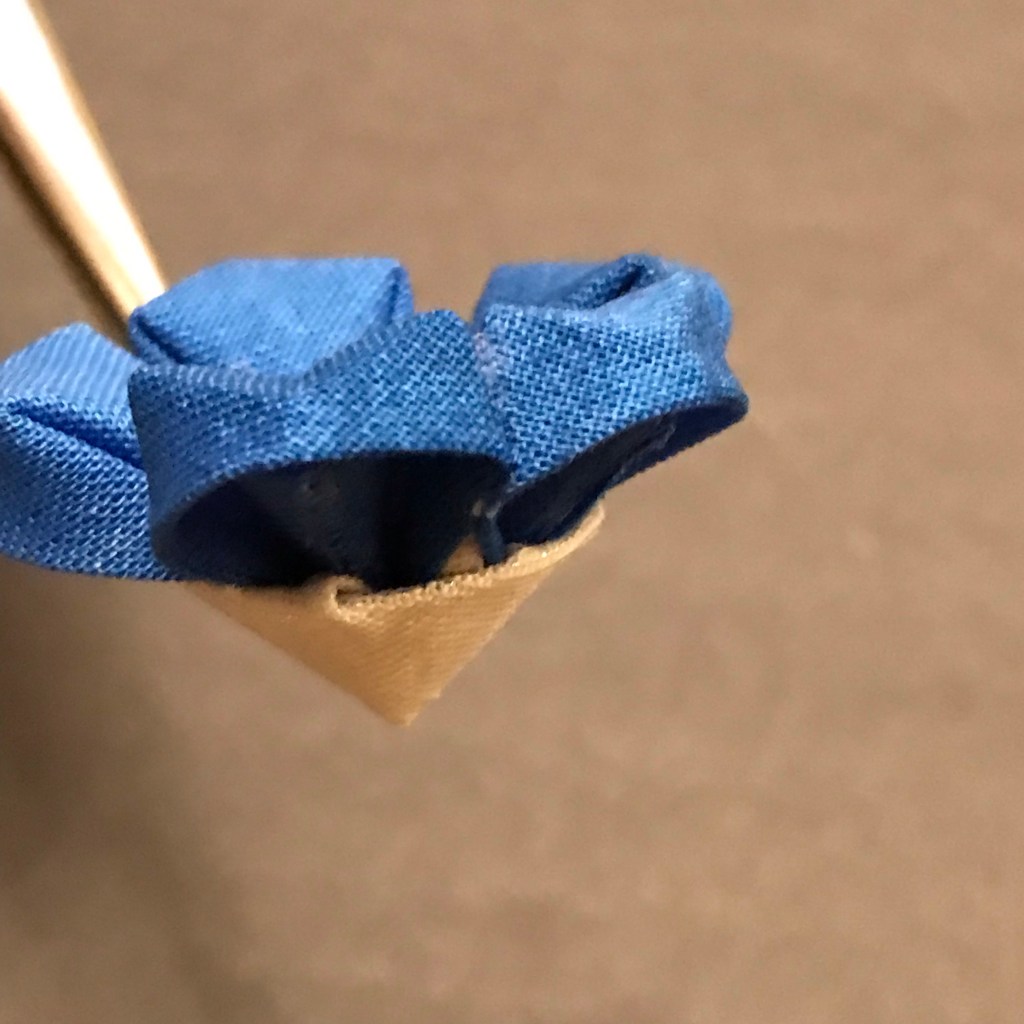
5. Turn the blue petals inside out.

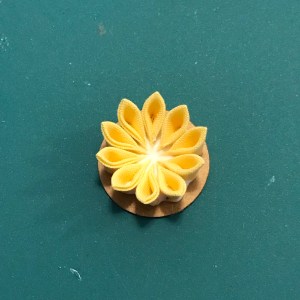
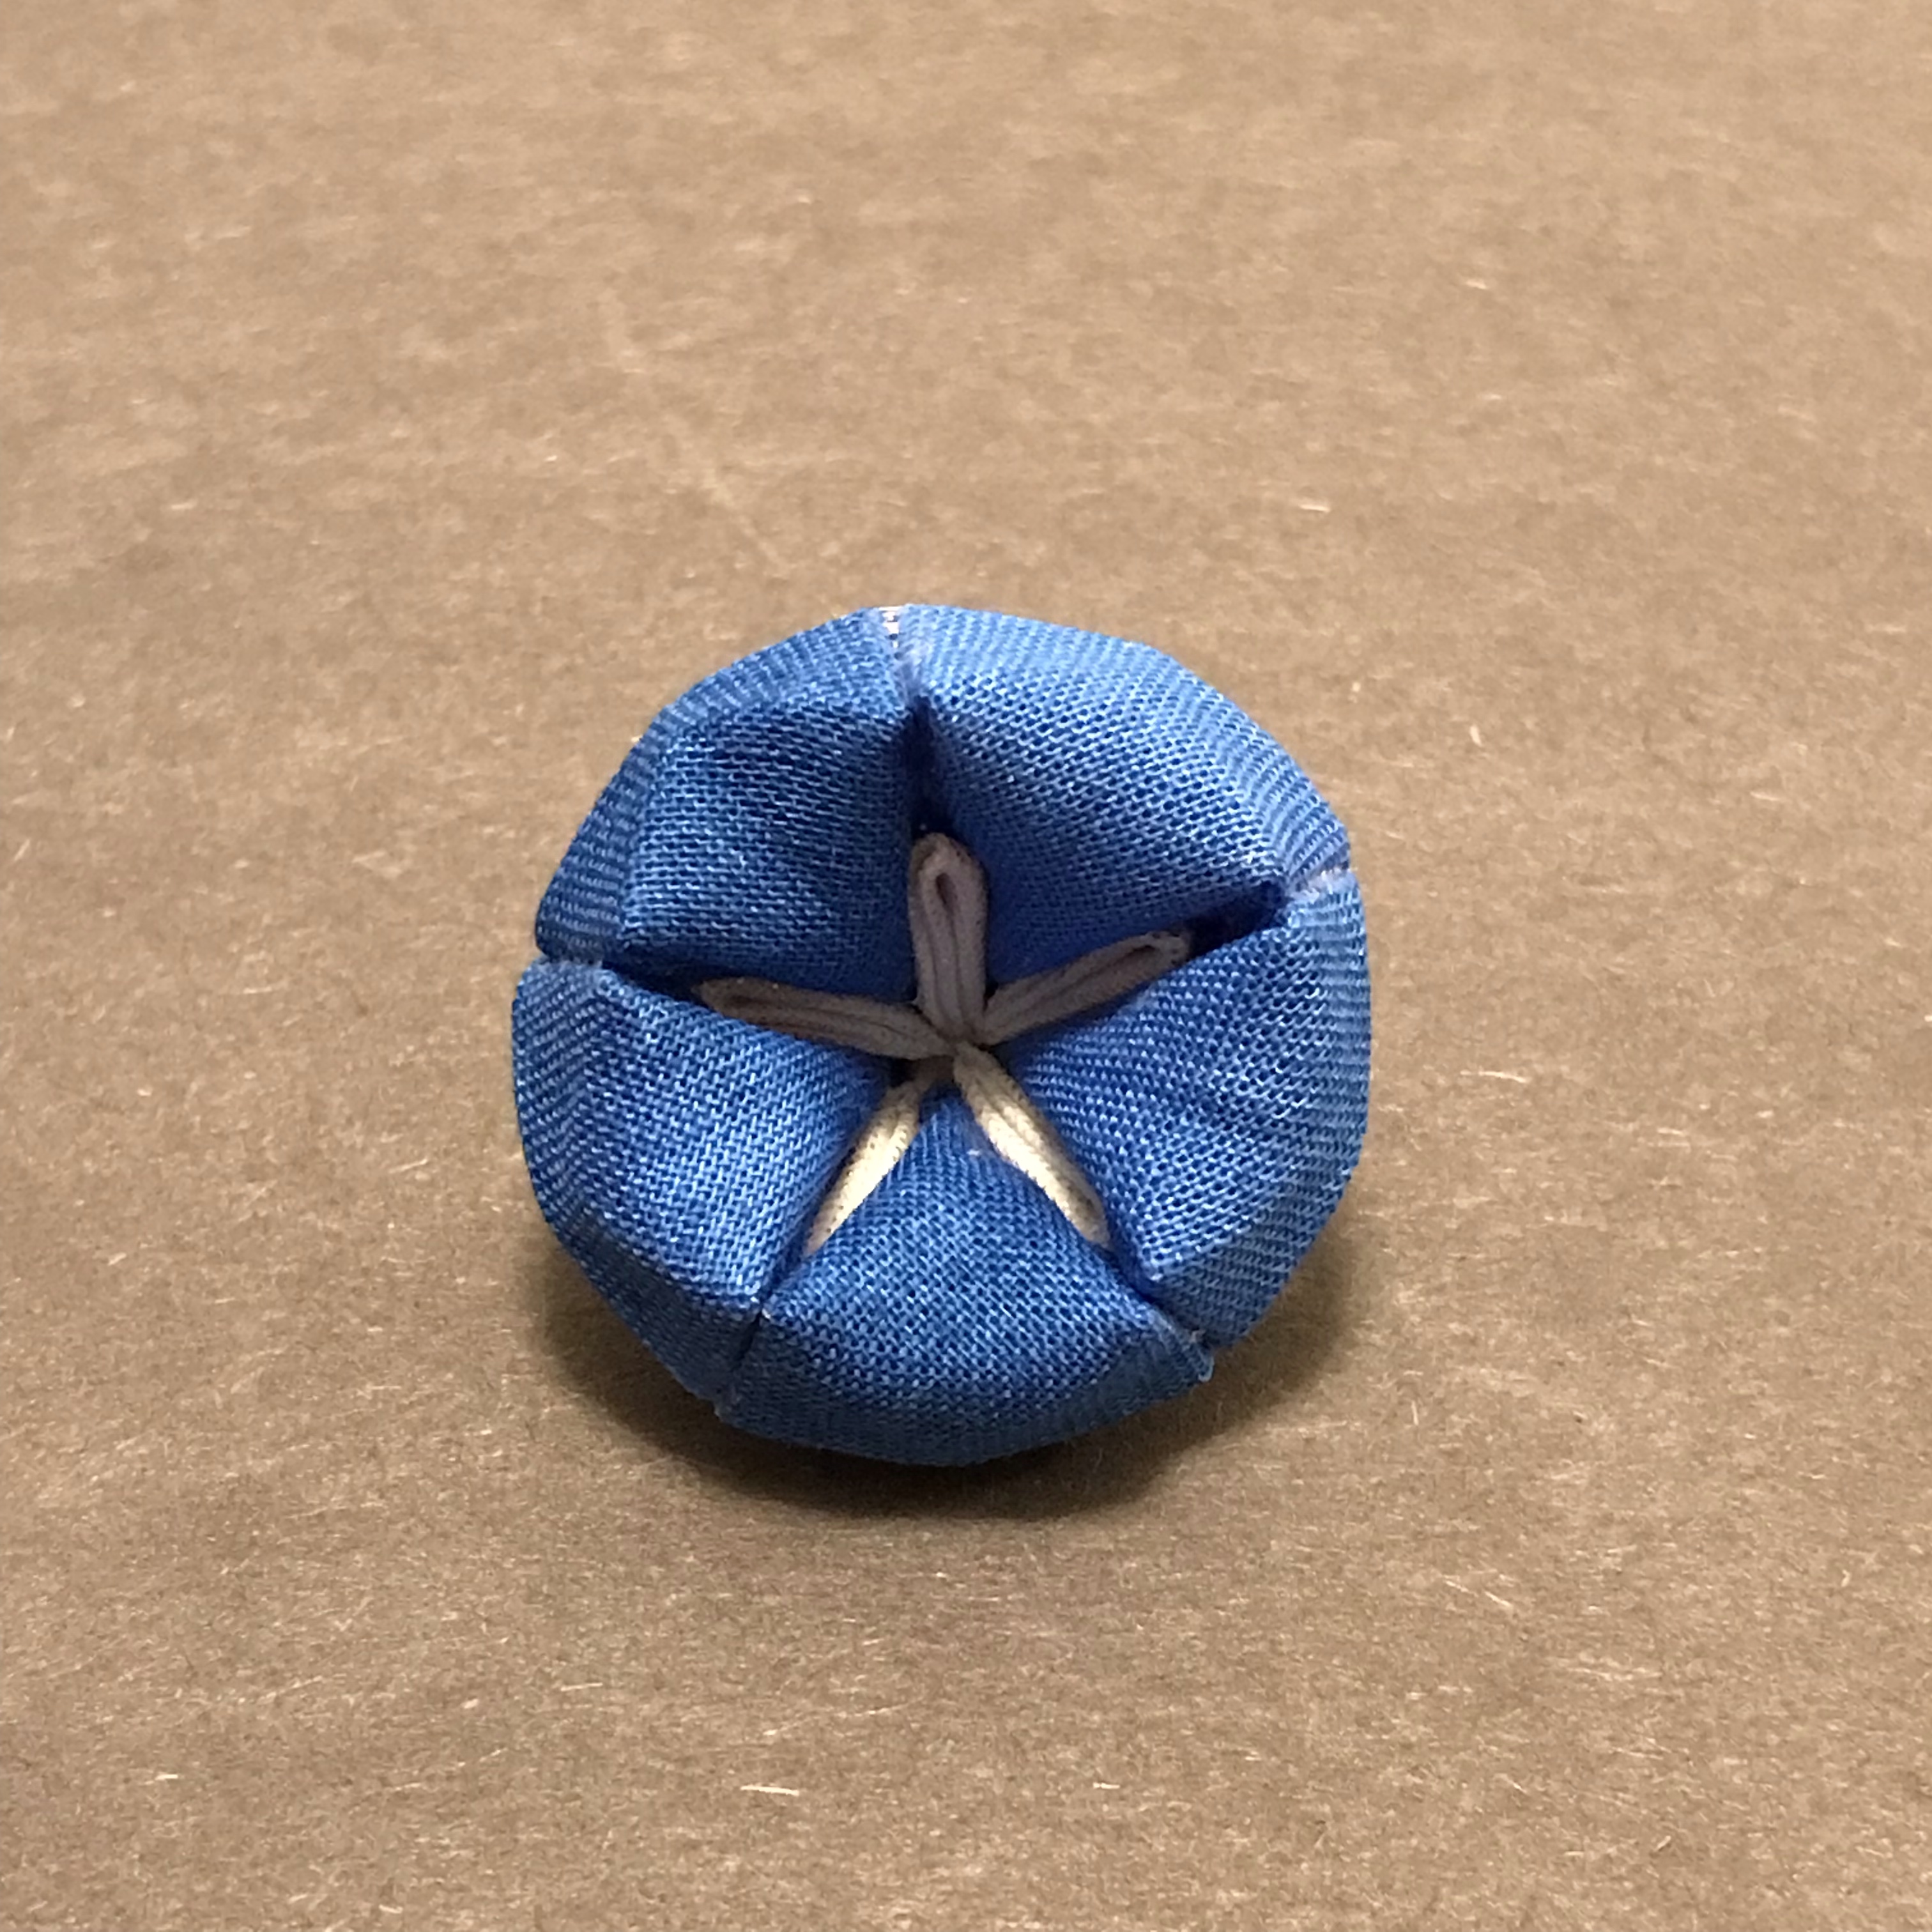
6. Put glue on the disc and place your blue petals evenly.
7. Put some glue on the bottom of your white petals and place them between the blue petals.
8. Put some glue on the sides of blue petals and glue them together with the white petals between each other.
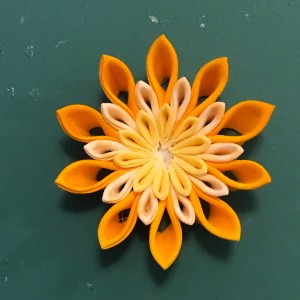
9. Let the glue dry.
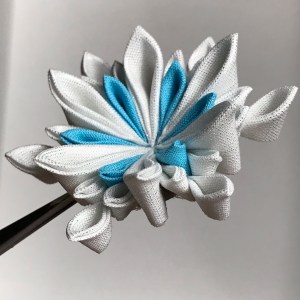
10. Put some decorations on the center if you like.
11. Done!
Bonus: Making a Asagao leaf
You will need:
- one 1.5 inch (3.8 cm) green cloth square
- two 1 inch (2.5 cm) green cloth squares
- glue
- tweezers
- wet towel to clean your finger
How to make:
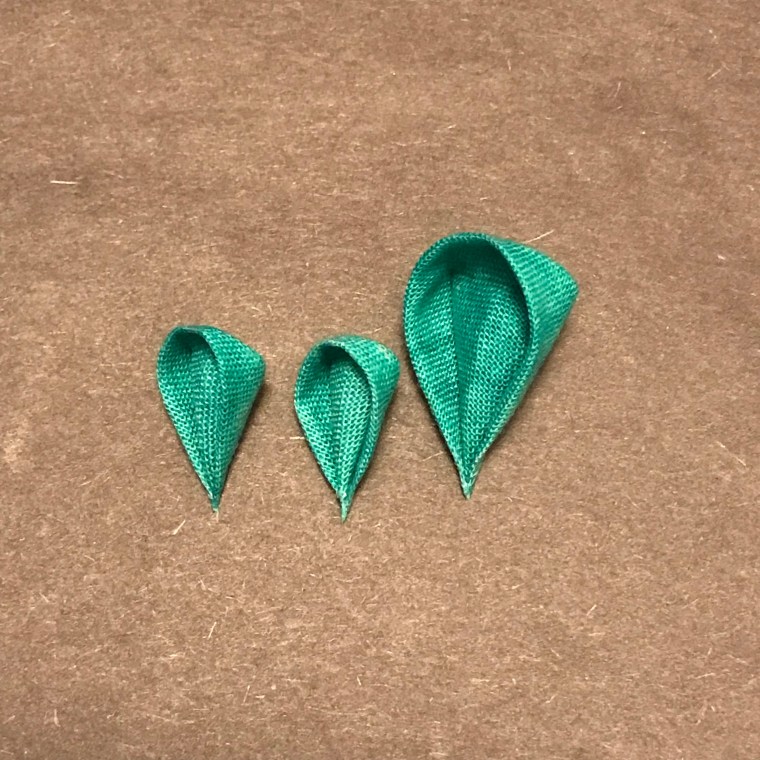
1.Make Maru-tsumami with the 1.5 and 1 inch cloths.
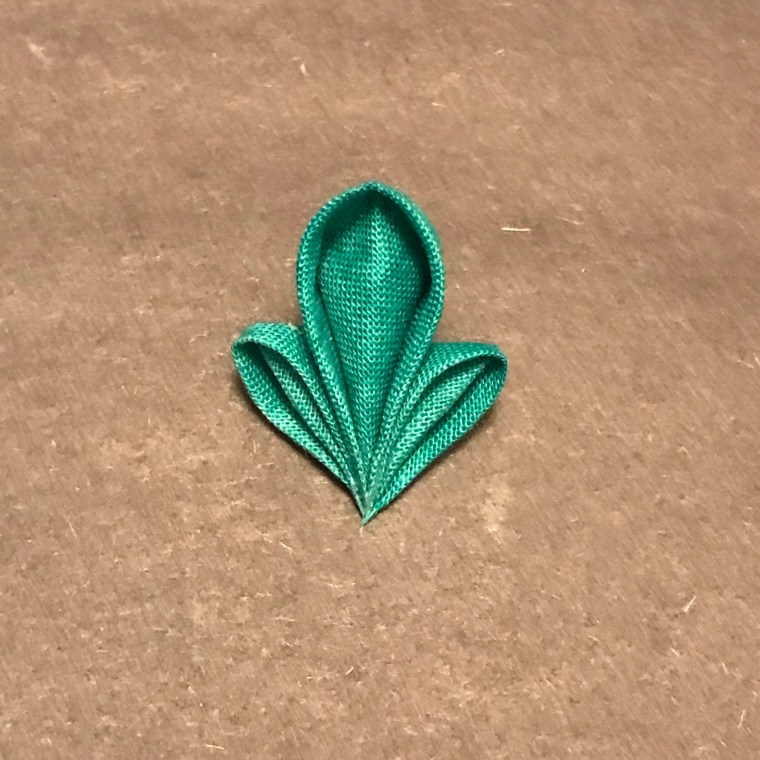
2. Put some glue on the side of the peak of the 1.5 inch Maru-tsumami and stick 1 inch Maru-tsumami on each side.
3. Let the glue dry.
4. Done!