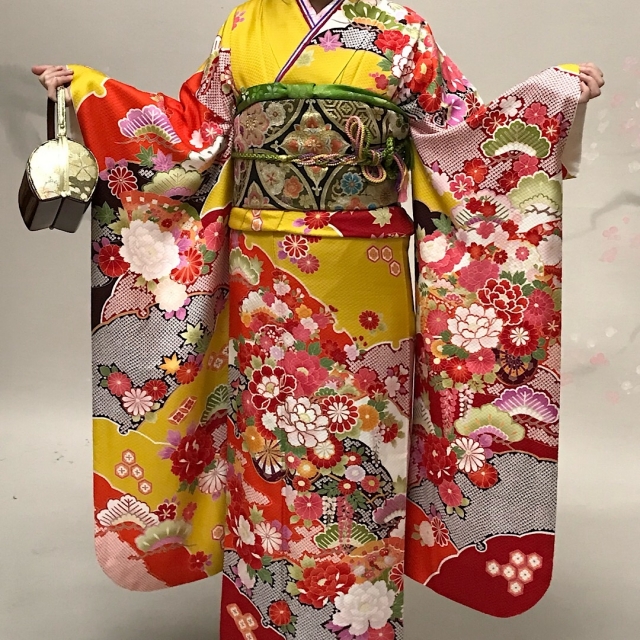
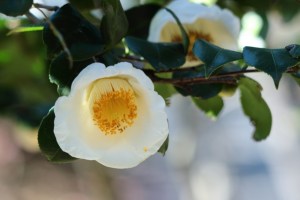
The “tsubaki” is the Japanese camellia. It is an ancient flower mentioned in Japan’s oldest collections of poems, “The Anthology of Myriad Leaves,” about 1250 years ago.

One facet of Japanese culture that people might find interesting is “kigo,” which means seasonal words. As the name implies, these are sets of words associated with particular seasons. Kigo are often used in poetry and art to signify when the poem or painting takes place. For example, tsubaki bloom vibrant red even in the bleak, colorless winter, so if a haiku uses the word tsubaki, it is understood that it is winter-themed.
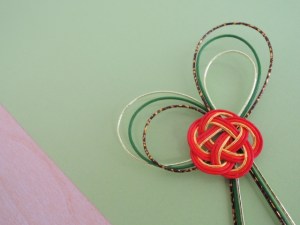
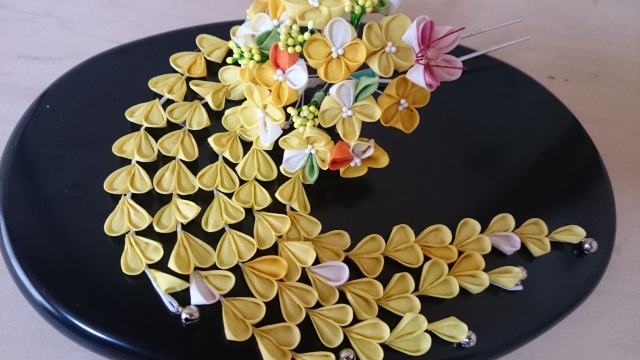
I’d like to show you how to make your own tsubaki with tsumami zaiku. Maybe you could wear it this winter!
You’ll learn a new technique for this accessory. Tsubaki need fewer parts than the previous flowers we’ve made, but the technique is a little more difficult. After some practice, I’m sure you will find your way. Remember that tsumami zaiku isn’t hard; it just takes patience. Don’t give up and enjoy making it!
How to make a Tsubaki:
You will need:
- three 1.5 (3.8 cm) inch red cloth squares
- one ¾ (1.9 cm) inch round paper disc (thick paper is better)
- craft flower stamens for decorations for the center of the flower
- glue
- tweezers
- wet paper towels for cleaning your fingers
Instructions:

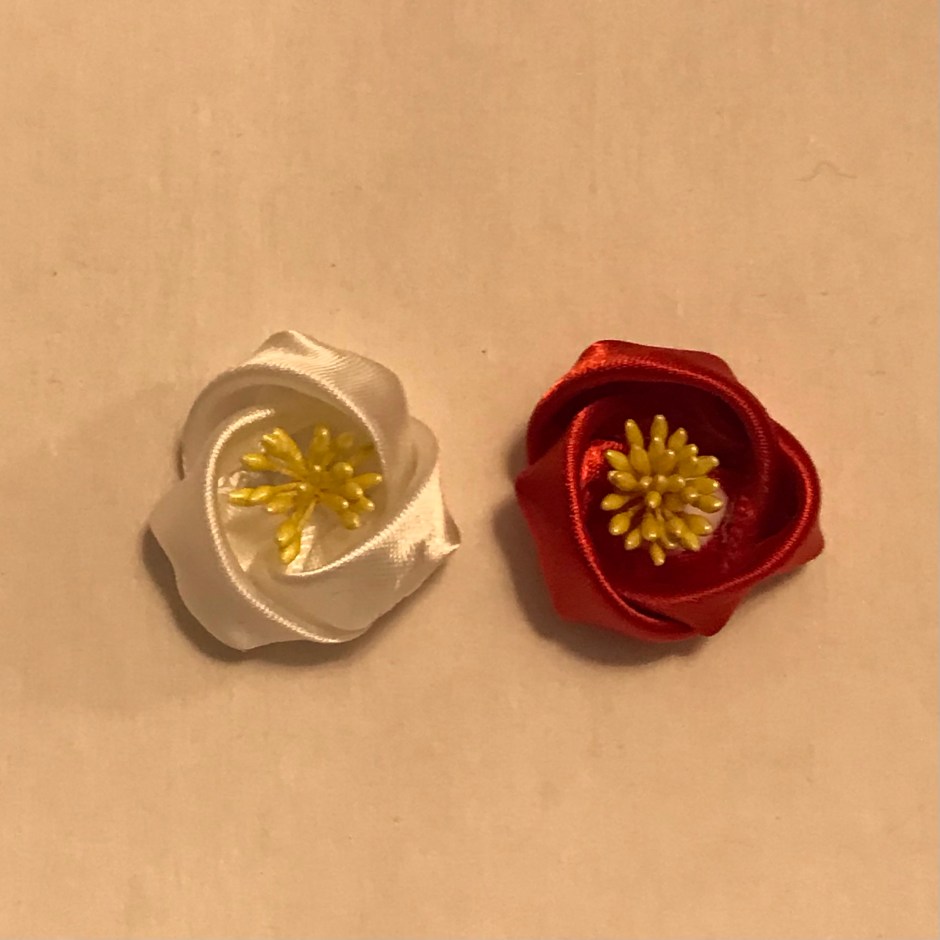
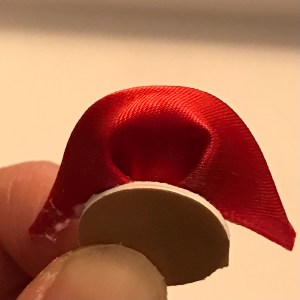
1.Make 3 petals with Maru-tsumami. (“How to make Maru-tsumami” link here.)
2. Open up the petals before the glue dries.
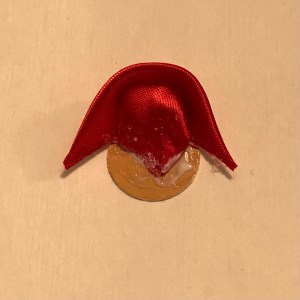
3. Glue petals on the paper disc. Put them more towards the inside of the center.
4. Put the bottom edge between the paper disc and underneath the petal before the glue on the paper disc dries.
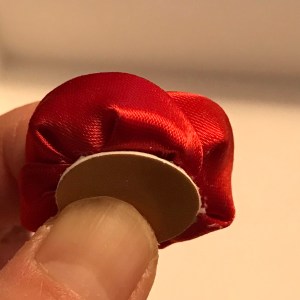
5. Put the edge of one side of the petal between the paper disc and underneath the petal beside it before the glue on the paper disc dries.


6. Glue the other side of the edge of the petal on the petal beside it while shaping the petal.

7. Bind up the craft flower stamens with wire. One characteristic of Tsubaki is its gorgeous thick stamens, so use plenty for this flower.

8. Glue the stamens to the center of the flower.

9. Let the glue dry.
10. Done!