Japan now uses the 12 month Gregorian calendar like the West, but that doesn’t mean our older, more traditional calendars aren’t still extremely important. We inherited the Chinese lunar calendar long ago, and the date of certain special events are still determined by the monthly phases of the moon.

But because the moon’s phases average only about 29 days, we used another Chinese calendar to keep track of the seasons. In Japan, we call it the “Nijushi sekki.” It’s based on the solar cycles, and under it, the first day of spring is called “Risshun.”
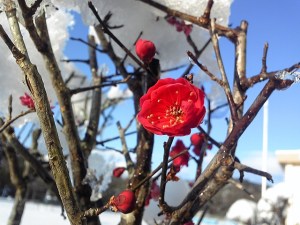
Risshun falls on February 3rd this year. Hearing “Risshun” makes Japanese feel like “spring is coming” even though it’s still very cold outside. Around this time, the “ume,” or the Japanese plum flower, also starts blooming. Like I mentioned in another post, ume flowers herald the arrival of spring. (The post about Japanese plum “Ume” is here.)
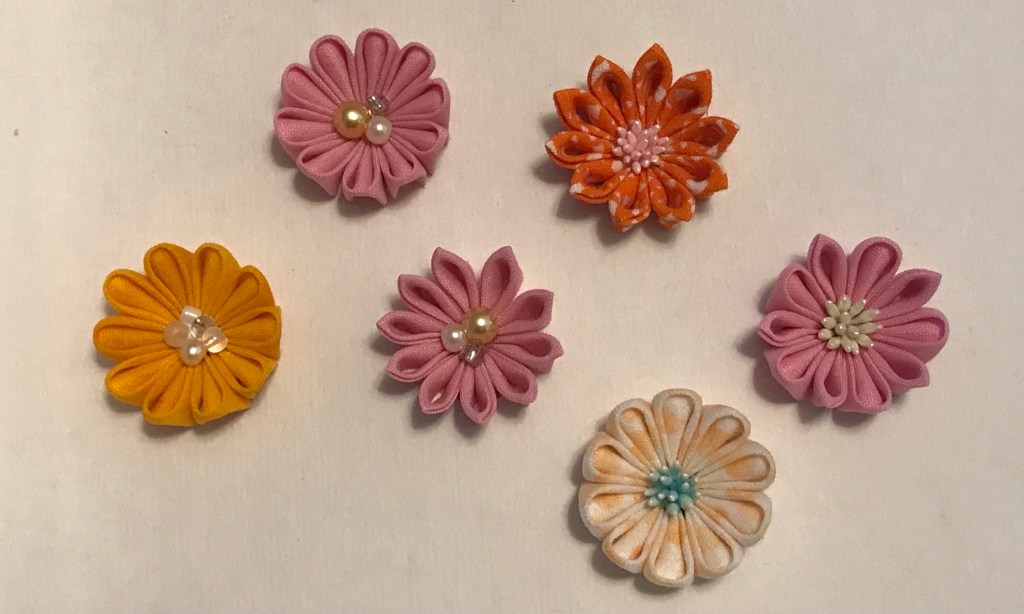
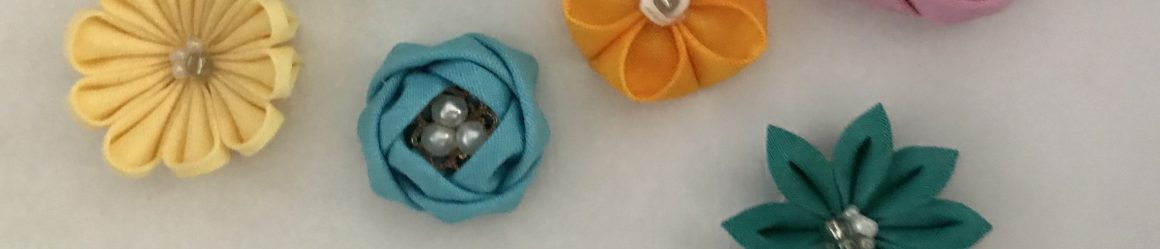
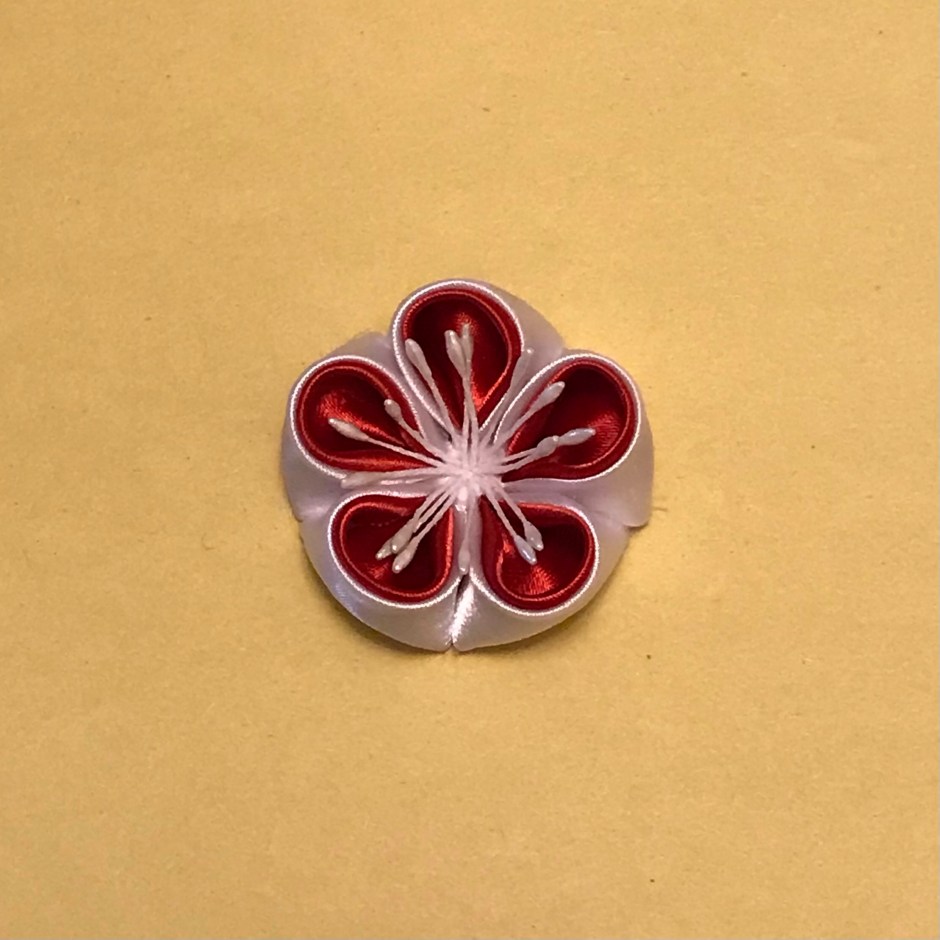
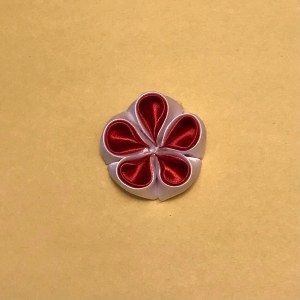
So in honor of the coming spring, I’m going to show you how to make a twofold Maru-tsumami (how to make single Maru-tsumami is here) so you can make your own ume blossom!
How to make a twofold Ume
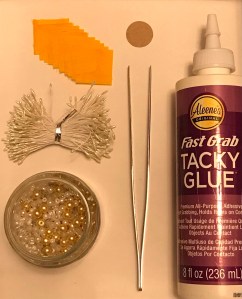
You will need:
- five 1.5 inch (3.8 cm) red square cloths
- five 1.5 inch (3.8 cm) white square cloths
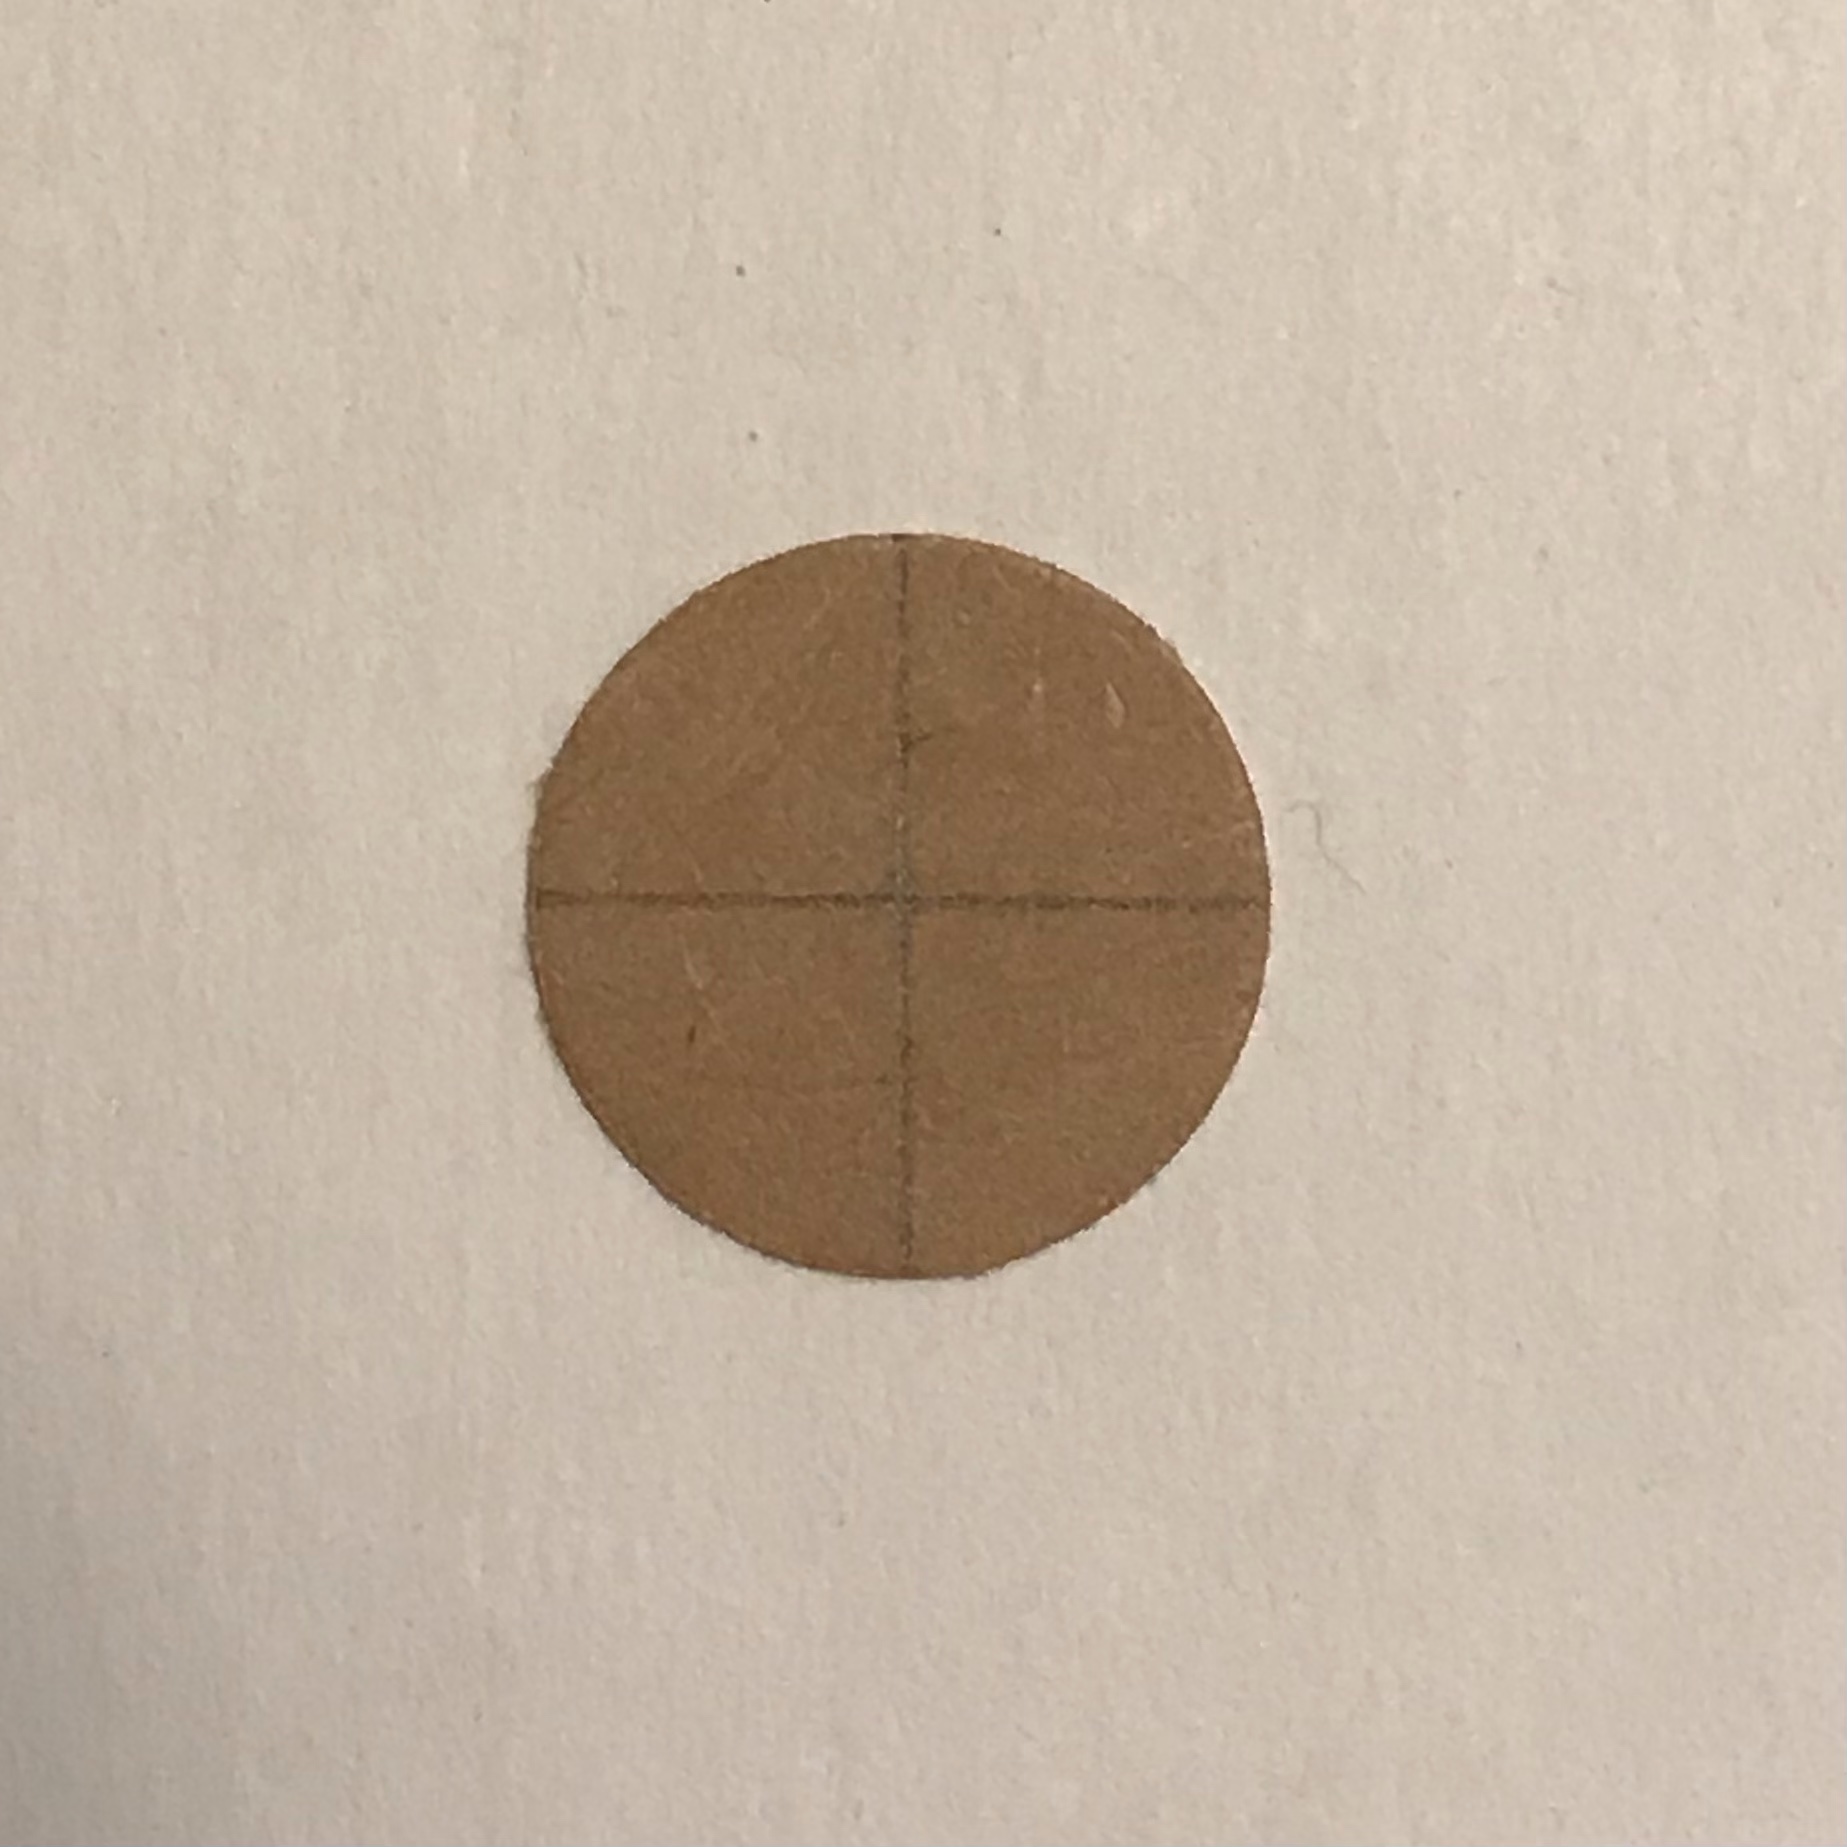
- one 1 inch (2.5 cm) round paper disc (thick paper is better)
- craft flower stamens to decorate the center of the flower
- glue
- tweezers (You don’t need tweezers, but it’s much easier with them)
- wet paper towels for cleaning your fingers
Instructions:
- Making a twofold Maru-tsumami

a) First, make a triangle by folding a white square cloth half.
b) Then, fold it in half again to make a smaller triangle. Put aside.
c) Repeat 1 and 2 with a red square cloth.

d) Between the creases of the red cloth, put the white cloth triangle you made just a little bit outside.

e) Fold them in half again, but both ways this time.
f) Glue at the bottom part. You just need a dab.
g) Wait until the glue dries. (It doesn’t need to be completely dry, just enough to keep its shape.)

h) Shape the top round part to make a petal.

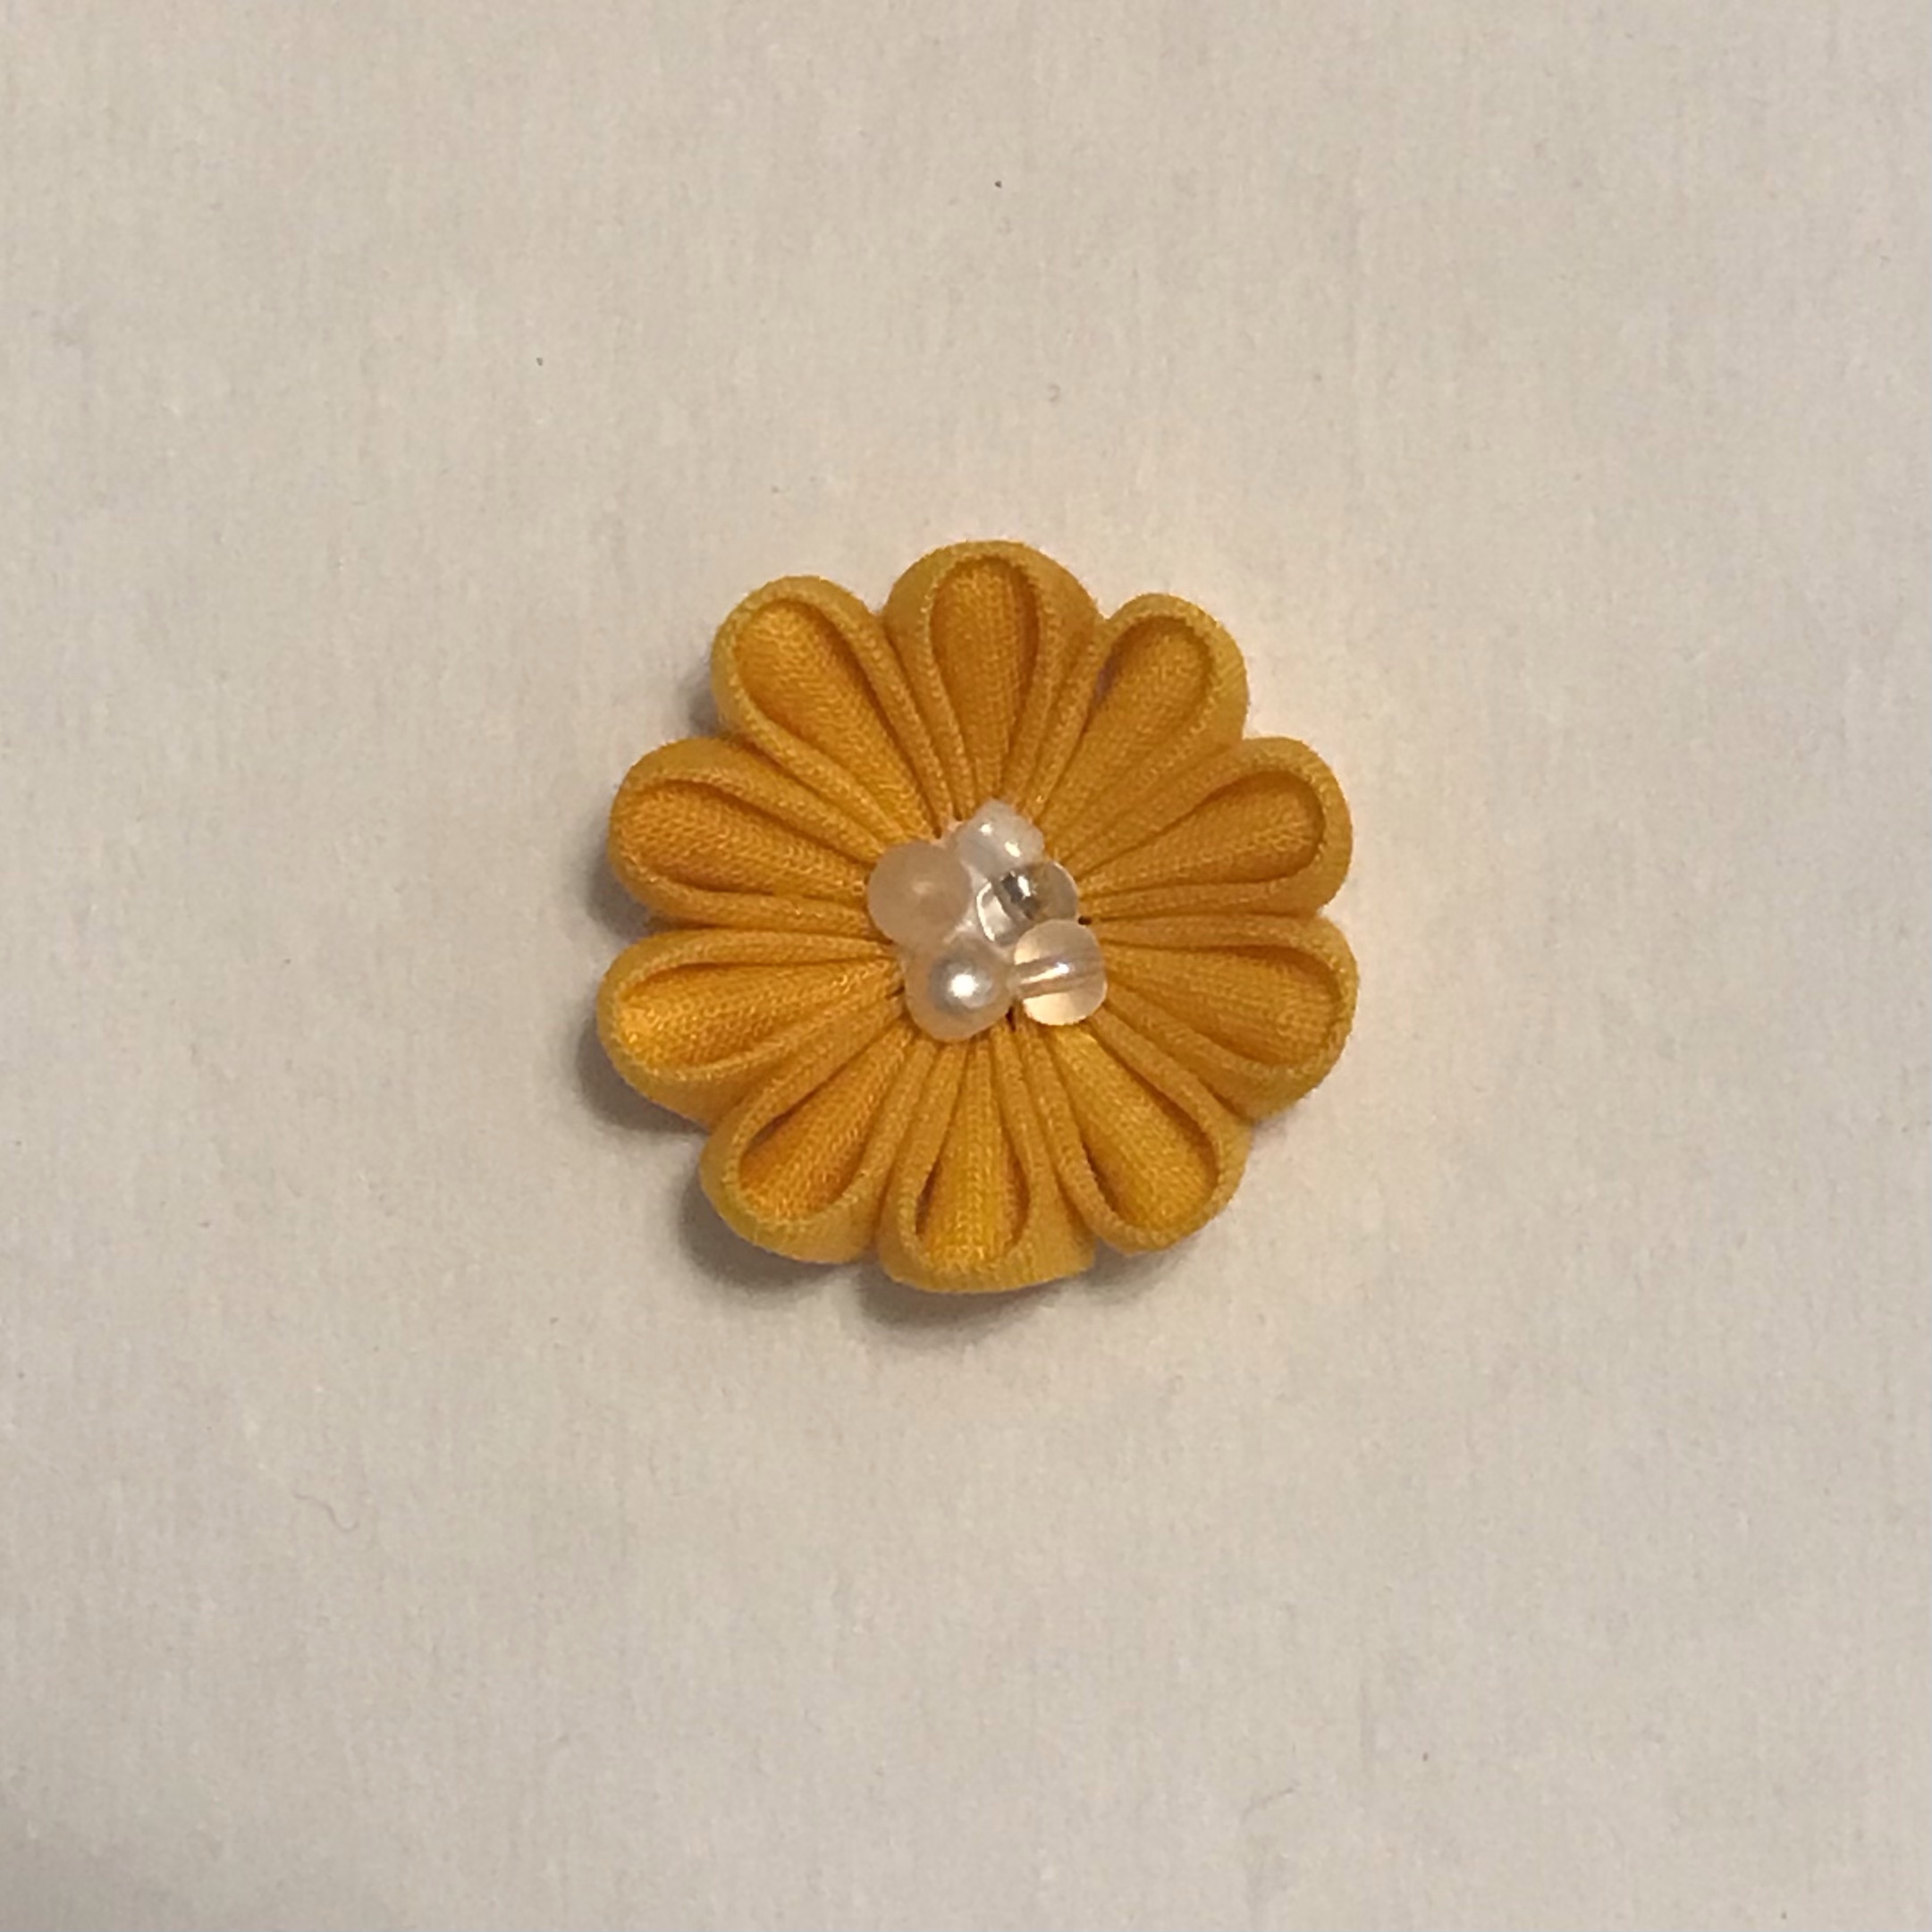
2. Make the other 4 petals with twofold Maru-tsumami method.
3. Put glue on the round paper disc and place the petals you made evenly towards the center.
4. Reshape the flower.
5. Let the glue completely dry.
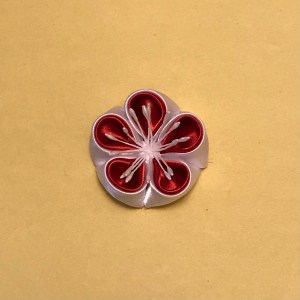
6. Glue the flower stamens and balance them evenly.
7. Let the glue completely dry.
8. Done!